Preamble to building workflows using containers
In this session, we will use the two Docker images we built in the previous sections and we will how to put these together into a single workflow using the Nextflow workflow language. Later, we will learn out to put these two Docker images into a single workflow using the CWL or Common Workflow Language.
We will:
- Login to Google shell cloud
- Build both of our docker images of the processes fastqc and multiqc using the package installers maintained on Anaconda
- Login to CAVATICA and generate our CAVATICA Authentication Token
- Tag our Docker images
- Authenticate with Cavatica within the Google Shell
- Push our Docker images to our own personal repository on Cavatica
- Use our own Docker images in the Nextflow and CWL scripts we write.
Login to Google shell cloud
Please proceed to login to your google shell. If you did not work with us yesterday, please return to the previous lesson to build your fastqc-docker and multiqc-docker images.
When it comes up, type:
docker images
You will see there are no images from yesterday. If you recall, I mentioned that these were ephemeral instances, so the new machine that has just been spun up, though it maintains your file structure, does not have your image anymore.
Build your Fastqc Docker Image
Lets first build Fastqc Docker Image.
If you recall, yesterday, I said there are only 3 steps in building a Docker Image.
- Build
- Tag
- Push
Yesterday, we did not push. What is pushing? To make our Docker image available to us, we use a Repository. We are working on CAVATICA and CAVATICA offers to you the option of creating your own repository. Think of the repository just like your GitHub, it is a location where you can keep and use your own Docker Images. To be able to Push our docker images to our repository, we need to Authenticate and we Authenticate with our very own Developer's Token. We will get to that.
Please proceed to your fastqc-docker subdirectory.
cd fastqc-docker
As a best practice, since you now have pushed this into GitHub, you should out of a habit type the following commands:
git status
Likely there are no changes, but if you were collaborating with someone, they may have made changes, or if you are working on multiple systems, again you should do the following:
git pull
We do not need to authenticate, but if there were changes, we would proceed as we did yesterday to set up our user.name and user.email. But we do not need to do this at the moment.
Now let us build the Docker image
Build Fastqc
docker build -t fastqc .
This tags the image with the tag fastqc, however we actually have to tag it with a tagname that will work on the CAVATICA Registry.
Following the directions for pushing images to your own CAVATICA Docker registry with one change the destination is ❗ pgc-images.sbgenomics.com ❗ -- the notes erroneously state a different location, I have asked they update the documentation.
Lets look at our images
docker images
It should look something like this:
(eos) ad376@cloudshell:~/fastqc-docker$ docker images
REPOSITORY               TAG       IMAGE ID       CREATED         SIZE
fastqc                   latest    7bcdb3be3afc   6 minutes ago   1.07GB
continuumio/miniconda3   latest    ce7d119281a1   2 months ago    403MB
TAG Fastqc
Take note of the IMAGE ID, that is what we will use to tag our image for pushing to CAVATICA.
I did a local install of the fastqc to find out the version we have:
conda install -c fastqc -y
And typed
fastqc -v
Now I will use that version to change the TAG to more specifically reflect the image I have built.
You can see the syntax by typing:
docker tag
Which tells us
(eos) ad376@cloudshell:~/fastqc-docker$ docker tag
"docker tag" requires exactly 2 arguments.
See 'docker tag --help'.

Usage:  docker tag SOURCE_IMAGE[:TAG] TARGET_IMAGE[:TAG]
Note that we have the Docker Image Repository Specific to me is at the location of pgc-images.sbgenomics.com/adeslat.
For your own repository -- replace adeslat with your own [CAVATICA USERID].
So now I tag:
docker tag 7bcdb3be3afc pgc-images.sbgenomics.com/[YOUR CAVATICA USERID]/fastqc:v0.11.9
Where the first item after the word tag is the IMAGE ID - aka the SOURCE_IMAGE The second is the TARGET_IMAGE
PUSH Fastqc
Okay, almost there. We have built and we have tagged, now we want to push our image to our Docker Image Repository.
To do that we need to authenticate.
To authenticate we need a developers token.
Login to CAVATICA and Generate Authentication Token
Navigate to the Developers Tab
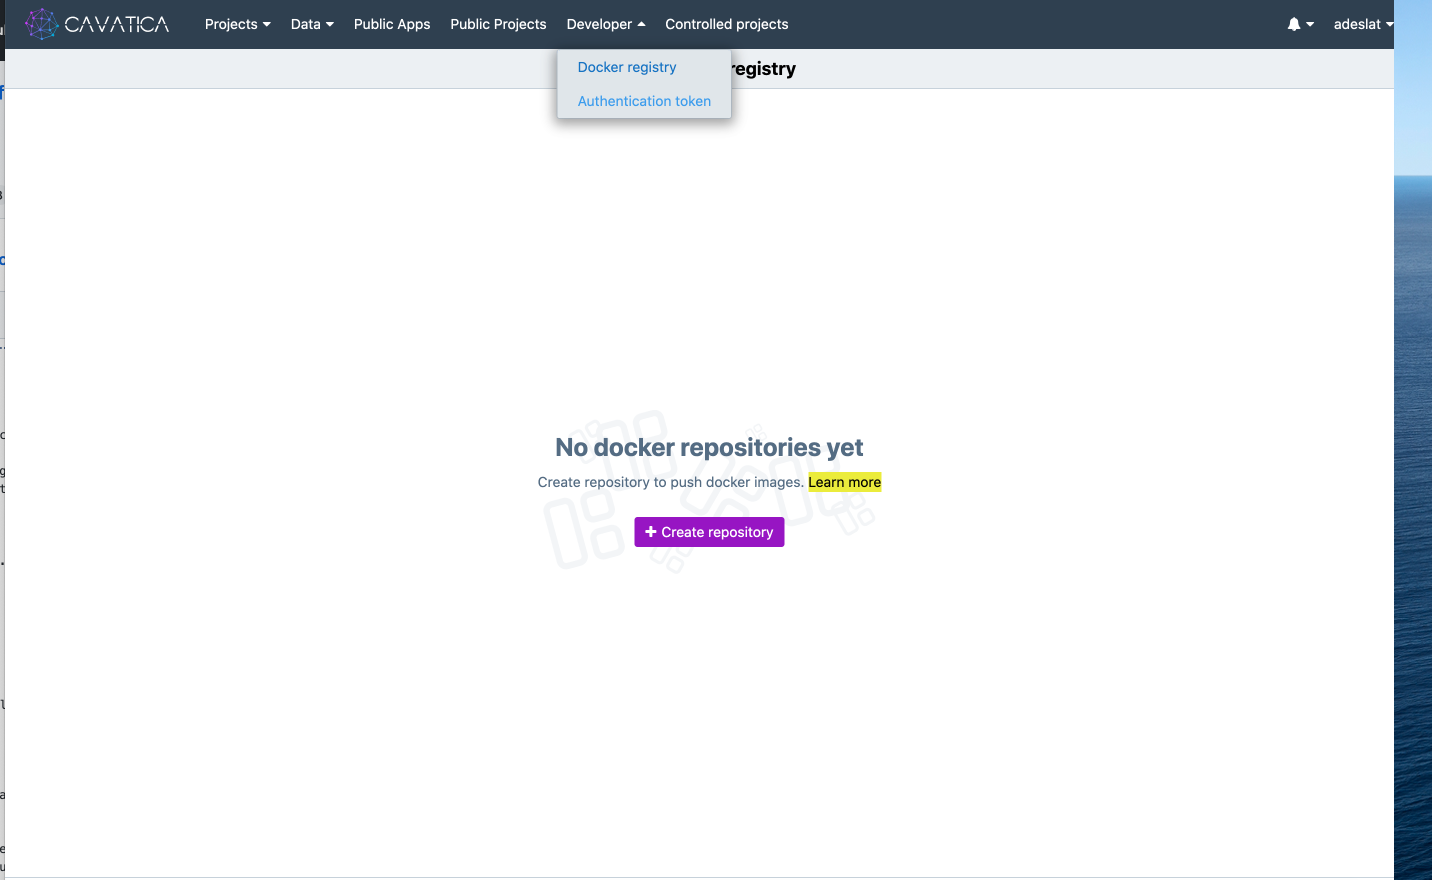
Select Authentication Token and Press Generate Authentication Token
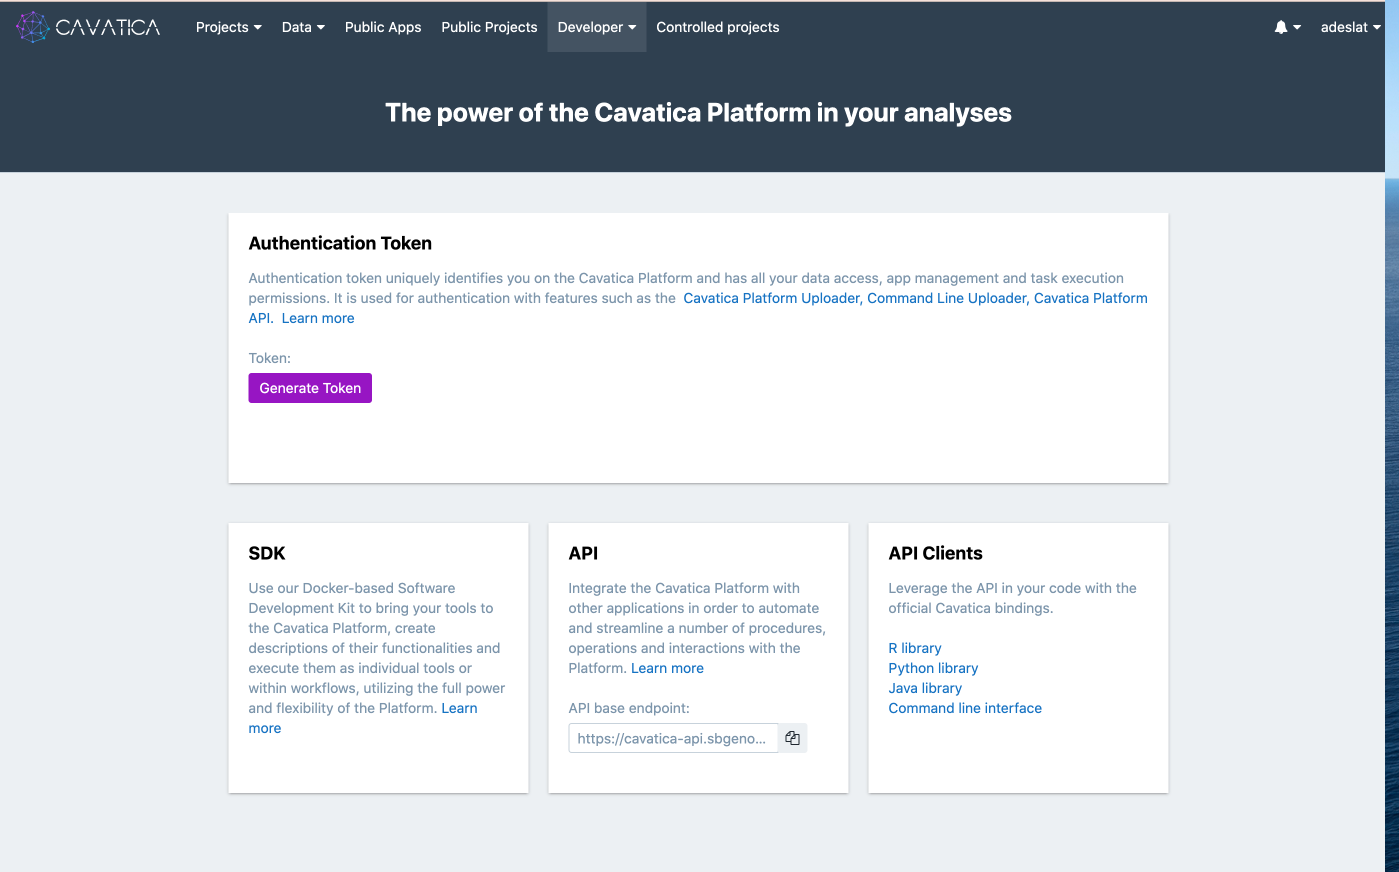
Have a look at your repository, you will see that it is empty.

Now copy your authentication token.
Now go back to the Google Shell and login to the repository.
docker login pgc-images.sbgenomics.com -u adeslat -p [paste your authentication token here]
Now we can push to our repository
docker push pgc-images.sbgenomics.com/adeslat/fastqc:v0.11.9
And if all is going well we see:
The push refers to repository [pgc-images.sbgenomics.com/adeslat/fastqc]
3f13f484a6c6: Pushed
cbc020caf48c: Pushed
ab2731ec3f53: Pushed
6fa1f4185aa2: Pushed
ad6562704f37: Pushed
v0.11.9: digest: sha256:400e075f2ba7c94f6982caa3a43bd90d1857ecde457bf4a26a4ab9b9423d7d85 size: 1373
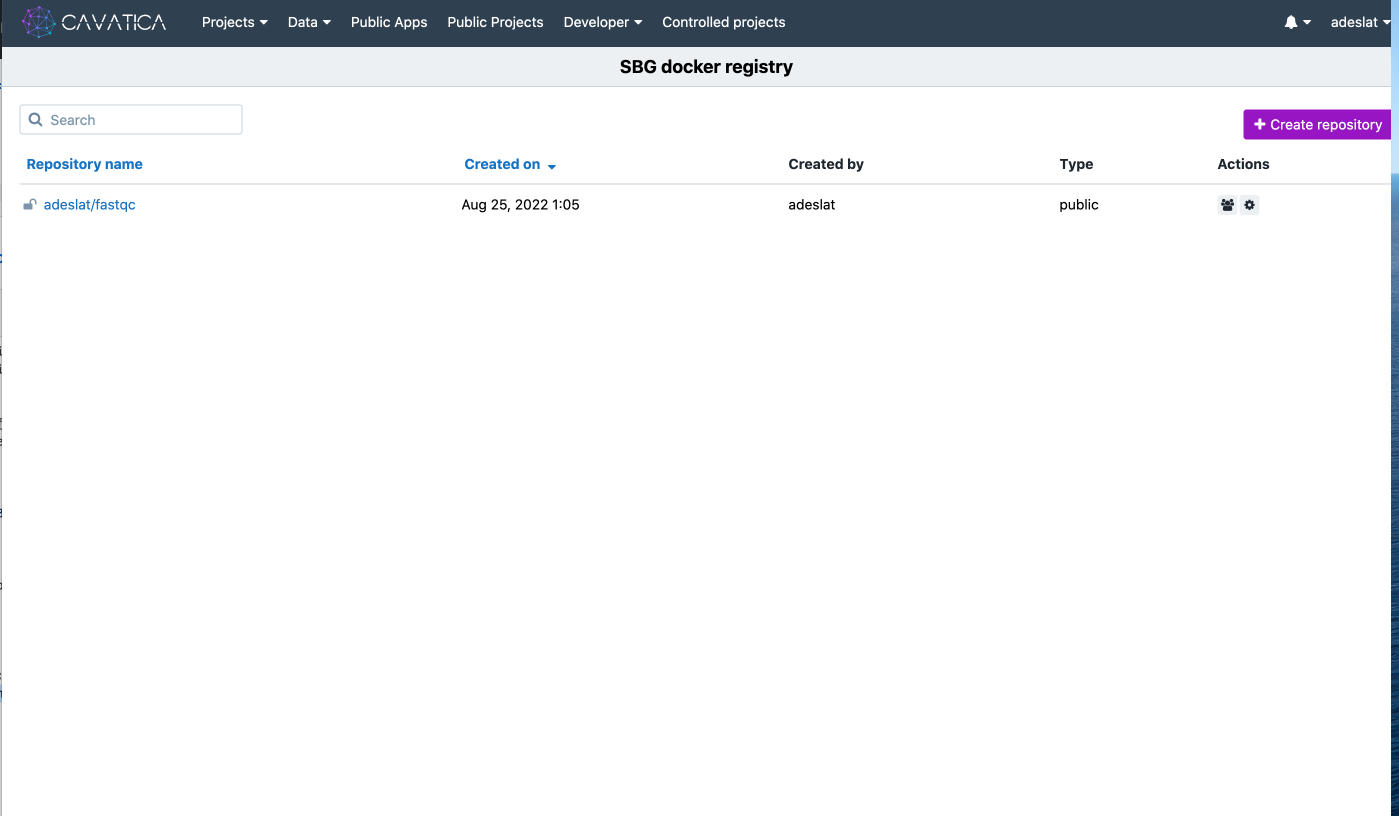
Now we can inspect our repository on CAVATICA and we see:
Now we actually can properly build and tag from the getgo our other image, for multiqc.
Build and Tag Multiqc
Navigate to the multiqc-docker directory
cd ../multiqc-docker
And lets build with the tag appropriate for pushing to CAVATICA straight away.
docker build -t pgc-images.sbgenomics.com/adeslat/multiqc:v1.0dev0 .
Because we are already authenticated, we can simply push.
Push Multiqc
docker push pgc-images.sbgenomics.com/adeslat/multiqc:v1.0dev0
And now when we inspect our repository, we have:
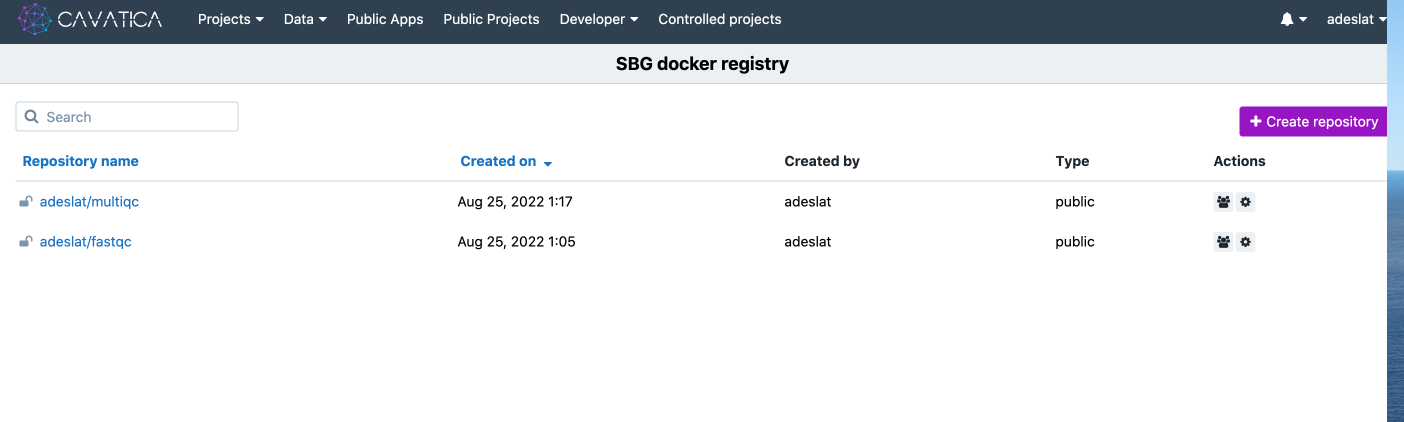
Now we can proceed with our workflow development!