Building A Common Workflow Language (CWL) Workflow
Here we now show how the same containers may be used in a CWL workflow.
If you are starting here and haven't Forked this repository into your own *GitHub Repository, please Fork this repository
If you have your personal GitHub Fork of this repository, then be sure to as changes may have been made.
Now please git clone your personal fork of the repository for this lesson.
git clone https://github.com/NIH-NICHD/Building-A-CWL-Script.git
Showing the CWL workflow with the same containers
Now Navigate to this class
cd Building-A-CWL-Script
Create and activate your environment, if you have not already done so.
Create the eos environment.
conda create -n eos -y
Activate the eos environment.
conda activate eos
Looking at the directory we type the command:
ls -l
And now we see something like this
total 28
drwxr-xr-x 2 adeslat adeslat  4096 Aug 30 18:57 cwl_tools
-rw-r--r-- 1 adeslat adeslat  1234 Aug 30 18:57 fastqc_multiqc_wf.cwl
-rw-r--r-- 1 adeslat adeslat 18656 Aug 30 18:57 README.md
By convention, the bioinformaticians at Childrens Hospital of Philadelphia put their tools, their pieces for a workflow in a subdirectory they name cwl_tools. This is a good convention.
We can see what is put in this directory by typing:
ls -l cwl_tools
We see that there are two files:
-rw-r--r-- 1 ad376 ad376 1053 Mar 31 13:28 fastqc.cwl
-rw-r--r-- 1 ad376 ad376 1004 Mar 31 13:28 multiqc.cwl
We can inspect that file either by opening it in an editor or by typing at the terminal
less cwl_tools/fastqc_cwl
You can learn what the command less does by typing in the Explain shell less.
Which just tells you it is the opposite of more, so lets type in the Explain shell more.
It just allows us to inspect the contents of the file.
To exit out of our less command press q
To make the terminal window a bit larger, press the ... three triple . and pull the window larger.
Type less cwl_tools/fastqc_cwl again, and pressing space bar
Which we see now as:
cwlVersion: v1.0
class: CommandLineTool
id: fastqc
requirements:
  - class: ShellCommandRequirement
  - class: DockerRequirement
    dockerPull: 'pgc-images.sbgenomics.com/deslattesmaysa2/fastqc:v1.0'
  - class: InlineJavascriptRequirement
  - class: ResourceRequirement
    ramMin: ${ return inputs.ram * 1024 }
    coresMin: $(inputs.cores)

baseCommand: [mkdir]
arguments:
  - position: 1
    shellQuote: false
    valueFrom: >-
      $(inputs.outdir)
  - position: 2
    shellQuote: false
    valueFrom: >-
      && fastqc

inputs:
  input_reads: { type: 'File[]', inputBinding: {position: 99}, doc: "Input fastq files" }
  outdir: { type: 'string?', default: "results", inputBinding: { position: 2, prefix: "--outdir"} }
  noextract: { type: 'boolean?', default: true, inputBinding: { position: 2, prefix: "--noextract"} }
  cores: { type: 'int?', default: 2 , inputBinding: { position: 2,  prefix: "--threads" } }
  ram: { type: 'int?', default: 2 }
outputs:
  fastqc_results:
    type: Directory
    outputBinding:
      glob: $(inputs.outdir)
To exit from the less command press q
We see many of the same pieces that we saw with a Nextflow script.
We see inputs: and we see outputs. We also see that there is a dockerPull:* command.
dockerPull: 'pgc-images.sbgenomics.com/deslattesmaysa2/fastqc:v1.0'
Which references the identical container that was used with Nextflow. Before we can pull from the docker image stored on CAVATICA, we have to authenticate.
With the inputs: we see that we have input_reads: which asks us to input our reads, there is also a specification for an outdir.
While I will not go into much more detail, I will emphasize that the cwl script is using the same containers as we did in the nextflow script.
We can also inspect the multiqc.cwl file in that way or in the editor.
Installing cwltool
In the same way that we installed nextflow, we can install cwltool.
To find the exact command, I typically google anaconda search packages and arrive here:
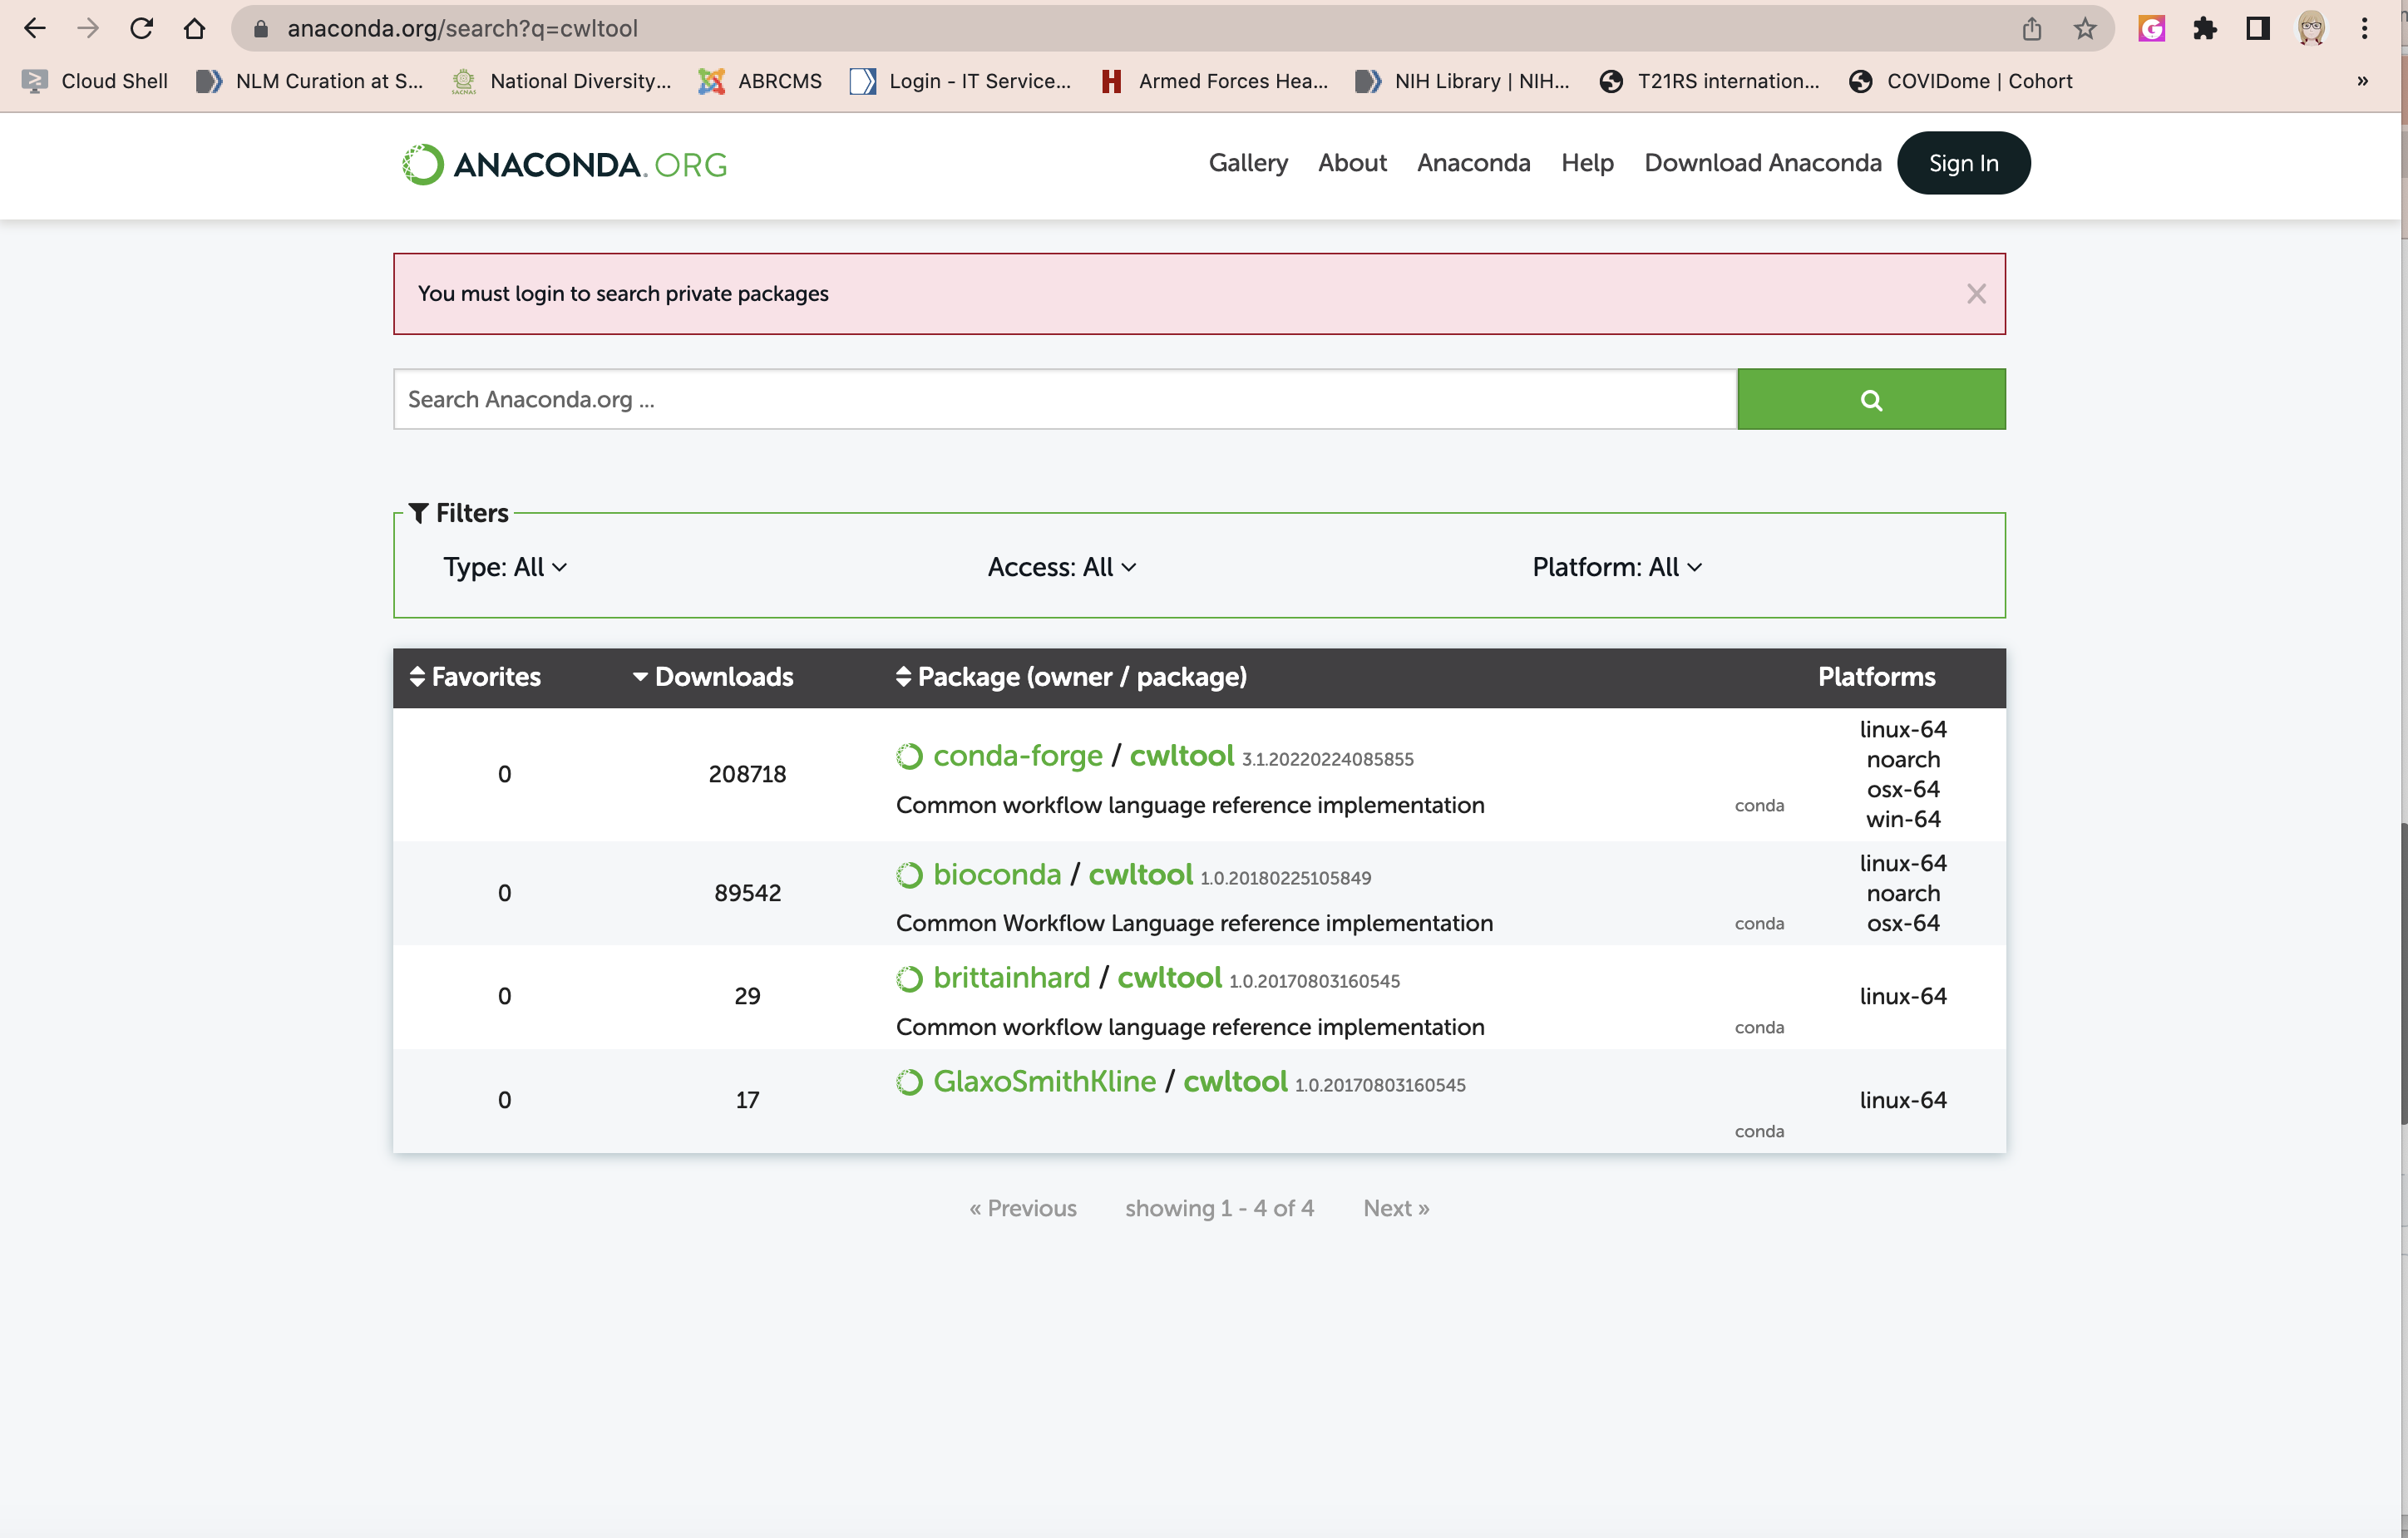
Next, I get the information on how to install:
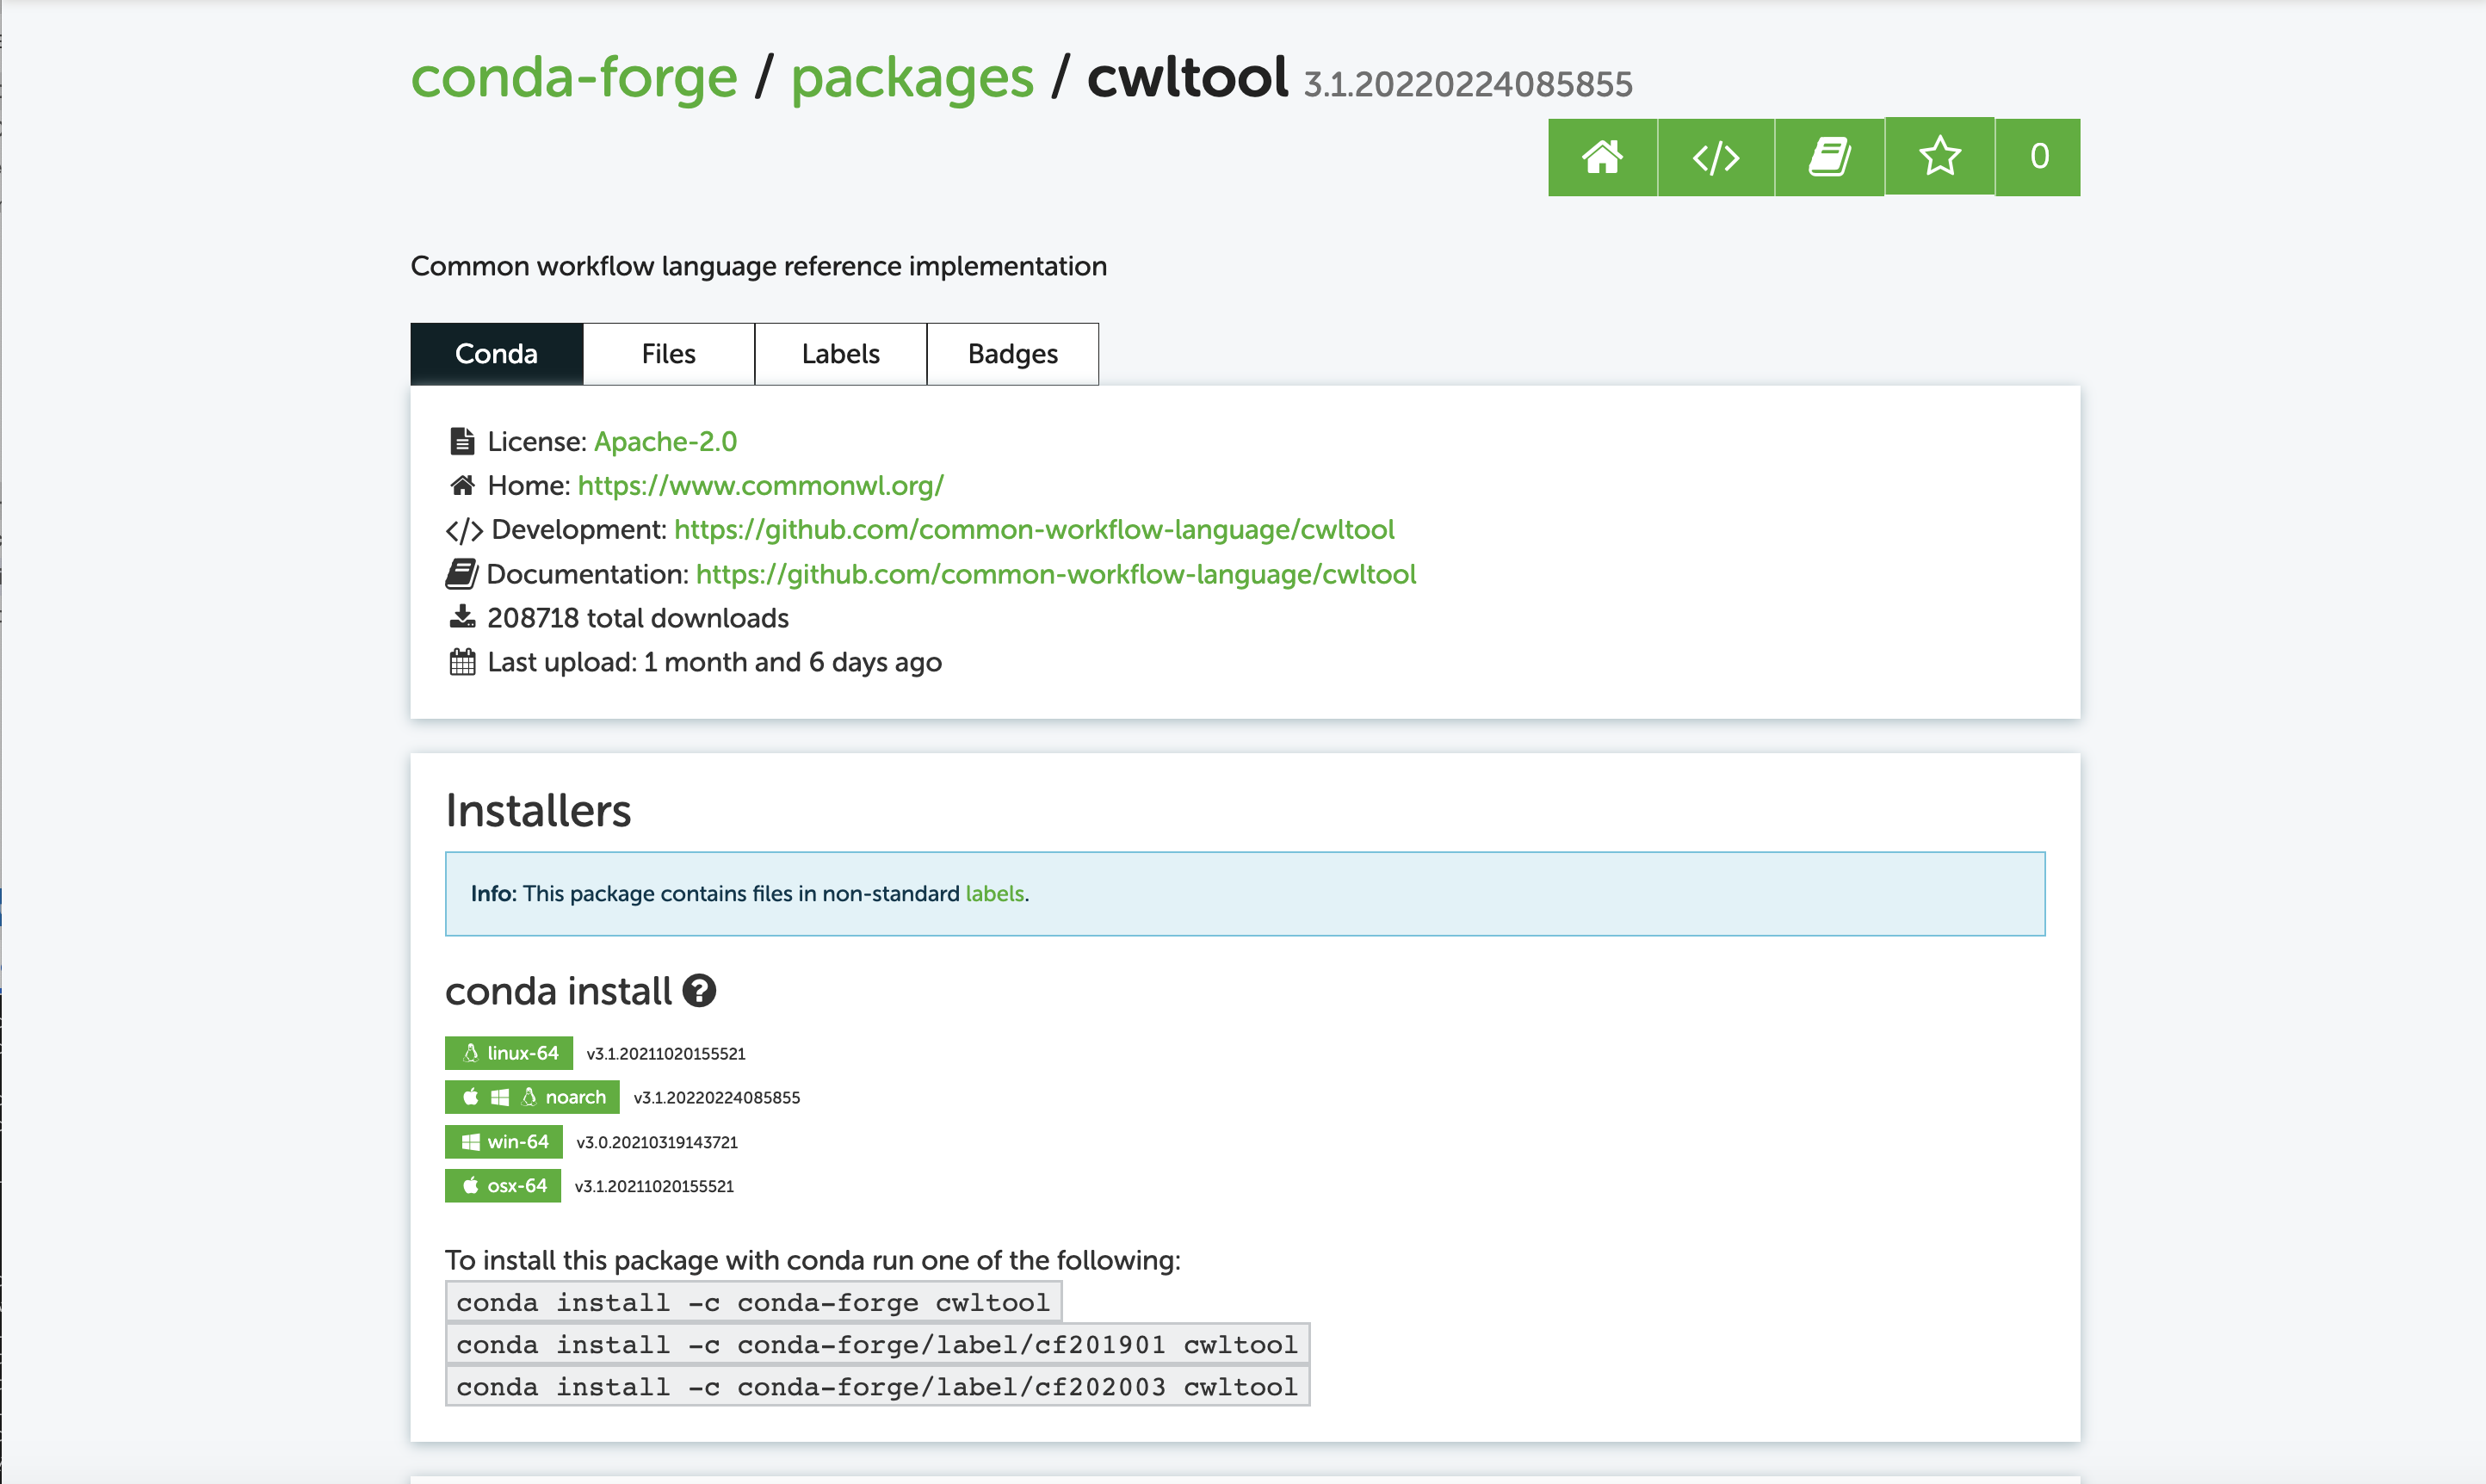
To run the pipeline:
conda install -c conda-forge cwltool -y
We verify the installation with
which cwltool
Should tell us it is in the eos environment binary or executable subdirectory, bin, in my case that is here /home/adeslat/miniconda3/envs/eos/bin/cwltool
Executing with cwltool
Before we can execute, we need to let the tool know where the files are -- they are in fact on Zenodo
wget https://zenodo.org/record/7025773/files/test.20k_reads_1.fastq.gz
wget https://zenodo.org/record/7025773/files/test.20k_reads_2.fastq.gz
And now we can execute, we do not need to tell the tool where the containers are because they are specified in the script.
As before we can run the tools separately, before running them together.
First we test out fastqc
cwltool cwl_tools/fastqc.cwl --input_reads test.20k_reads_1.fastq.gz --input_reads test.20k_reads_2.fastq.gz
As we watch, what is happening is the first thing is the docker image is pulled locally.
If successful, the final line will read
INFO Final process status is success
We test out multiqc which uses the output of fastqc as its input.
In this way, we are following the Elements of Style rules of testing in parts, before testing both together. We are testing the two different cwltool scripts independently.
Let's proceed. Note that for executing the multiqc script, we are not providing as input the two fastq.gz files as we did to the fastqc.cwl script, but rather the output of this previous step is the input to multiqc, so we provide the results.
Before proceeding, lets inspect the results subdirectory.
Typing the command line command ls -l which lists in long format as we learned from Explain Shell
ls -l
We see that yes, the command was successful and we have the same output we saw from the output of the Nextflow script.
-rw-r--r-- 1 adeslat adeslat 236403 Aug 30 16:46 test.20k_reads_1_fastqc.html
-rw-r--r-- 1 adeslat adeslat 243006 Aug 30 16:46 test.20k_reads_1_fastqc.zip
-rw-r--r-- 1 adeslat adeslat 246410 Aug 30 16:46 test.20k_reads_2_fastqc.html
-rw-r--r-- 1 adeslat adeslat 263730 Aug 30 16:46 test.20k_reads_2_fastqc.zip
You can look at the html formatted file in the Google shell editor window by right-clicking and selecting open with preview
Now lets run multiqc
cwltool cwl_tools/multiqc.cwl --fastqc_results results
If we look in the directory we now see the output from the multiqc run.
We can inspect the output file in the same manner we inspected the fastqc output.
Navigate to the appropriate directory in the Cloud Editor window, right click on the file report.multiqc.html and select preview and review the output, which is the aggregated report of the quality of both of the fastq files.
recap
We saw how to:
- install cwltool
- run and test fastqc and multiqc separately using the CWL language but calling the same exact docker image as we did with the Nextflow language.
Stitching together the two processes into a single workflow
CWL does not use channels, but can read the output files from the first process as input to the second process, thereby permitting the stitching together of processes into a single workflow. When we go to the CAVATICA platform, we will see how we can do this within the visual editor.
These steps help us to test the processes separately before putting them together into a single workflow, adhering to our Elements of Style approach!
Below is the full cwl script for a workflow with the two steps fastqc followed by multiqc.
The cwl file is in the directory and is called fastqc_multiqc_wf.cwl. Naming it with the _wf just helps us as humans to see that it is a workflow.
Inspect the contents of this file, either in the editor or with the less command.
cwlVersion: v1.0
class: Workflow
id: fastqc_mutliqc_wf
requirements:
  - class: MultipleInputFeatureRequirement
  - class: InlineJavascriptRequirement

inputs:
  input_reads: { type: 'File[]', doc: "Input fastq files" }
  fastqc_outdir: { type: 'string?', default: "results" }
  noextract: { type: 'boolean?', default: true, doc: "FastQC flag" }
  flat: { type: 'boolean?', default: true, doc: "MultiQC flag to use only static images" }
  filename: { type: 'string?', default: "report.multiqc", doc: "MultiQC output files prefix" }
  cores: { type: 'int?', default: 2 }
  ram: { type: 'int?', default: 2 }

outputs:
  fastqc_results: { type: Directory, outputSource: run_fastqc/fastqc_results }
  multiqc_zip: { type: File, outputSource: run_multiqc/multiqc_zip }
  multiqc_html: { type: File, outputSource: run_multiqc/multiqc_html }

steps:
  fastqc:
    run: cwl_tools/fastqc.cwl
    in:
      input_reads: input_reads
      outdir: fastqc_outdir
      noextract: noextract
      cores: cores
      ram: ram
    out: [fastqc_results]
  multiqc:
    run: cwl_tools/multiqc.cwl
    in:
      fastqc_results: [fastqc/fastqc_results]
      flat: flat
      filename: filename
      cores: cores
      ram: ram
    out: [multiqc_zip, multiqc_html]
The call to execute the combined workflow is then as follows:
cwltool fastqc_multiqc_wf.cwl --input_reads test.20k_reads_1.fastq.gz --input_reads test.20k_reads_2.fastq.gz
The steps: statement specifies which script to run. It is the exact script we have previously tested and run, cwl_tools/fastqc.cwl followed by cwl_tools/multiqc.cwl. To call this combined workflow, we call it with the input we gave the first process, cwl_tools/fastqc.cwl. We do not need to specify the input to the second process, as it requires nothing more than the output of the first workflow, cwl_tools/fastqc.cwl.
But lets walk through some of the important steps and differences.
Breaking down the CWL Script.
One can see that there are two steps fastqc and multiqc.
The steps are easily stated because the tools are further expanded in each of the separate tool definitions.
steps: fastqc
run:
The first statement in this section contains the key word run: after this statement is the redirection to the subdirectory and full name of the already tested tool cwl_tools/fastqc.cwl.
in:
The next statement in: outlines where the input data files are coming from - and additional details.
input_reads:
   input_reads: input_reads
````
redirects the machine and the reader to the default parameter definitions carried out at the beginning of the file.

Going back to the top of the file we find

```bash
inputs:
  input_reads: { type: 'File[]', doc: "Input fastq files" }
So we see that (and input_reads states the user should specify these files on the command line) which we do in our call. Additionally the type: is File[], indicates that the input accepts the files as an array ([] indicates an array) means that the parameter or variable accepts multiple types, so we would provide as input using the --input_reads test.20k_reads_1.fastq.gz --input_reads test.20k_reads_2.fastq.gz
outdir: fastqc_outdir
the outdir: directive redirects us to fastqc_outdir which again we see defined at the top of the file, just after our input_reads.
inputs:
  input_reads: { type: 'File[]', doc: "Input fastq files" }
  fastqc_outdir: { type: 'string?', default: "results" }
here this does not provide documentation (but could), but tels us that the file type is a string and it provides a default name results which we have used in our use of the file. Theoretically we could specify another name, lets say we wanted to do so, lets call it --fastqc_outdir 2023mar17_results, to test our assumptions.
cwltool fastqc_multiqc_wf.cwl --input_reads test.20k_reads_1.fastq.gz --input_reads test.20k_reads_2.fastq.gz --fastqc_outdir 2023mar17_results
If we are correct, then we will now have a new directory fastqc_outdir, and we do!
~/Kids-First-Elements-of-Style-Workflow-Creation-Maintenance/classes/Building-A-CWL-Script$ ls -l
total 5108
drwxr-xr-x 2 ad376 ad376    4096 Apr  4 17:47 2022mar31_results
drwxr-xr-x 2 ad376 ad376    4096 Mar 31 16:28 cwl_tools
-rw-r--r-- 1 ad376 ad376    1256 Apr  4 16:57 fastqc_multiqc_wf.cwl
-rw-r--r-- 1 ad376 ad376    4496 Mar 31 16:28 README.md
-rw-r--r-- 1 ad376 ad376    5398 Apr  4 17:47 report.multiqc_data.zip
-rw-r--r-- 1 ad376 ad376 1463409 Apr  4 17:47 report.multiqc.html
drwxr-xr-x 2 ad376 ad376    4096 Mar 31 17:12 results
-rw-r--r-- 1 ad376 ad376 1956478 Mar 29 19:09 test.20k_reads_1.fastq.gz
-rw-r--r-- 1 ad376 ad376 1770285 Mar 29 19:09 test.20k_reads_2.fastq.gz
outdir: fastqc_outdir noextract: noextract cores: cores ram: ram
steps: multiqc
Multiqc takes as input the output of the fastqc step.
The function step is called multiqc
And the command to run is specified with the run: cwl_tools/multiqc.cwl.
And the input is specified by the [stepname/out] directive which in our case is:
[fastqc/fastqc_results].
As we see from this workflow snippet:
multiqc:
    run: cwl_tools/multiqc.cwl
    in:
      fastqc_results: [fastqc/fastqc_results]
recap
In this last step, we executed the combined workflow which was done quite simply and executed successfully after debugging the separate steps.
- we saw that we did not need to specify other input than what was required by the first
cwl_tools/fastqc.cwlworkflow, because the second workflow,cwl_tools/multiqc.cwlrequired no additional input. - we executed a workflow with the combined
cwl_tools/fastqc.cwlandcwl_tools/multiqc.cwl. - we broke down the workflow into its pieces and parts and understood how to change some of the default parameters.
- we followed the Elements of Style approach and used the same
Dockerimage that was used in ourNextflowexample.