Creating a Conda Environment
What is conda
Conda is an application that we use to control our environment and manage our package installations.
We will work today within a terminal window and the first thing I like to do is to make a clean environment window. This ensures that all of the assumptions we made about our environment are clear and explicit. Without this you may inadvertantly introduce dependicies that may complicate your building of your container and/or stitching together your workflow.
When we build our container, we begin many of times using the conda environment made by the group that builds conda as a basis. This then does give us the application conda within our environment for our use like docker.
Today we will be using a terminal window within a free resource, Google Shell
We will walk through those steps today with our simple example.
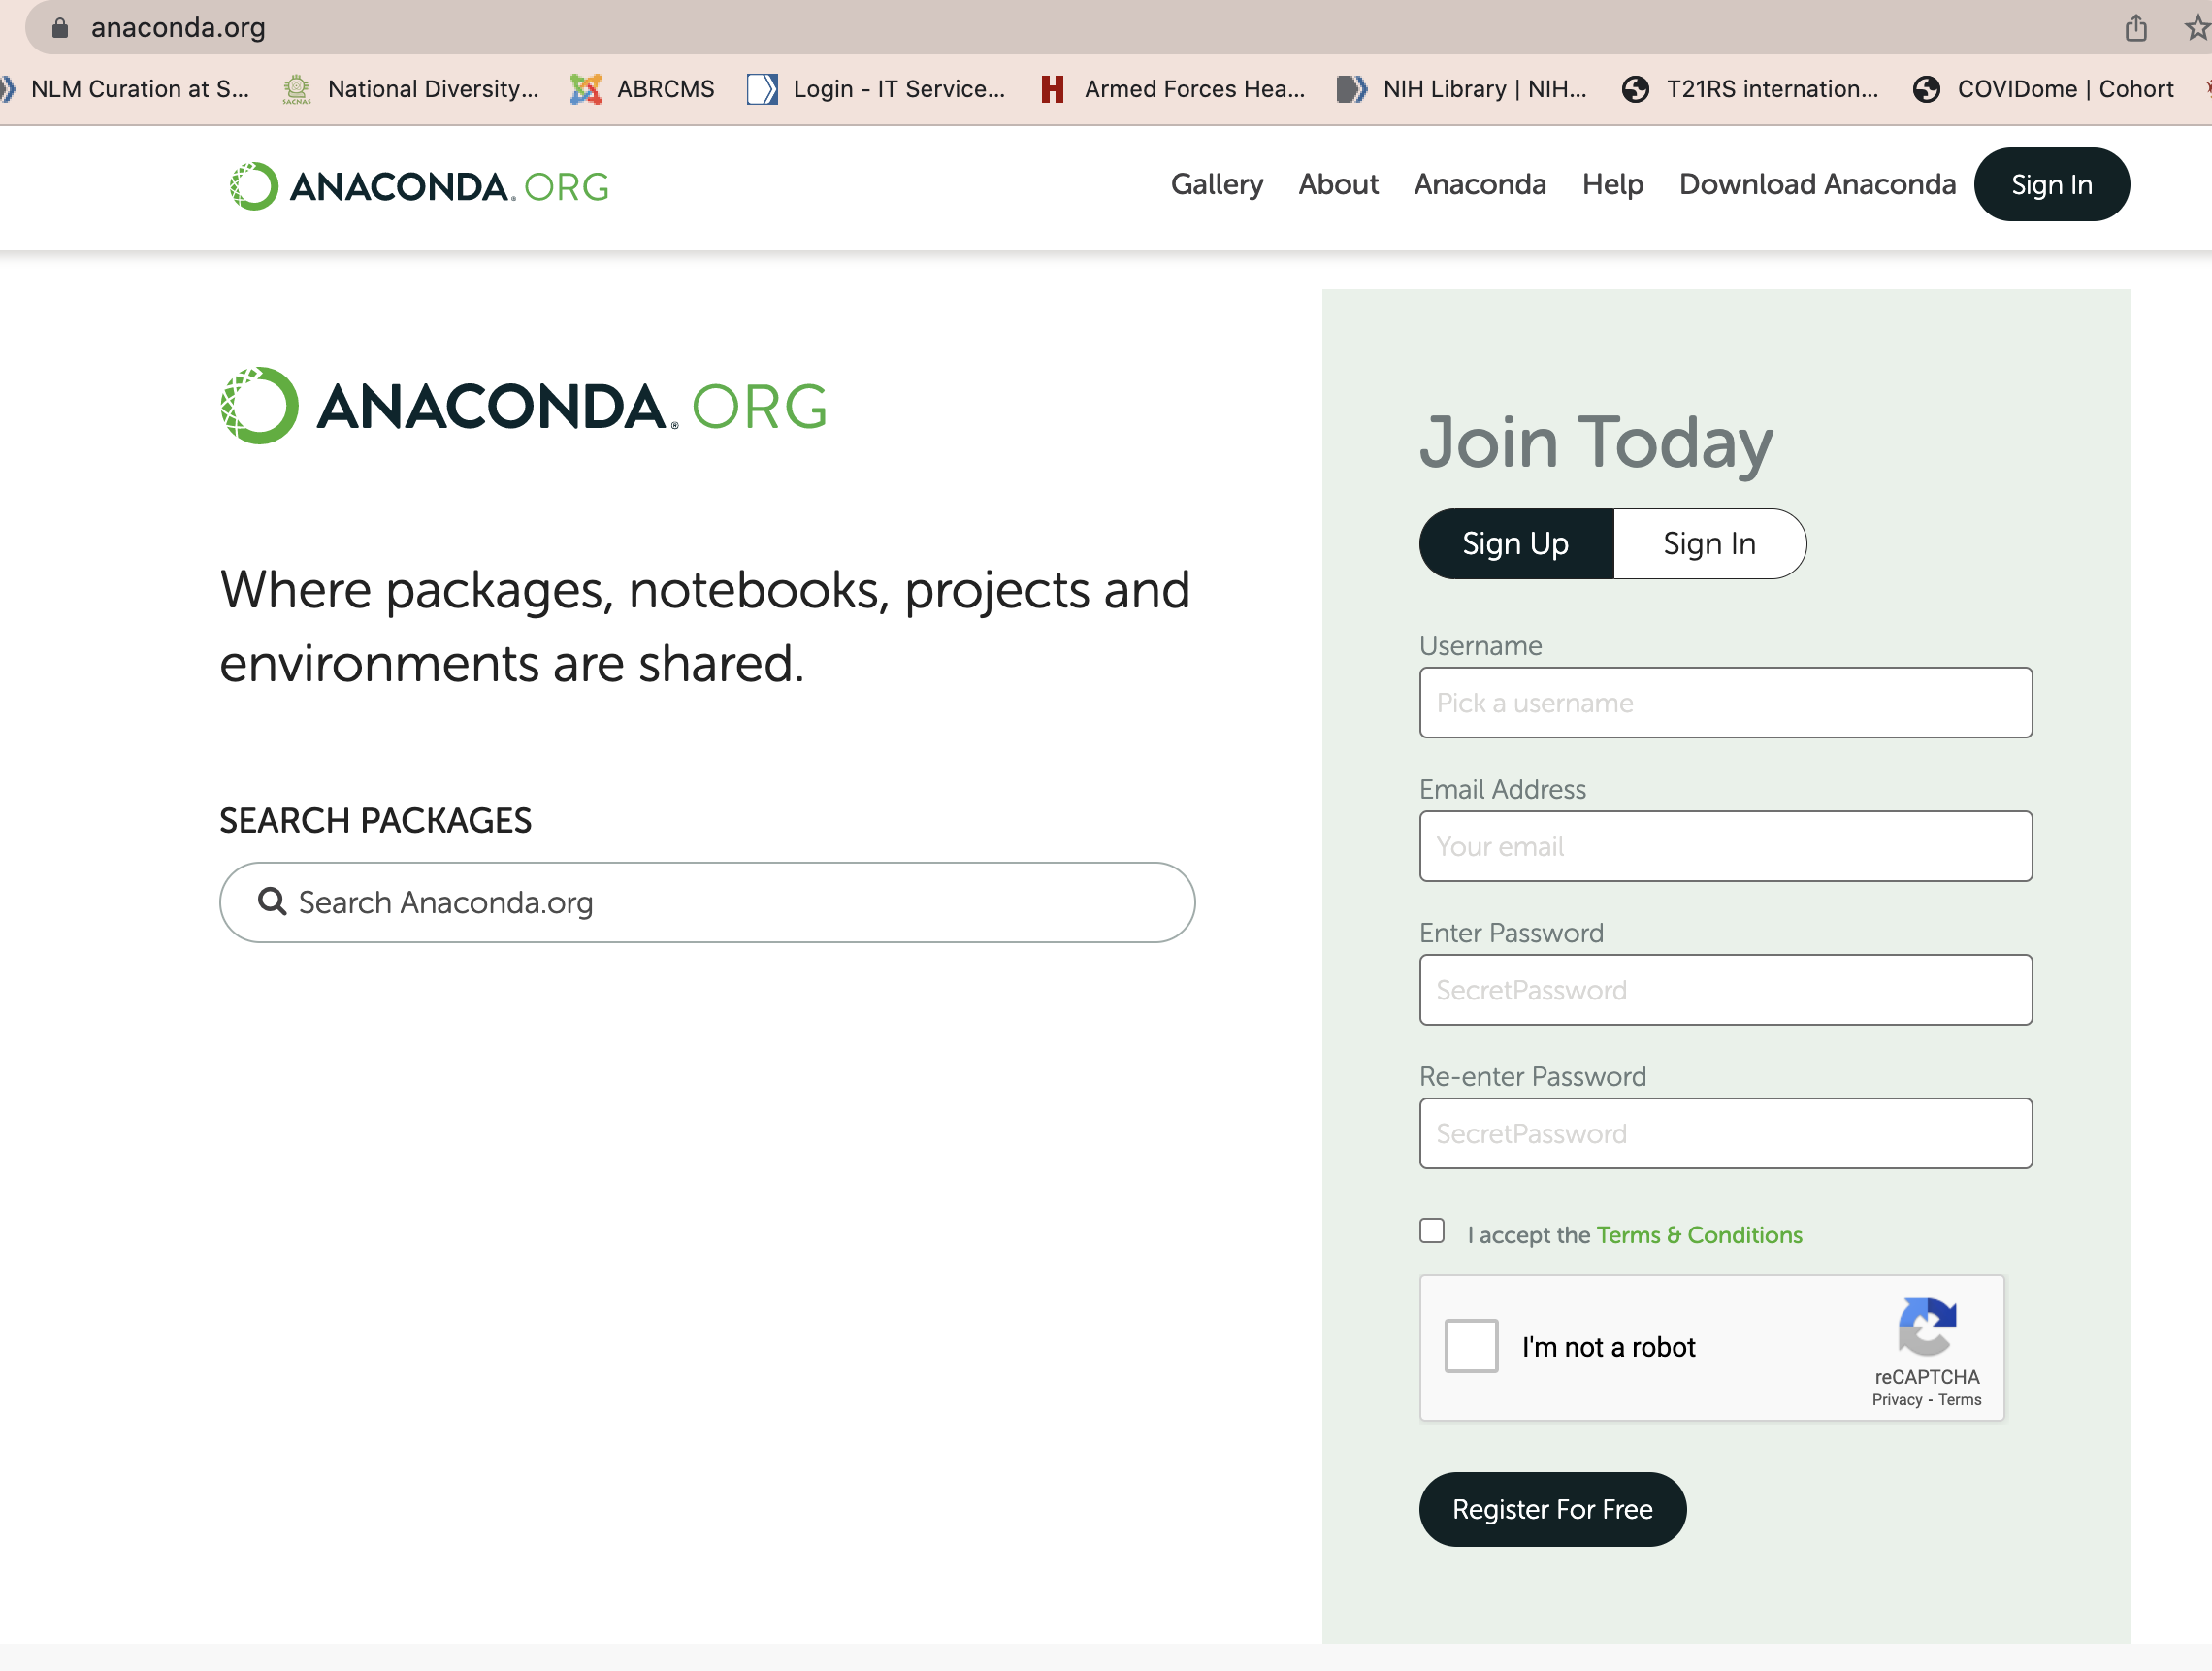
Anaconda Search Packages

I regularly type this in my browser window to find the packages I need to install.
Anaconda environment is growing by leaps and bounds and there are more things that can be done there that I have yet to explore.
In addition to well vetted packages that can be installed, this large community resource provides tutorials, data science instructions as well as whole environments where you can work, explore and learn.
For example, today we already showed you how to run a jupyterlab notebook, but you want to know more. Their site offers instruction on Jupyterlab basics for you to explore.
Logging into Google Shell
For this part of our demo/hands on, we will be using google shell.
Navigate please to Google Shell
It will ask you to login, please follow the prompts and do so.
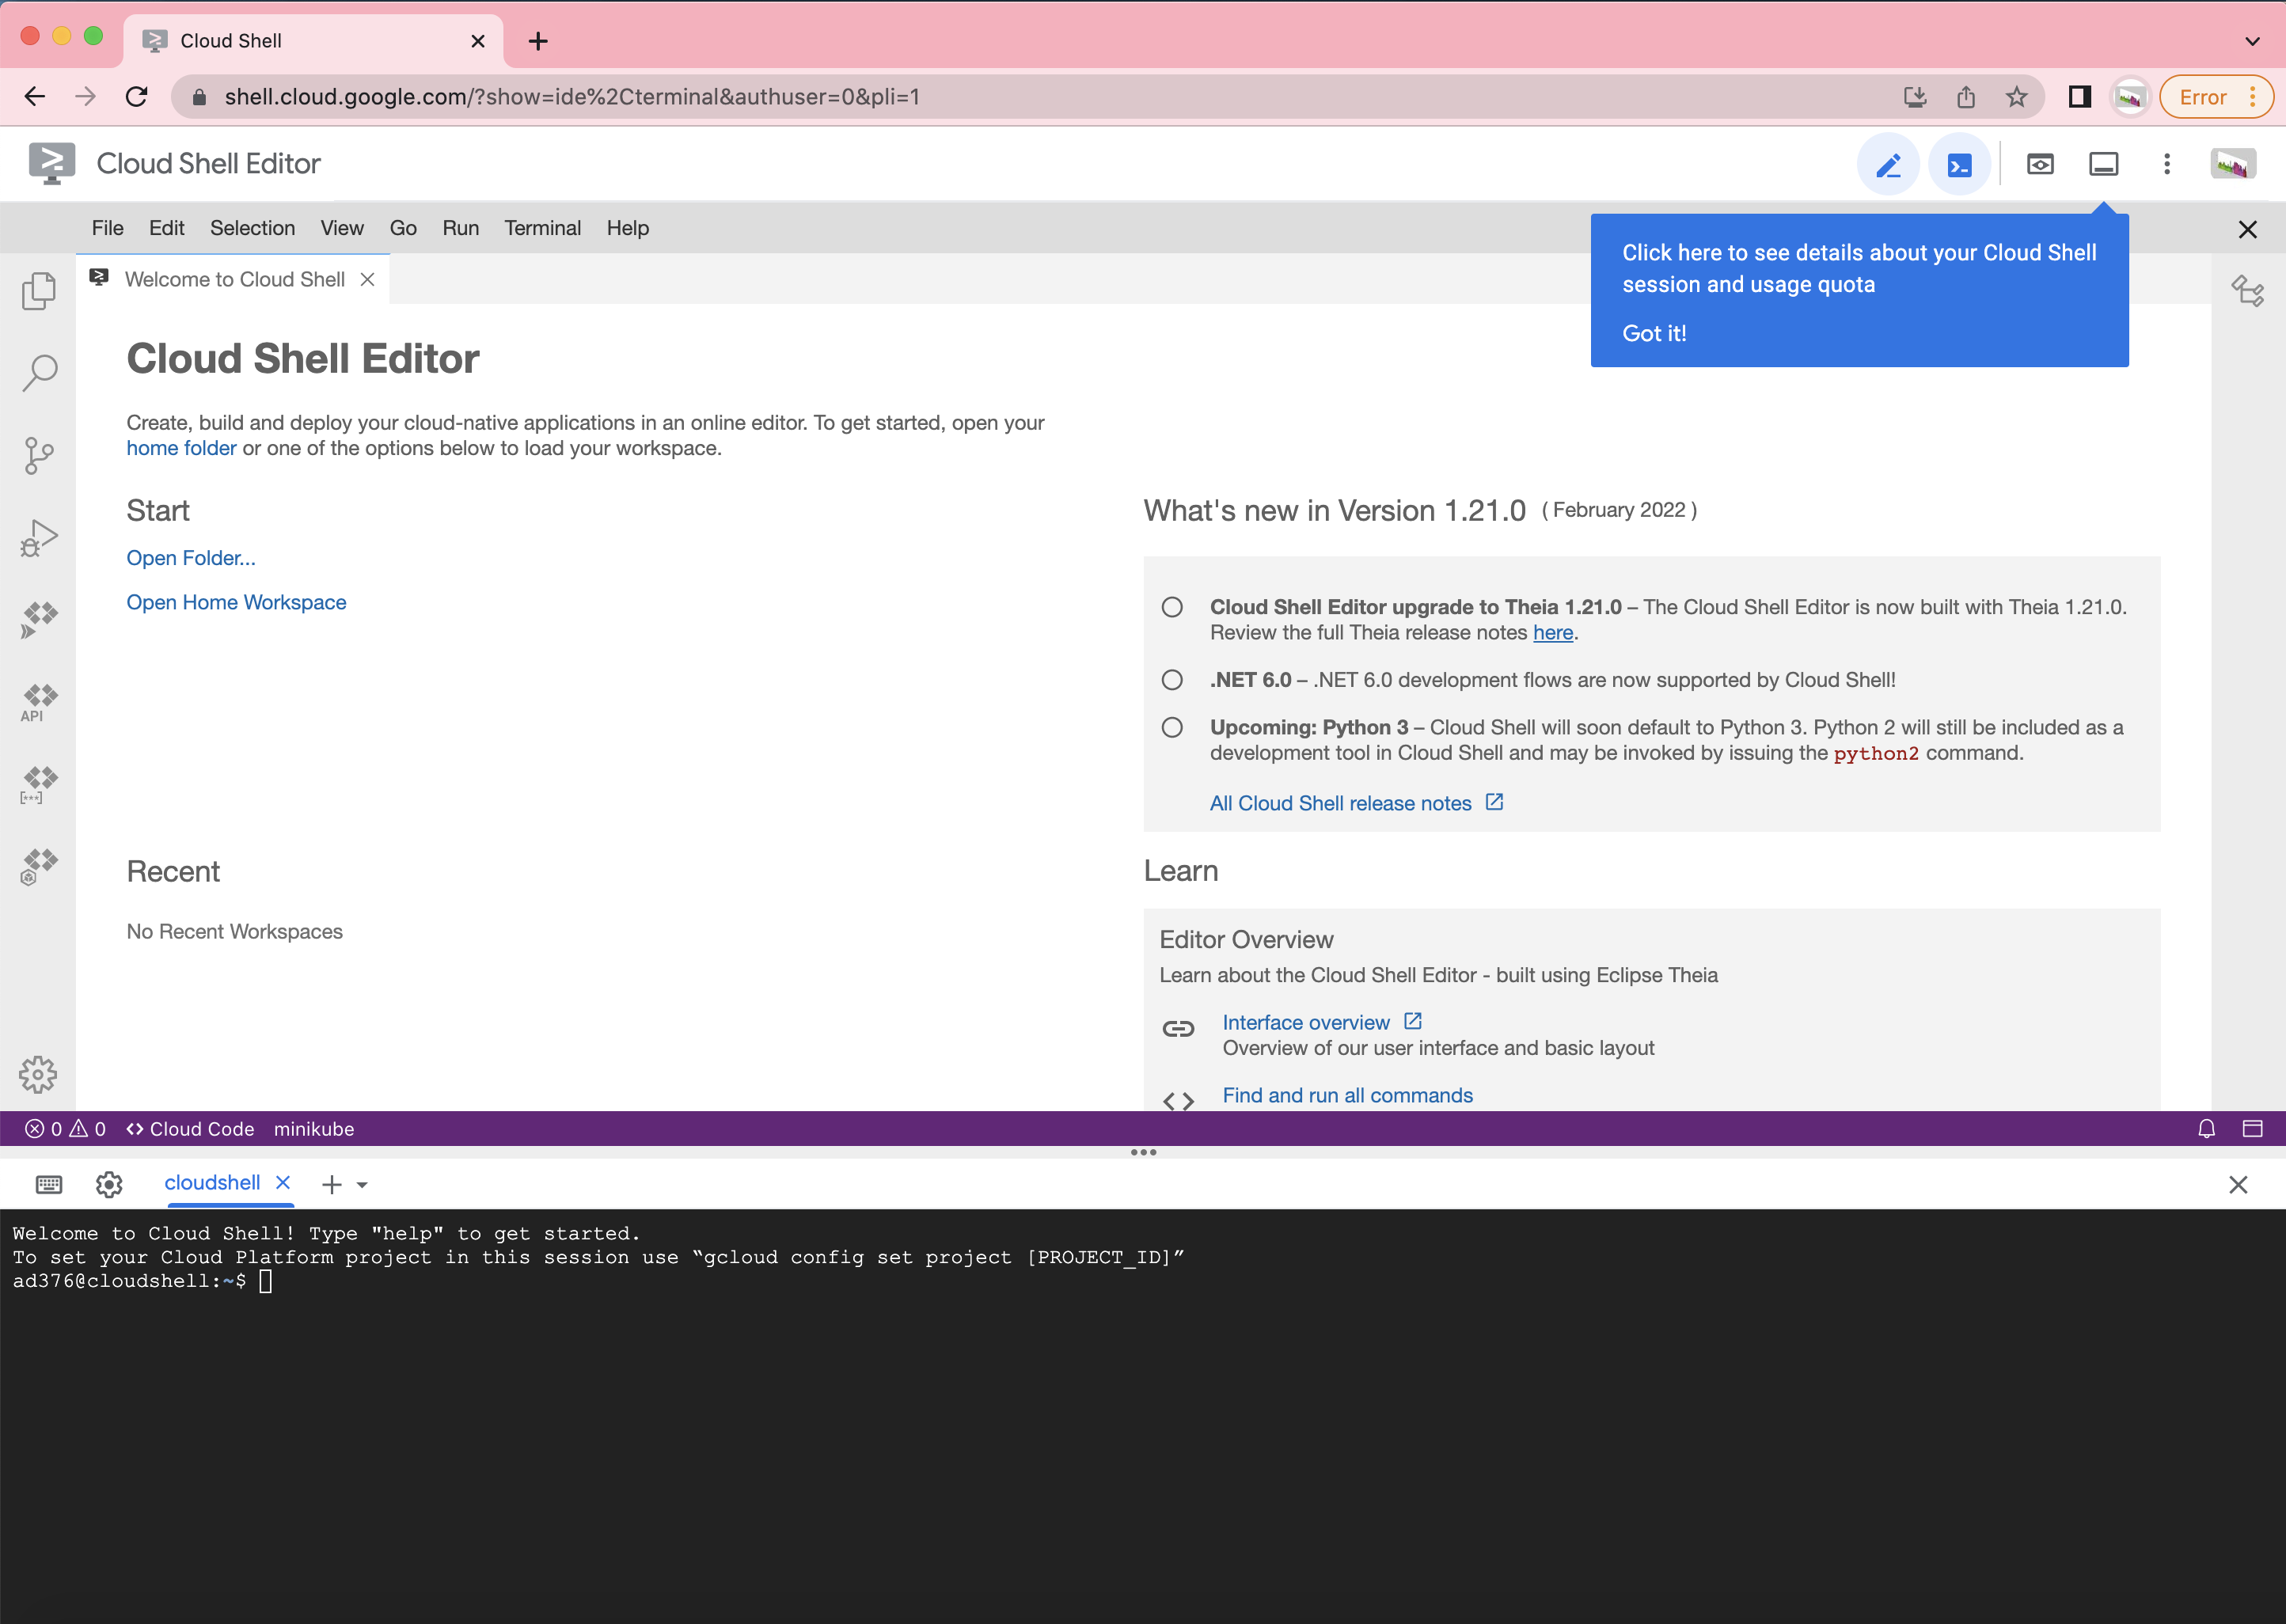
Upon success you will see a window like this:

We have an editor as well as a prompt.
If you have items in your Google Shell, you may need to clean up a bit. There is not much space in this free ephemeral instance.
Cleaning up your space
If you have items in your directory, lets clean up! So we have enough room for the next few lessons. Let's see what is there.
For a shell to list the contents of a directory, you type:
ls -l
You can use Explain Shell to explain the meaning of the command. Explain Shell ls -l.
You can see hidden directories with the following command.
ls -la
Again, look at Explain Shell to explain the meaning of the command. Explain Shell ls -la
Installing conda
We need to get the installation package for conda. We get this package from continuum analytics, we will be installing Miniconda. Miniconda is the minimal installer and all we need.
Navigating to that location you will see details here:
![]()
Which installation do we need? Typing uname -a will tell us the information about our operating system and hardware basics.
uname -a
We see that we are using the Linux operating system, the first day I spun up this shell was on March 16 and we see that it has the architecture x86_64. A handy 64-bit operating system.
Scroll down the window and hover your cursor over the Miniconda Linux 64-bit (sorry it is implicitly that this is the right installation for the x86-64 architecture.
Right click and select copy link address. This gives you the unique resource locator (url) for the installation script we will be downloading onto the machine we are talking to with our google cloud shell window.
![]()
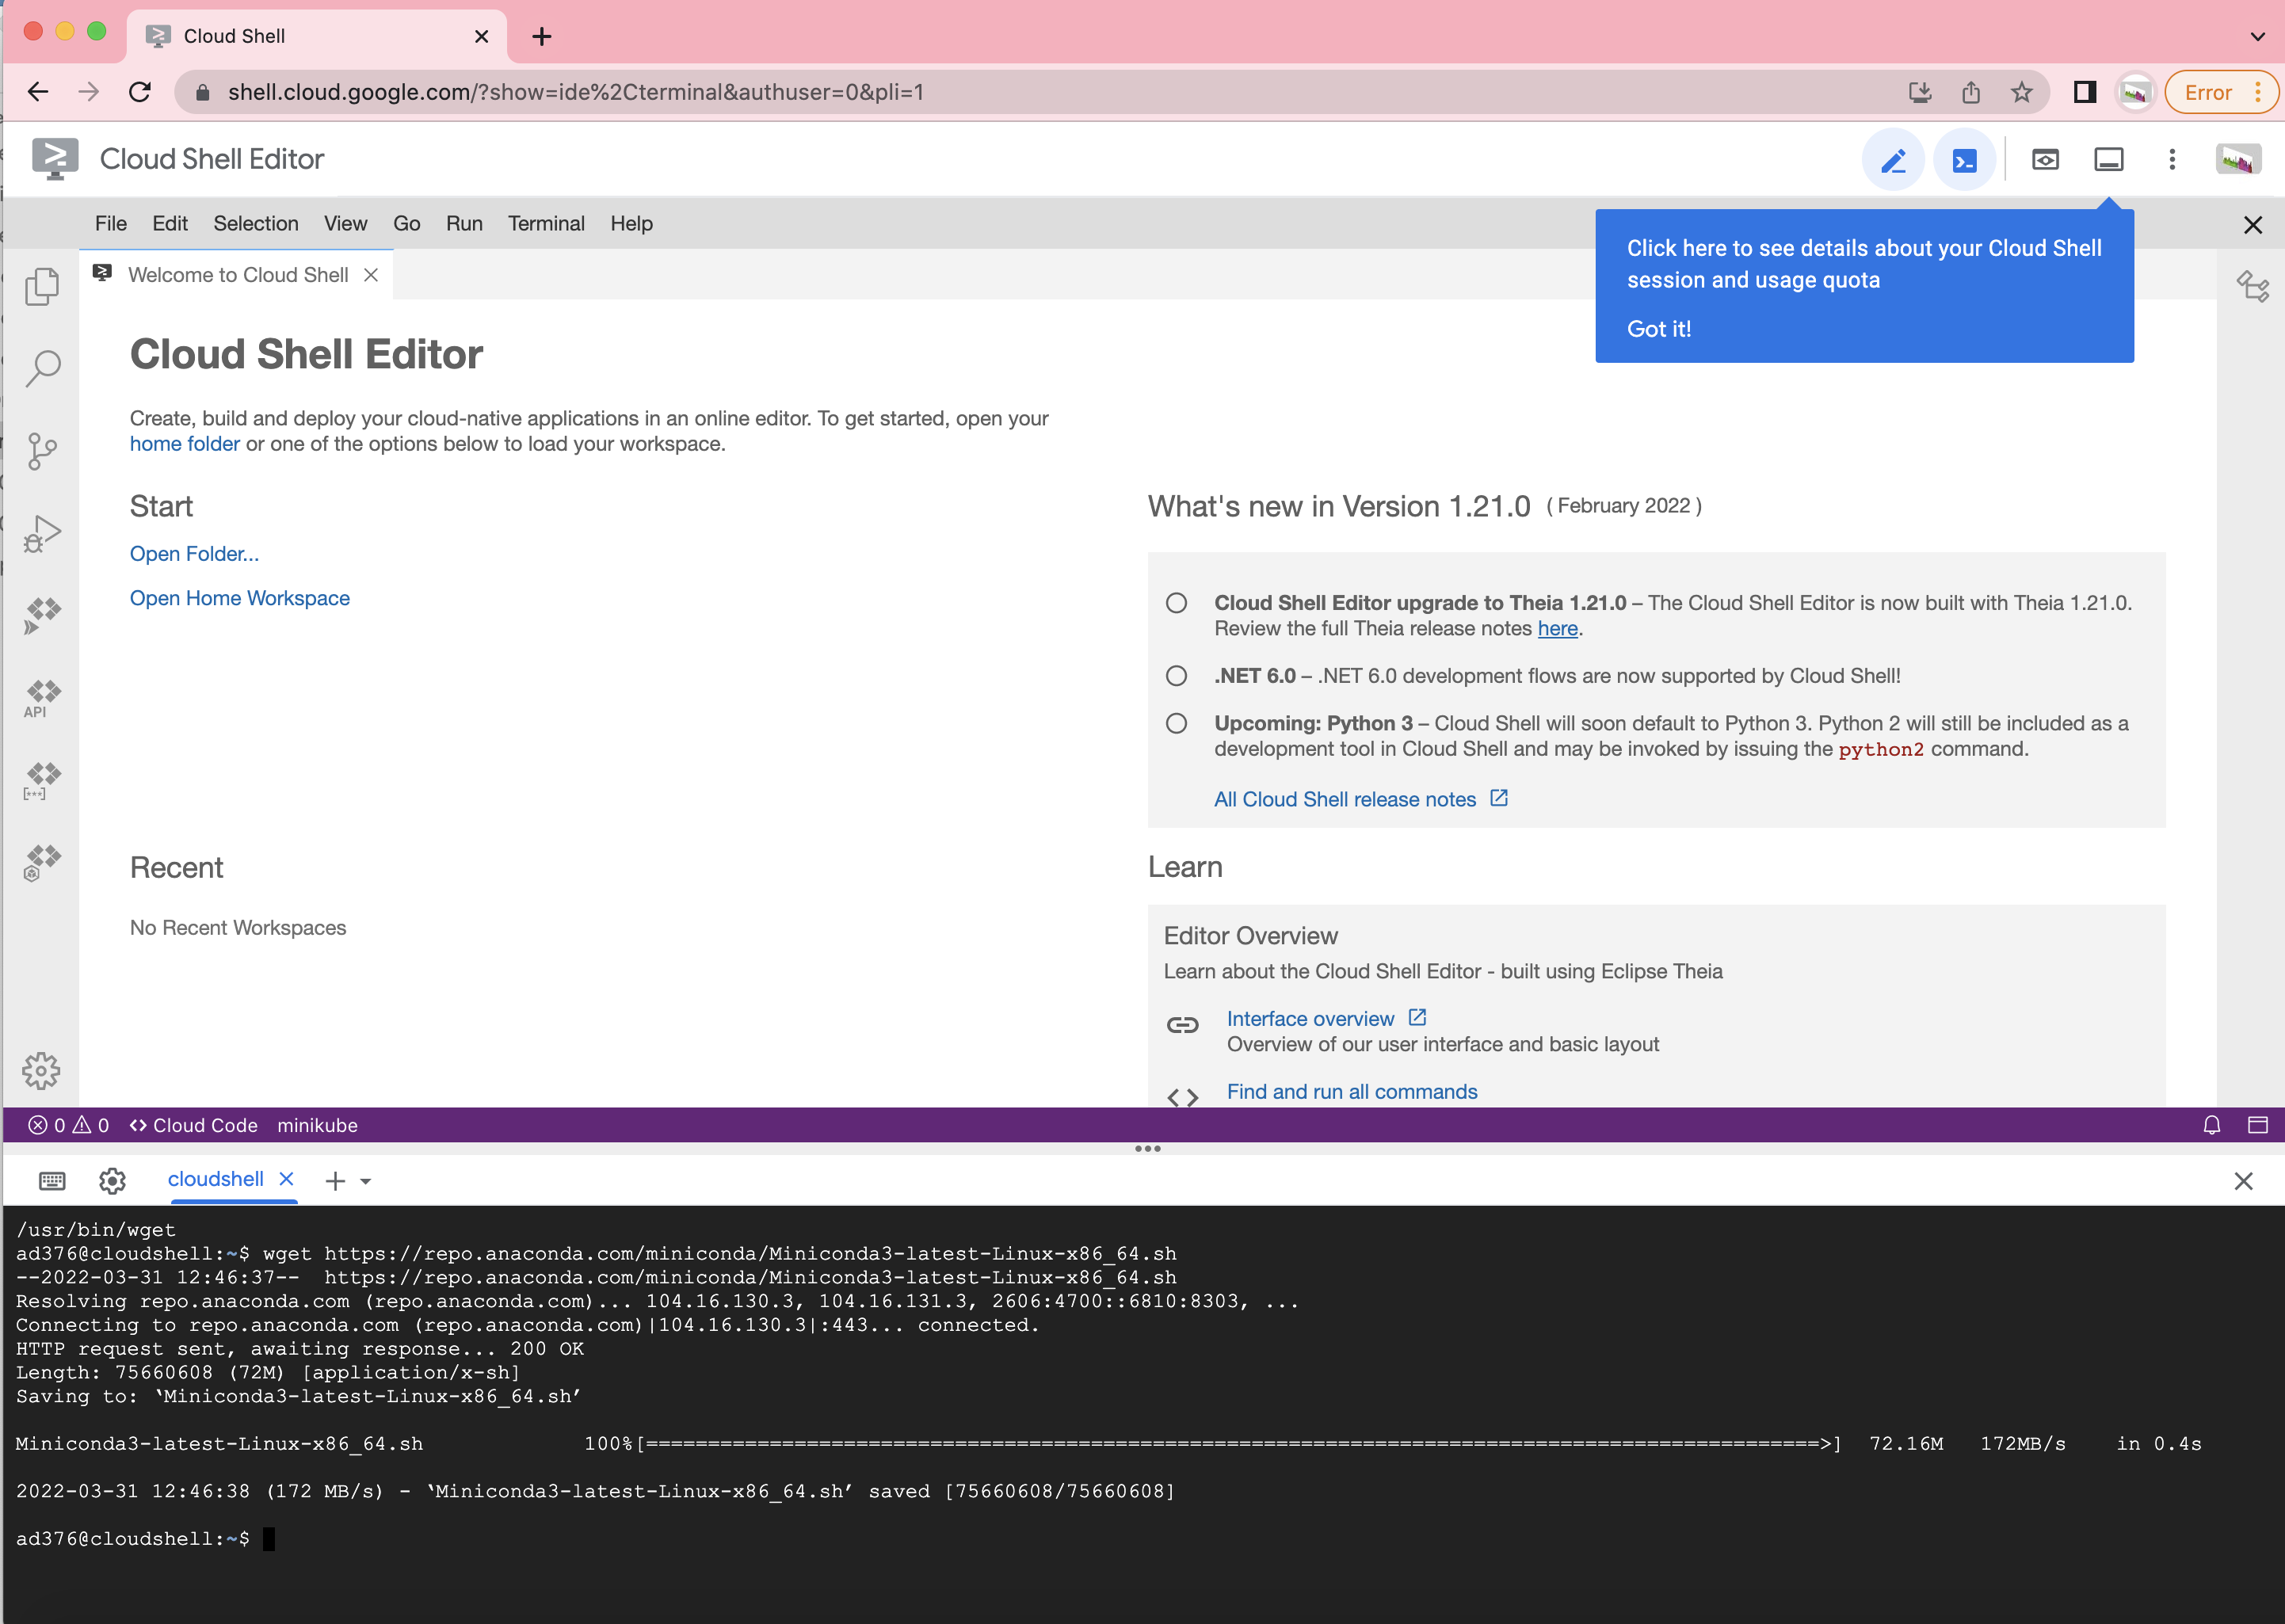
Now we will use the routine wget to copy this installation script. To make sure we can do this, let's make sure that we have the tool available. To do that, we type:
which wget
In my case, it returns the full path /usr/bin/wget. If you do not have wget, we can install it with Anaconda provided packages.
Now to install Miniconda, so that we can use conda to install any and all packages we need we do as follows:
wget https://repo.anaconda.com/miniconda/Miniconda3-latest-Linux-x86_64.sh
If you haven't changed directories, you can see now that this package Miniconda3-latest-Linux-x86_64.sh is now in the top directory. As we learned earlier, we can use the bash shell commnad ls to inspect the contents of our current directory. ls -l provides the full path details of our directory. We check our current working directory with the bash shell comand pwd as we learned earlier.
pwd

For my execution, it returns /home/ad376.
Now running the command ls -l we see the downloaded file Miniconda3-latest-Linux-x86-64.sh.
ls -l
returns:
/home/ad376
ad376@cloudshell:~$ ls -l
total 73892
-rw-r--r-- 1 ad376 ad376 75660608 Feb 15 19:07 Miniconda3-latest-Linux-x86_64.sh
-rw-r--r-- 1 ad376 ad376      913 Mar 31 12:34 README-cloudshell.txt
ad376@cloudshell:~$
To execute this script now and install the conda application, we type:
bash Miniconda3-latest-Linux-x86_64.sh
This will return:
Welcome to Miniconda3 py39_4.11.0

In order to continue the installation process, please review the license
agreement.
Please, press ENTER to continue
>>>
press ENTER to continue and accept the terms and defaults as instructed. I used SPACE to accelerate the passing of the license - when you have time you should read the details of this license as it is interesting. The last question is:
Do you accept the license terms? [yes|no]
[no] >>> yes
It returns now:
Miniconda3 will now be installed into this location:
/home/ad376/miniconda3

  - Press ENTER to confirm the location
  - Press CTRL-C to abort the installation
  - Or specify a different location below

[/home/ad376/miniconda3] >>>
Accept the default location to install.
Next you will be asked
Do you wish the installer to initialize Miniconda3
by running conda init? [yes|no]
[no] >>> yes
Please answer yes to this question.
When finished we can see that the file is now in our execution path is the conda application.
While conda now has been installed, to activate the use of conda we need to reboot our shell environment.
The command exec -l bash will execute this restart of the bash shell.
exec -l bash
Now we can see the result:
ad376@cloudshell:~$ exec -l bash
Welcome to Cloud Shell! Type "help" to get started.
To set your Cloud Platform project in this session use “gcloud config set project [PROJECT_ID]”
(base) ad376@cloudshell:~$
And we can see now we have the conda application.
which conda
returns:
/home/ad376/miniconda3/condabin/conda
Creating a clean environment
Now that we have conda we can create an environment that will keep our workspace clean. We can name it whatever we would like, since this is the Elements of Style course, I choose to name my environment eos for short.
We create an environment as follows:
conda create -n eos -y
You can see now that we now have the option to activate the environment
#
# To activate this environment, use
#
#     $ conda activate eos
#
# To deactivate an active environment, use
#
#     $ conda deactivate
Now that we have created a clean environment, we follow the directions and activate the environment, that is enter this new clean environment.
conda activate eos
We will see next to our name in the google shell, that it should look something like this:
(base) ad376@cloudshell:~$ conda activate eos
(eos) ad376@cloudshell:~$
The (eos) indicating that we are in that environment.
You can list all your environments list all your environments with the following command:
conda env list
Recap
We have learned in this lesson
- We started a
bash shell environmentusing our browser and the shell - We explored the open community-based resources offered through Anaconda
- We used
wgetavailable within the shell and got the installation package necessary to installconda - We installed
condaand - We used numerous command line arguments
- We used
condato create a new clean environment.
We now move on to build Docker images which we will use in a workflow.