Workspace Set-up
Today, we will start either with the JupyterLab Notebook you started yesterday or if you have not already registered and started a JupyterLab Notebook, please go ahead and do so.
For the class, we recommend you use the Chrome Browswer. And as you click through the lesson, open each link in a new tab.
Already had a notebook yesterday
Navigate to CAVATICA and go ahead and log in.
You will land at a Dashboard, on the left you have your projects, and on your right your analyses.
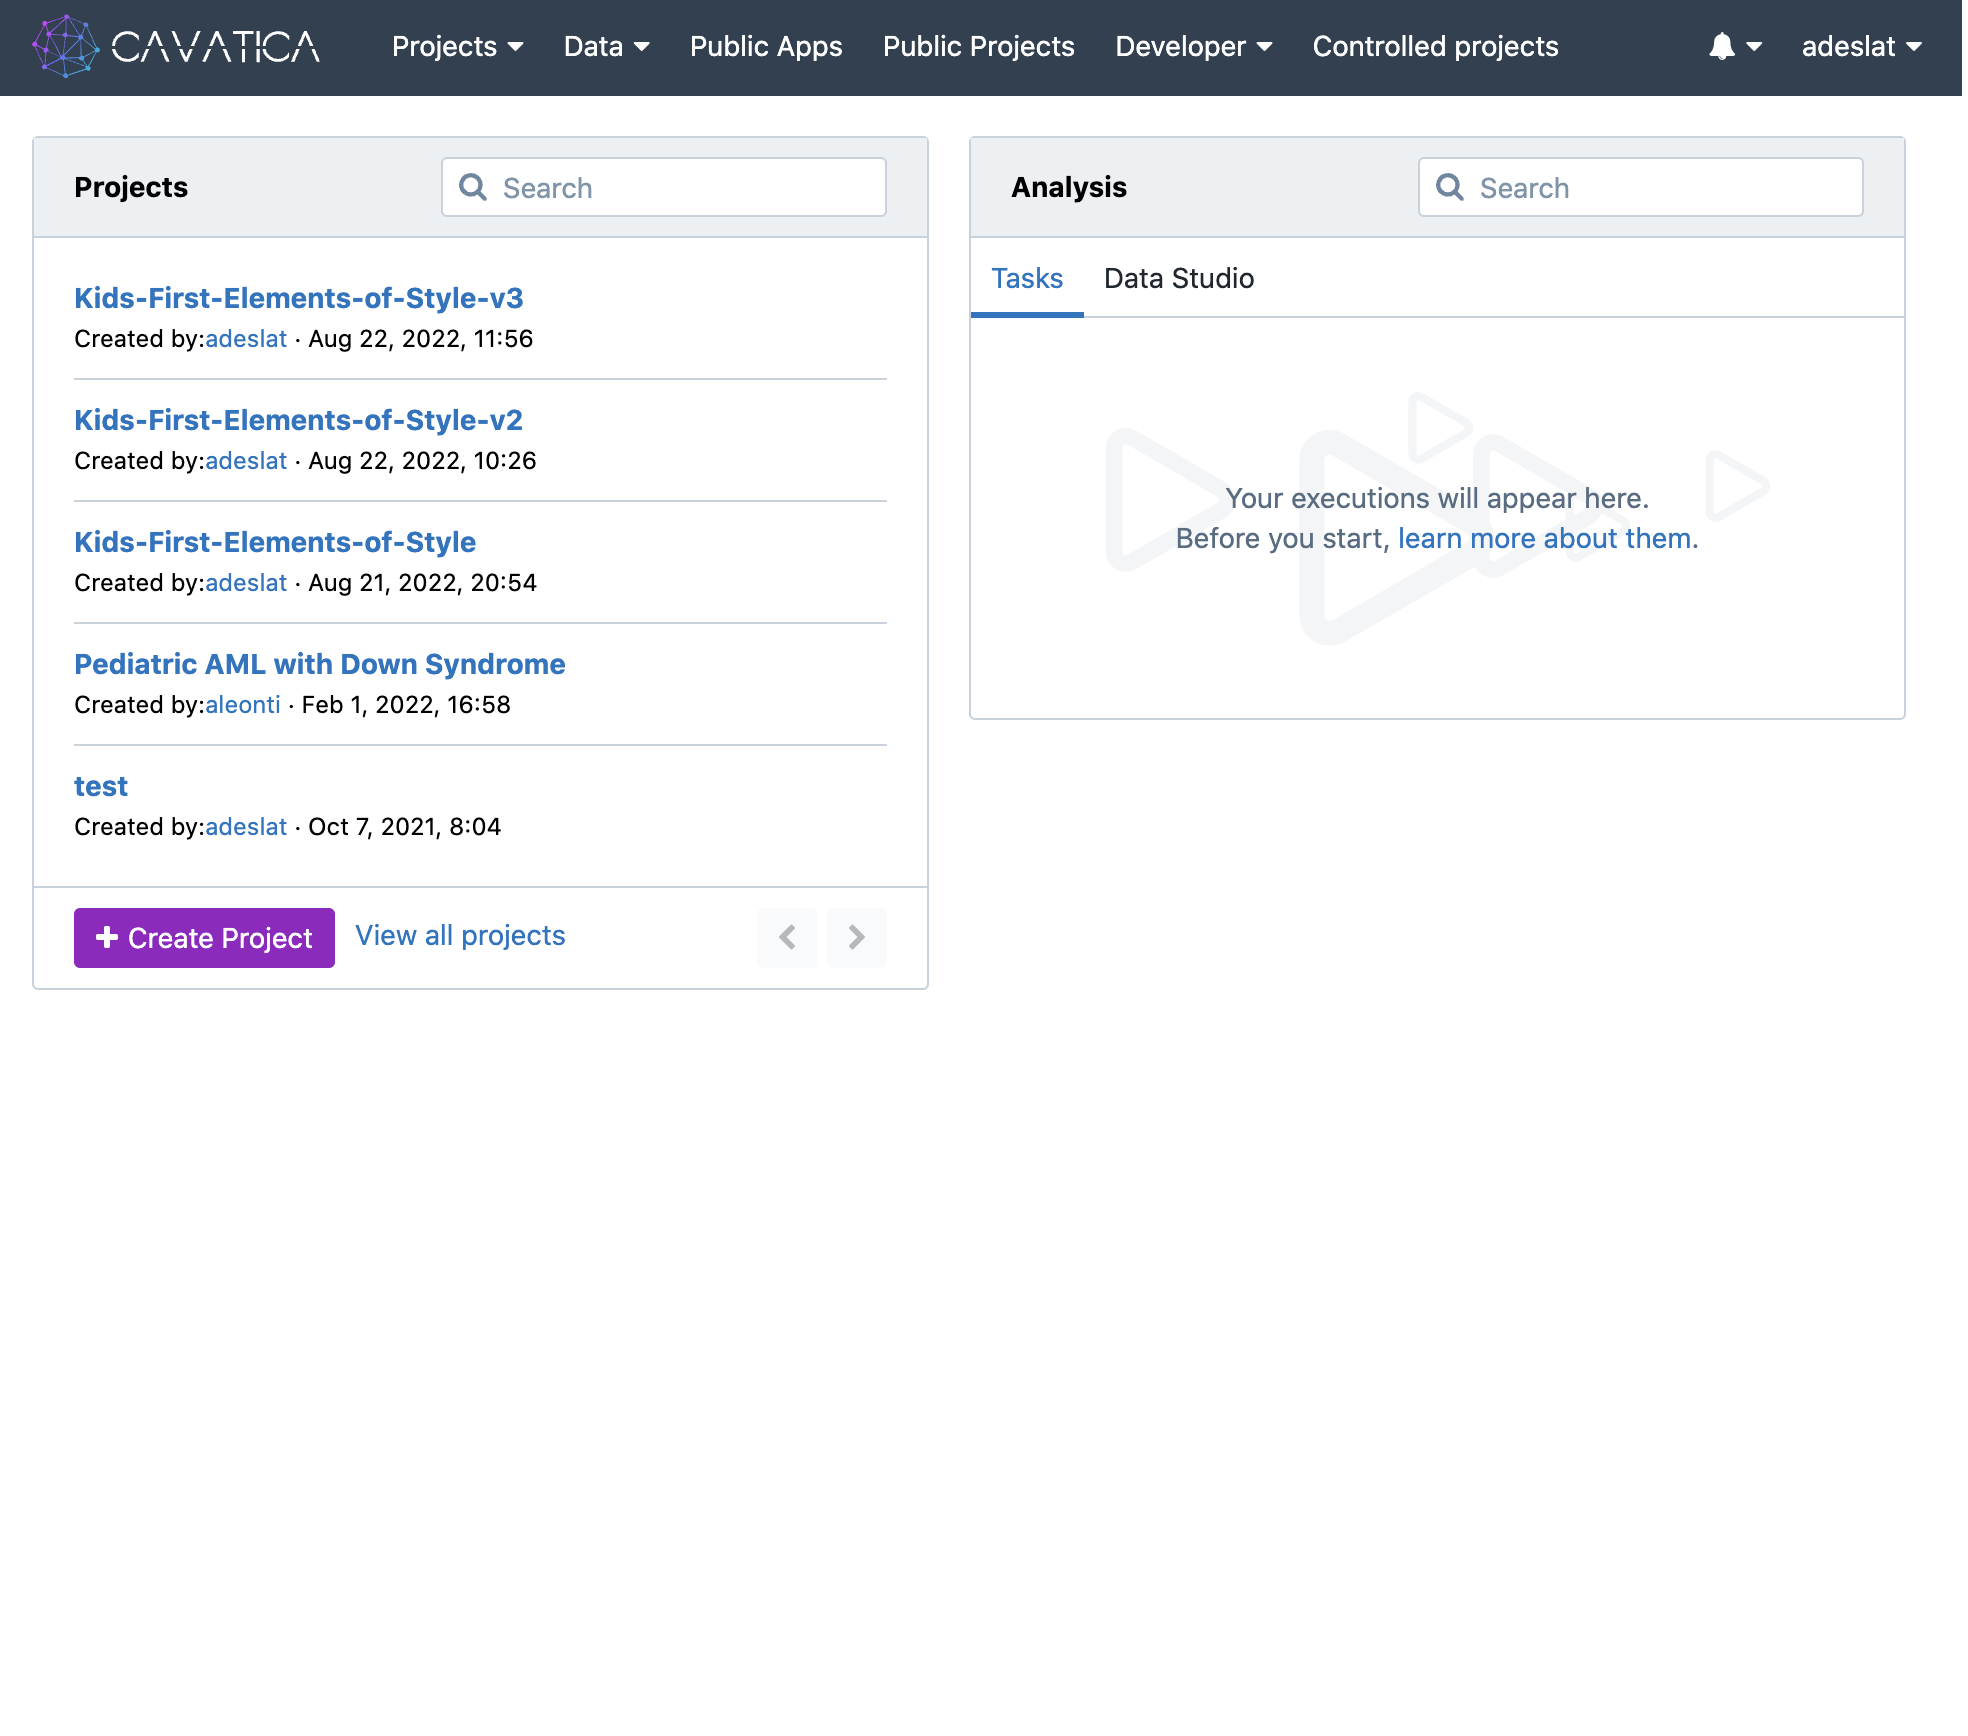
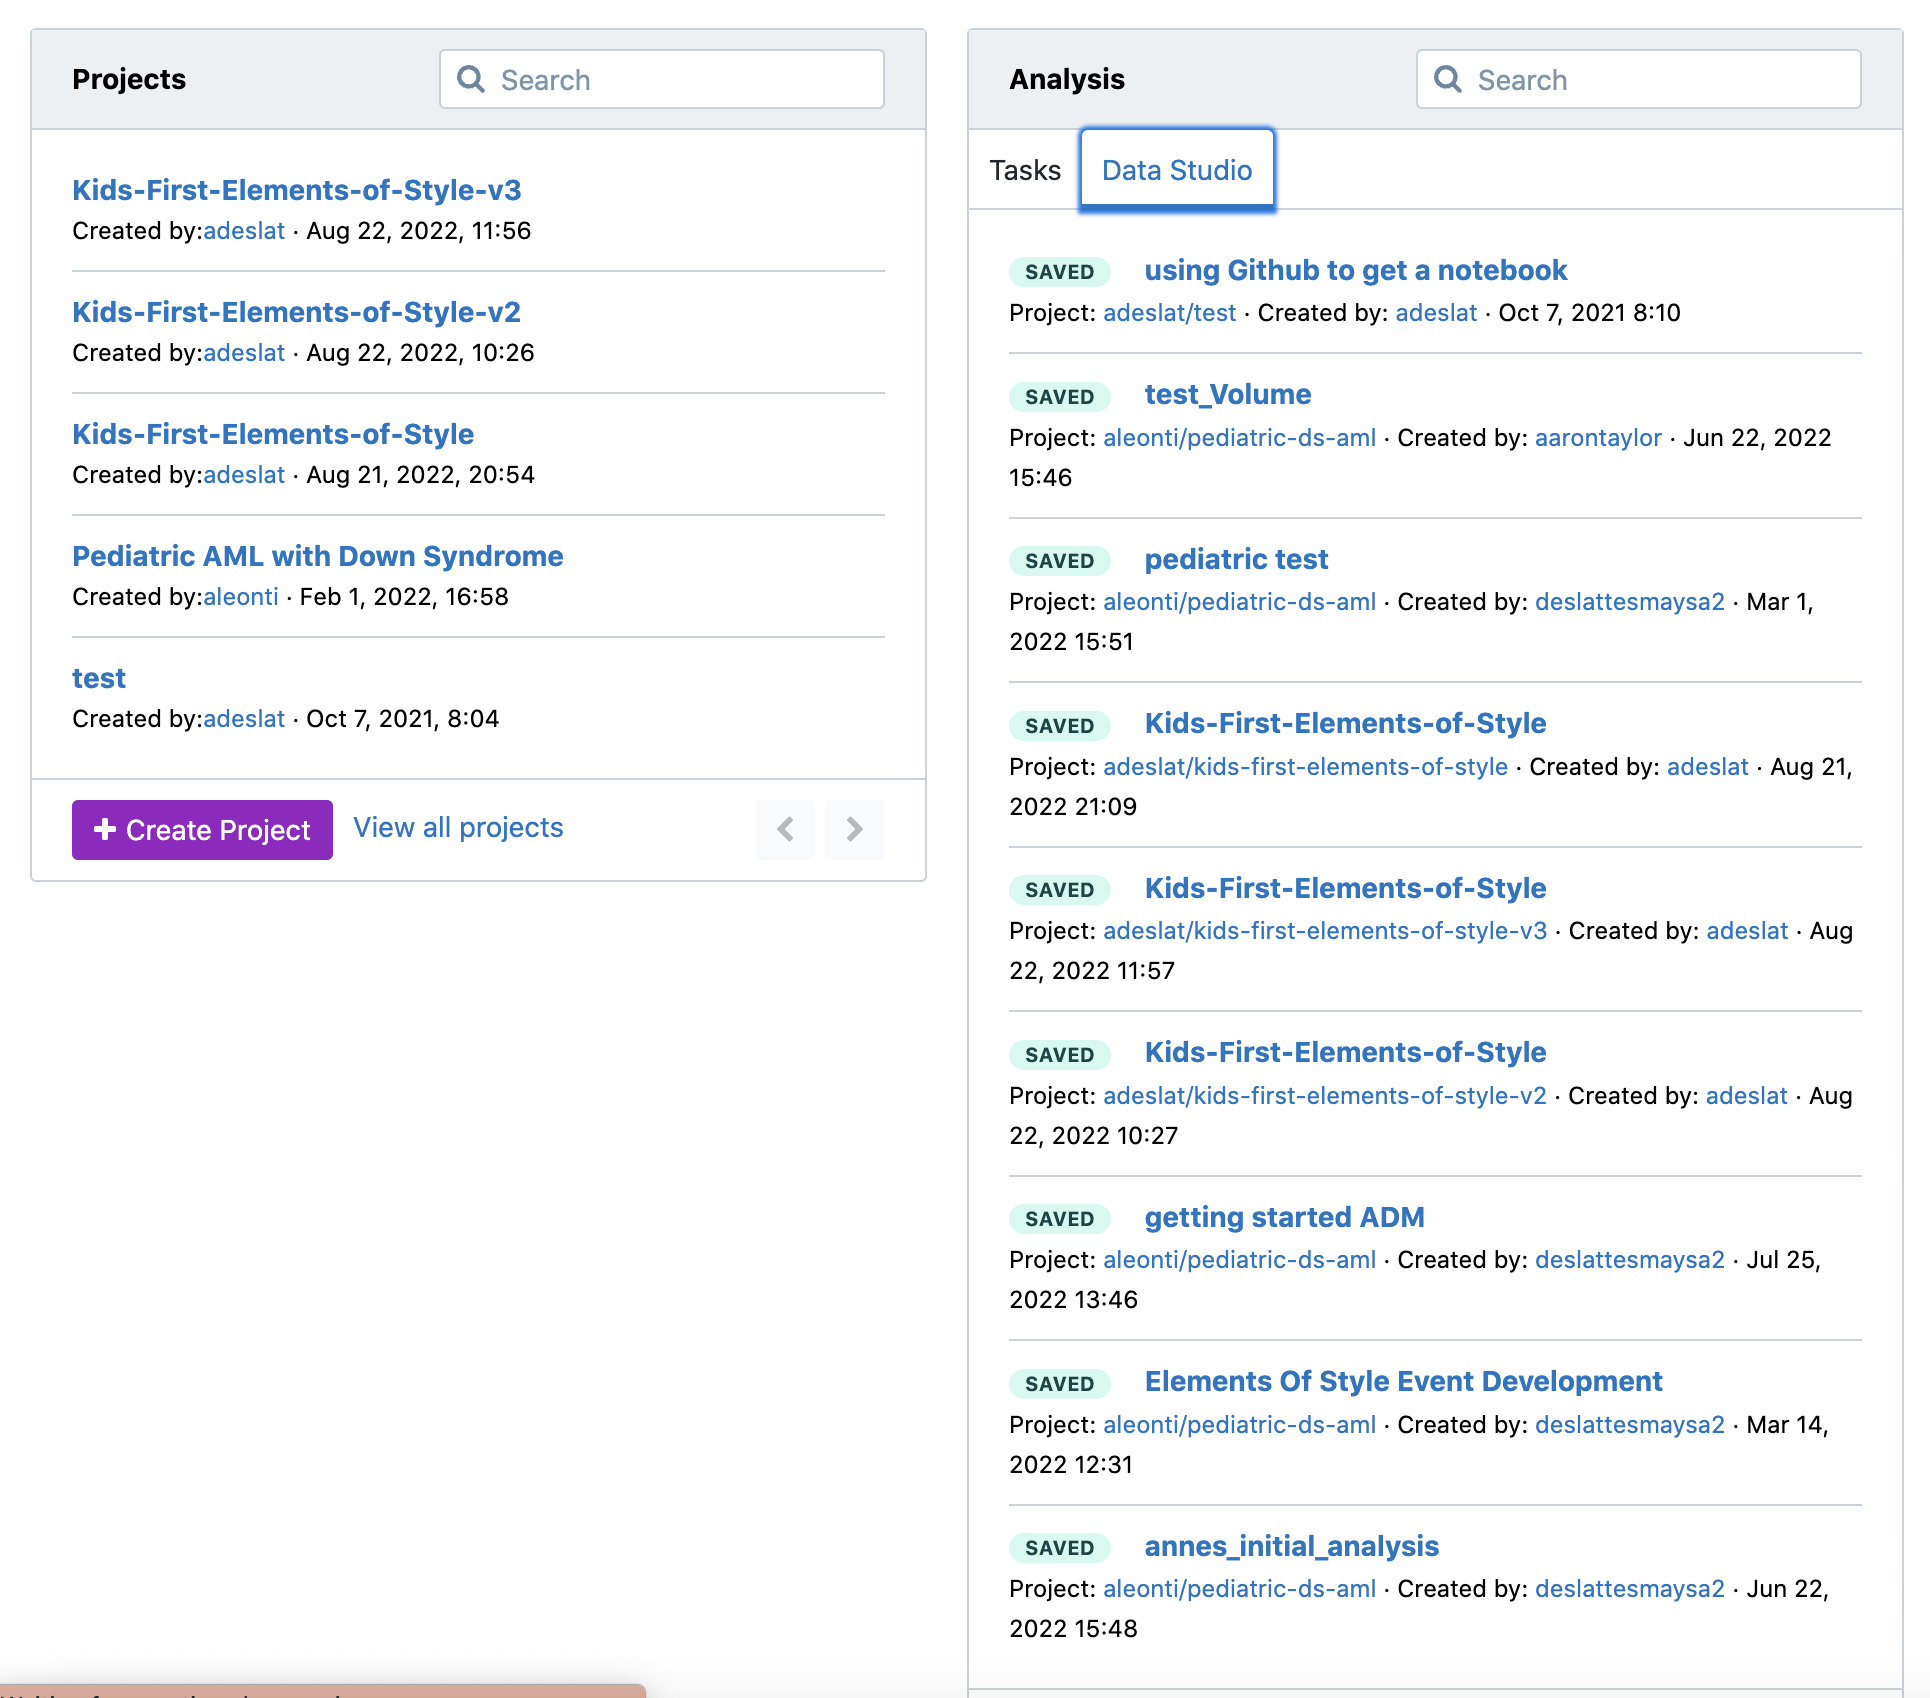
Select Data Studio
You will see all your past analyses. Note that you do not pay for your analyses when they are stopped. You also see documentation regarding the environment you had set up, the cost and the duration spent on the session.
You will also see Files and Settings. You Do pay for storage. The Cloud Cost Overview the Kids First DRC helps you calculate costs.
Files
Lets look at Files.
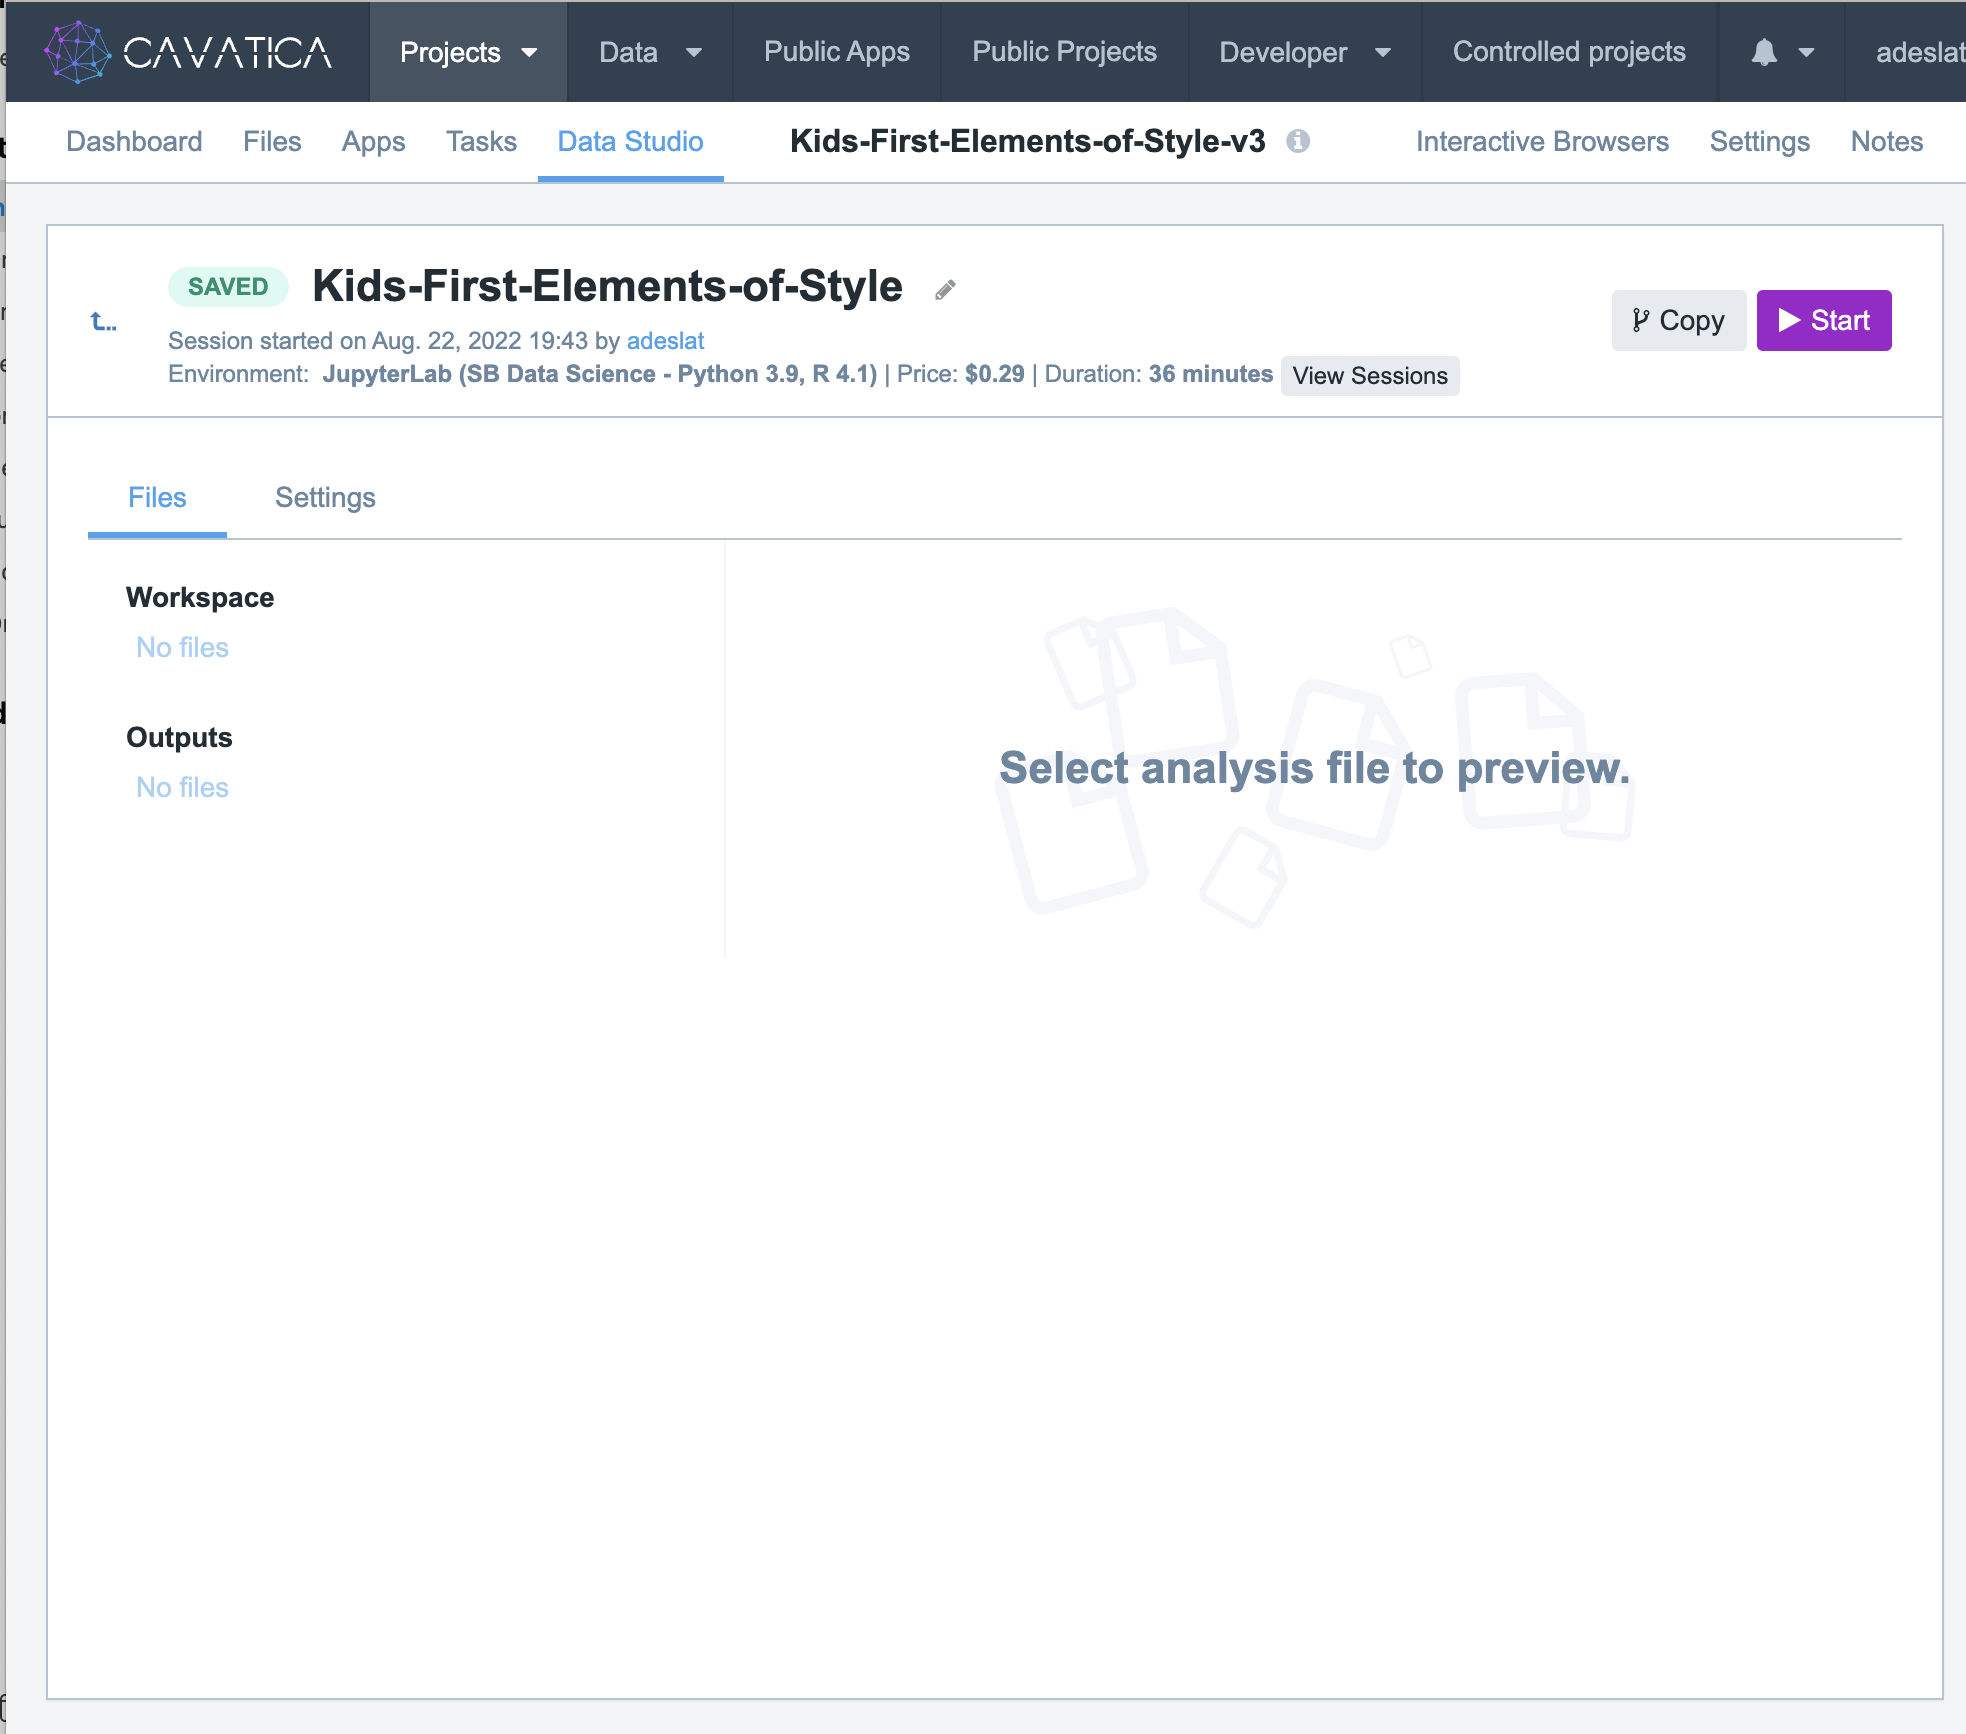
In general, adopting a habit of getting in to do your work, developing your analysis and your workflows in small pieces with small files before you execute over 100s if not 1000s of files, will save you time and money.
Be judicious in what files you need to keep. This is a habit that will save you.
This is why we use GitHub, we deposit our original measurement data in appropriate public storage sites. We use repositories such as Zenodo for Data Object Identifiers and GitHub to track our Notebooks, which are essentially our scientific electronic notebooks, and our workflows.
Settings
Here you have the opportunity to change the size of your machine. If you scroll down, you will see the size and the price of the machine.
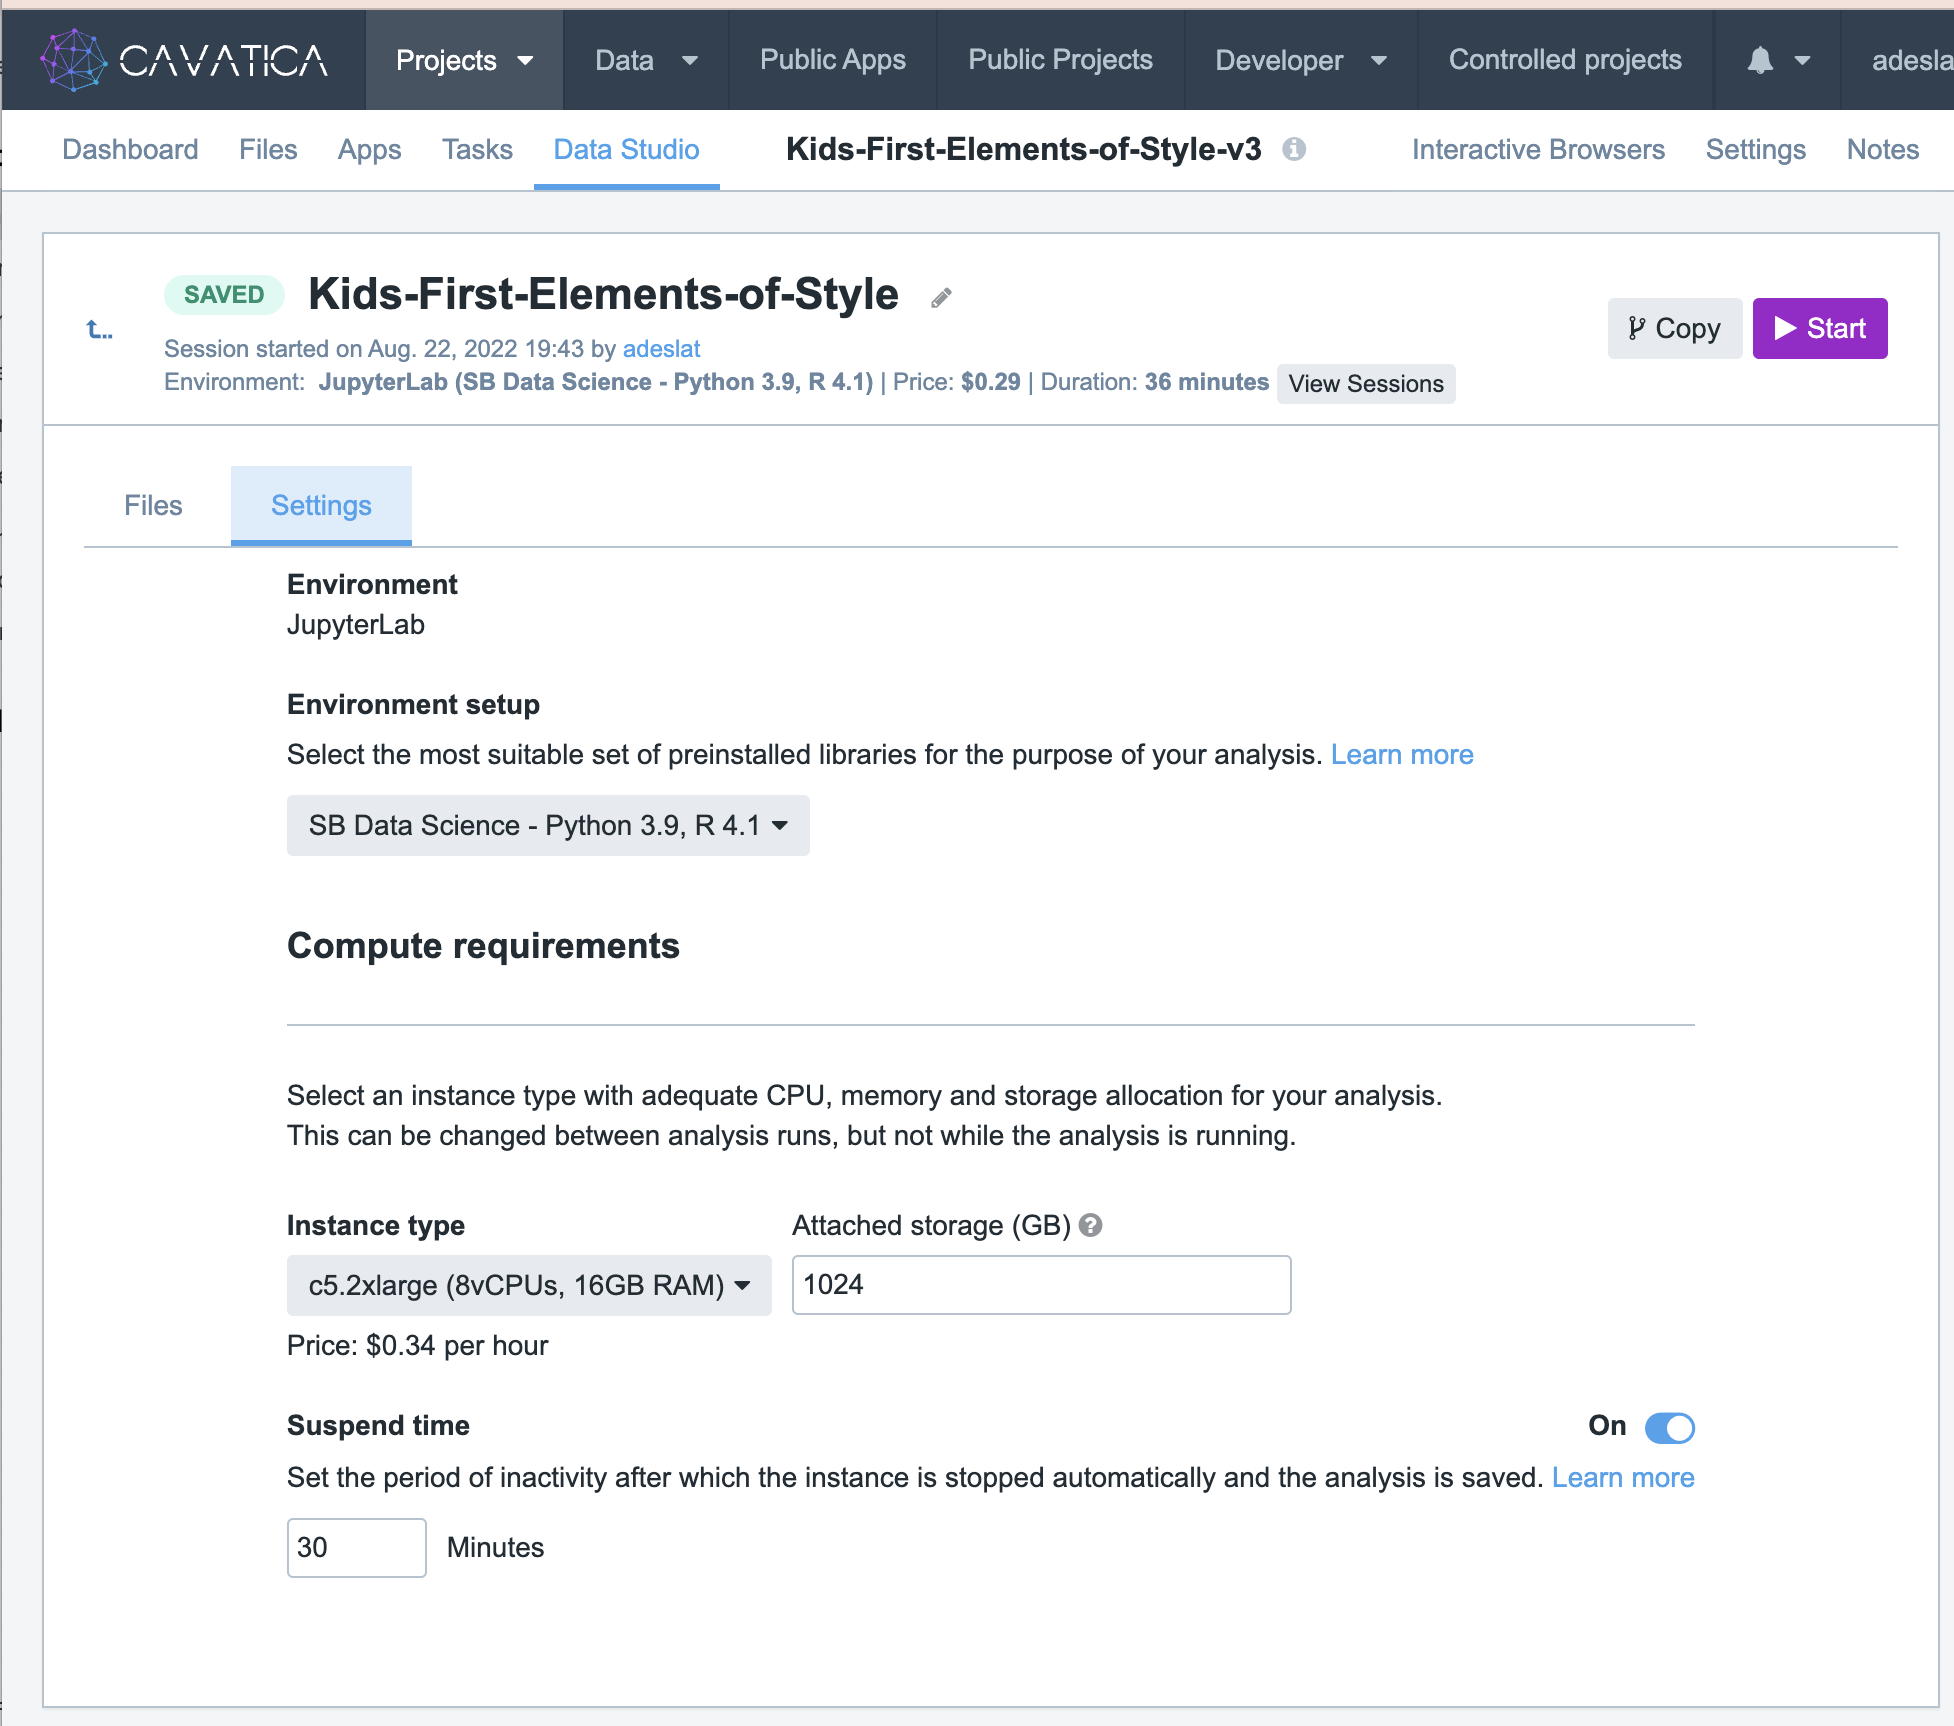
One thing to note. We are using a dedicated instance when we are doing interactive analysis. That is why the price is $0.34/hour. When we run a workflow, we typically use spot instances that are usually 1/8th the cost or so. This then allows us to Fire and Forget. The beauty of spot instances is not only are they cheaper, but they help enforce that they are ephemeral, that is from a security, cost standpoint they are ideal. They exist, their images loaded onto them and then they are gone. This is why we always run workflows that are in GitHub and/or an App that is persistent. The memory of what was run is held in the repository. So when you publish, or you collaborate, or when you ship your analyses or your workflow to a collaborator, you can share the repository, making configuration adjustments for platform differences within the repository.
More on that later.
Start your notebook.
Go ahead and hit  and lets get started.
Give us a  in the Zoom chat if all is going ok.
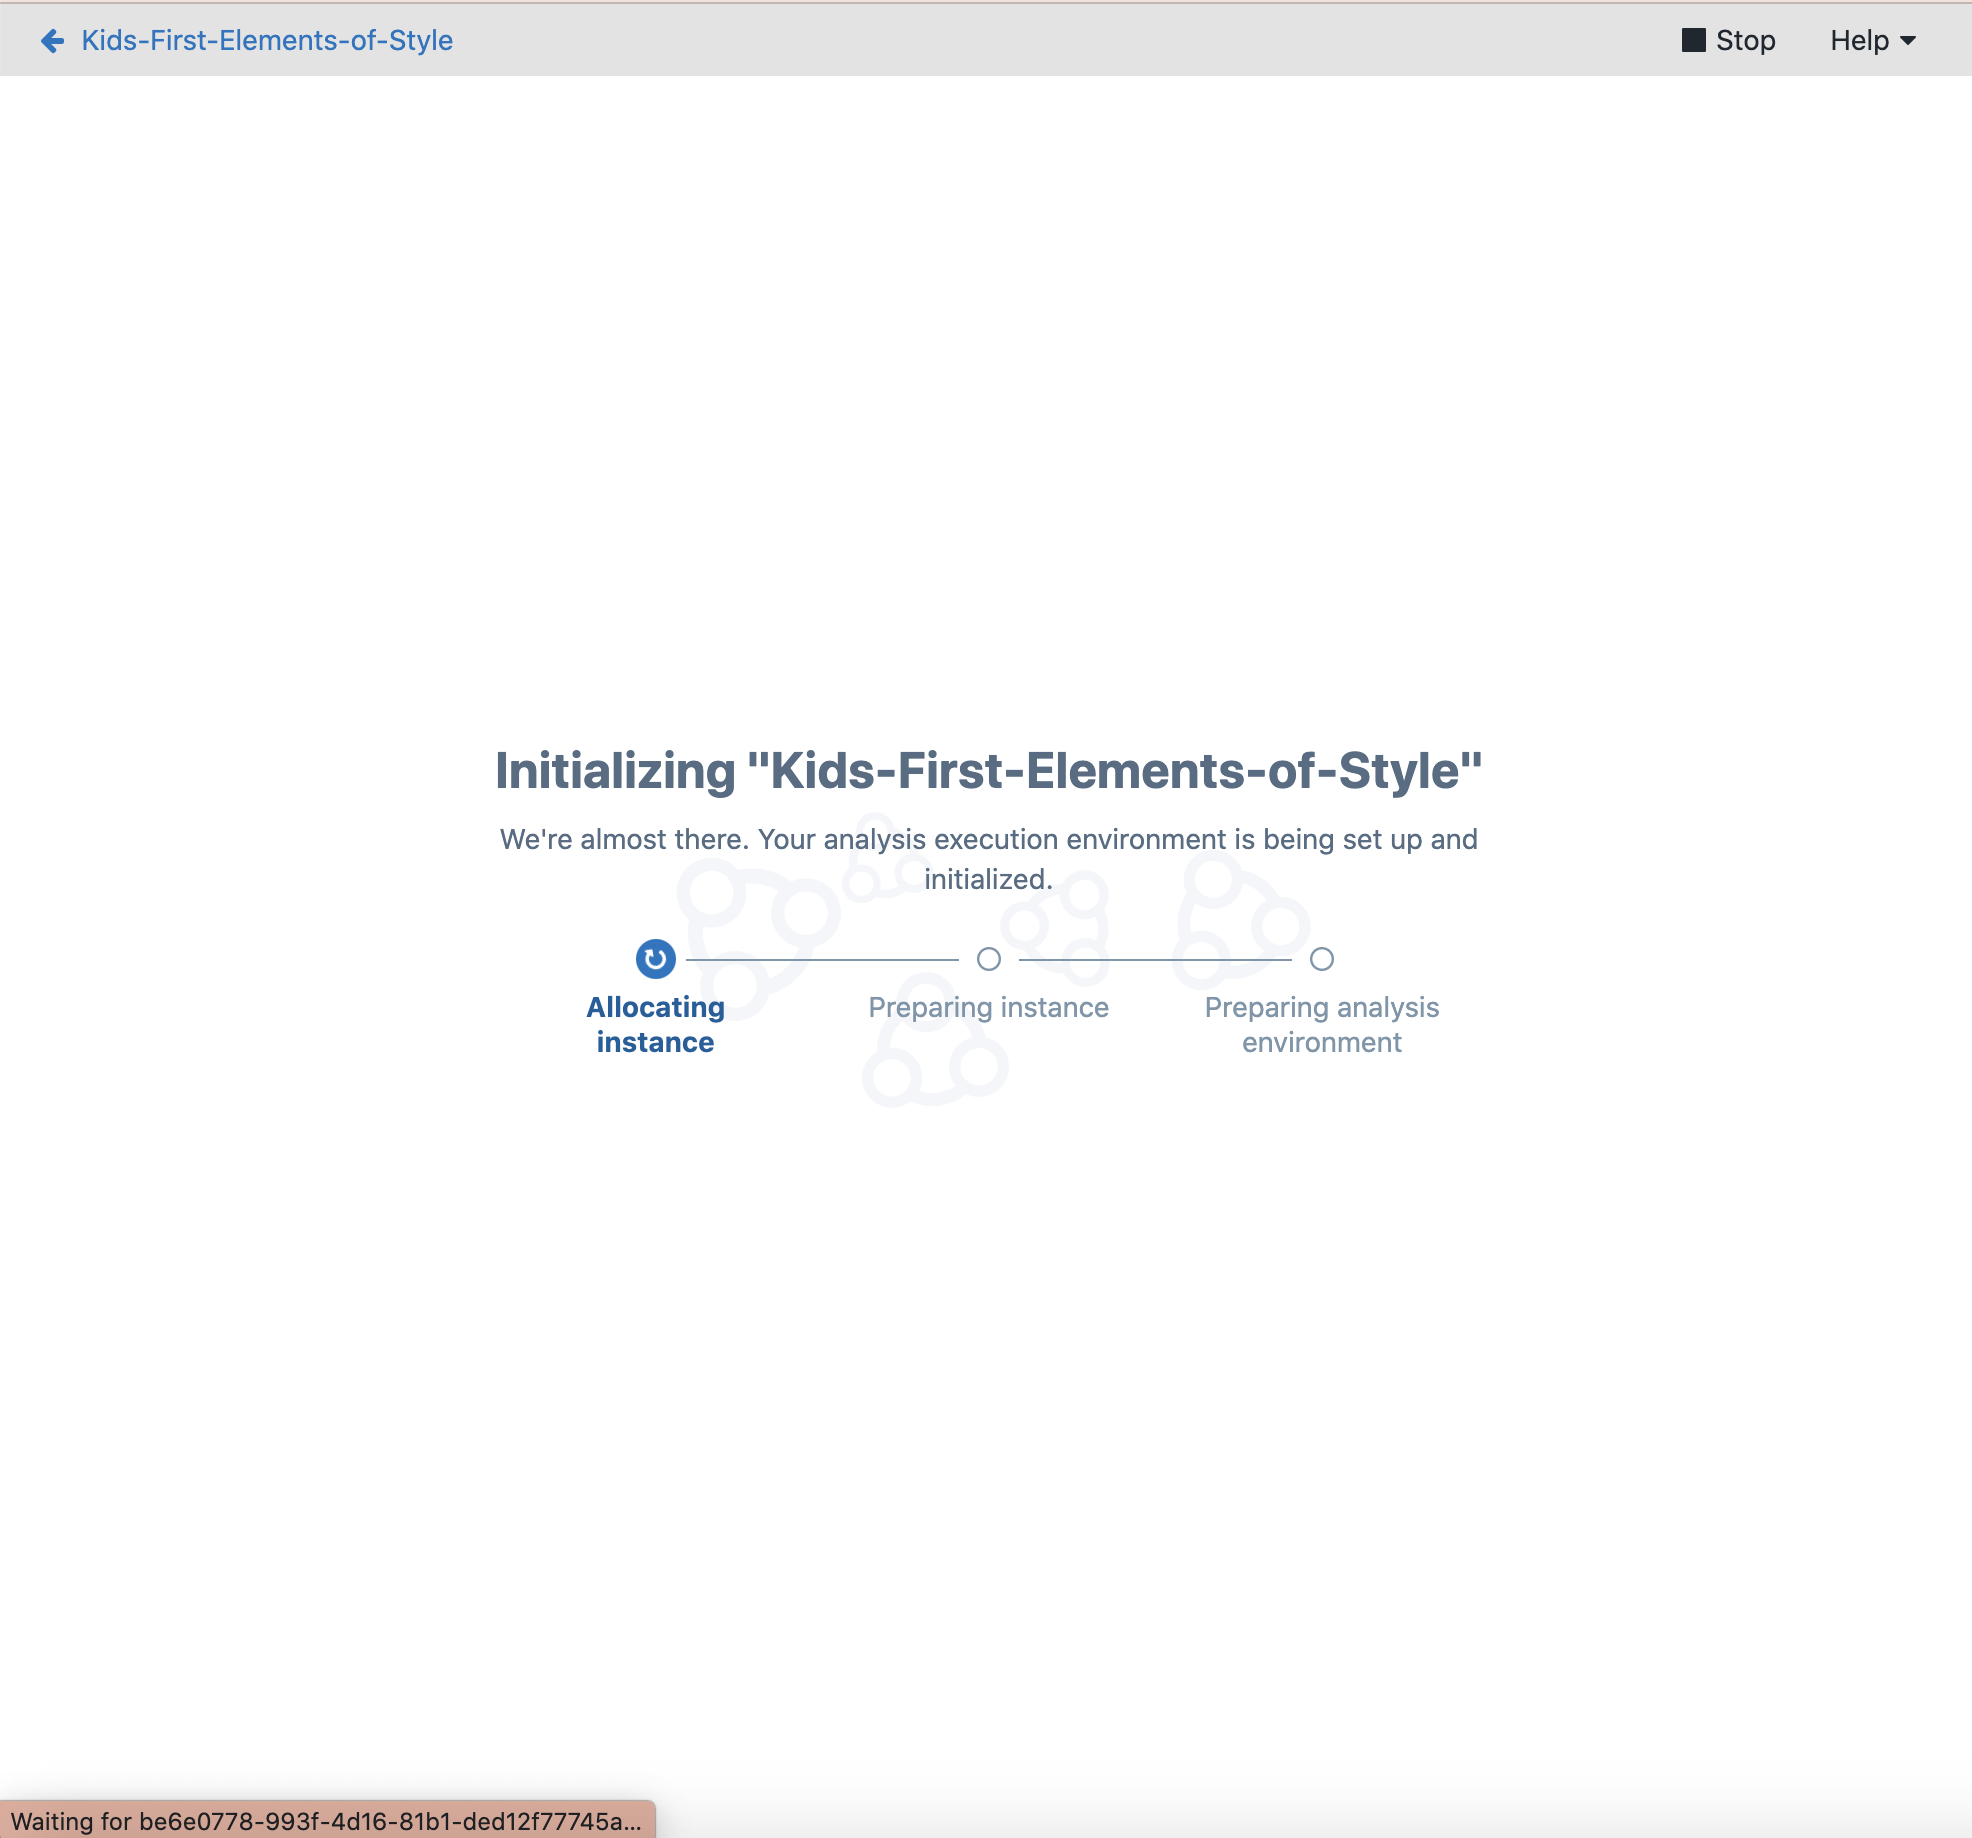
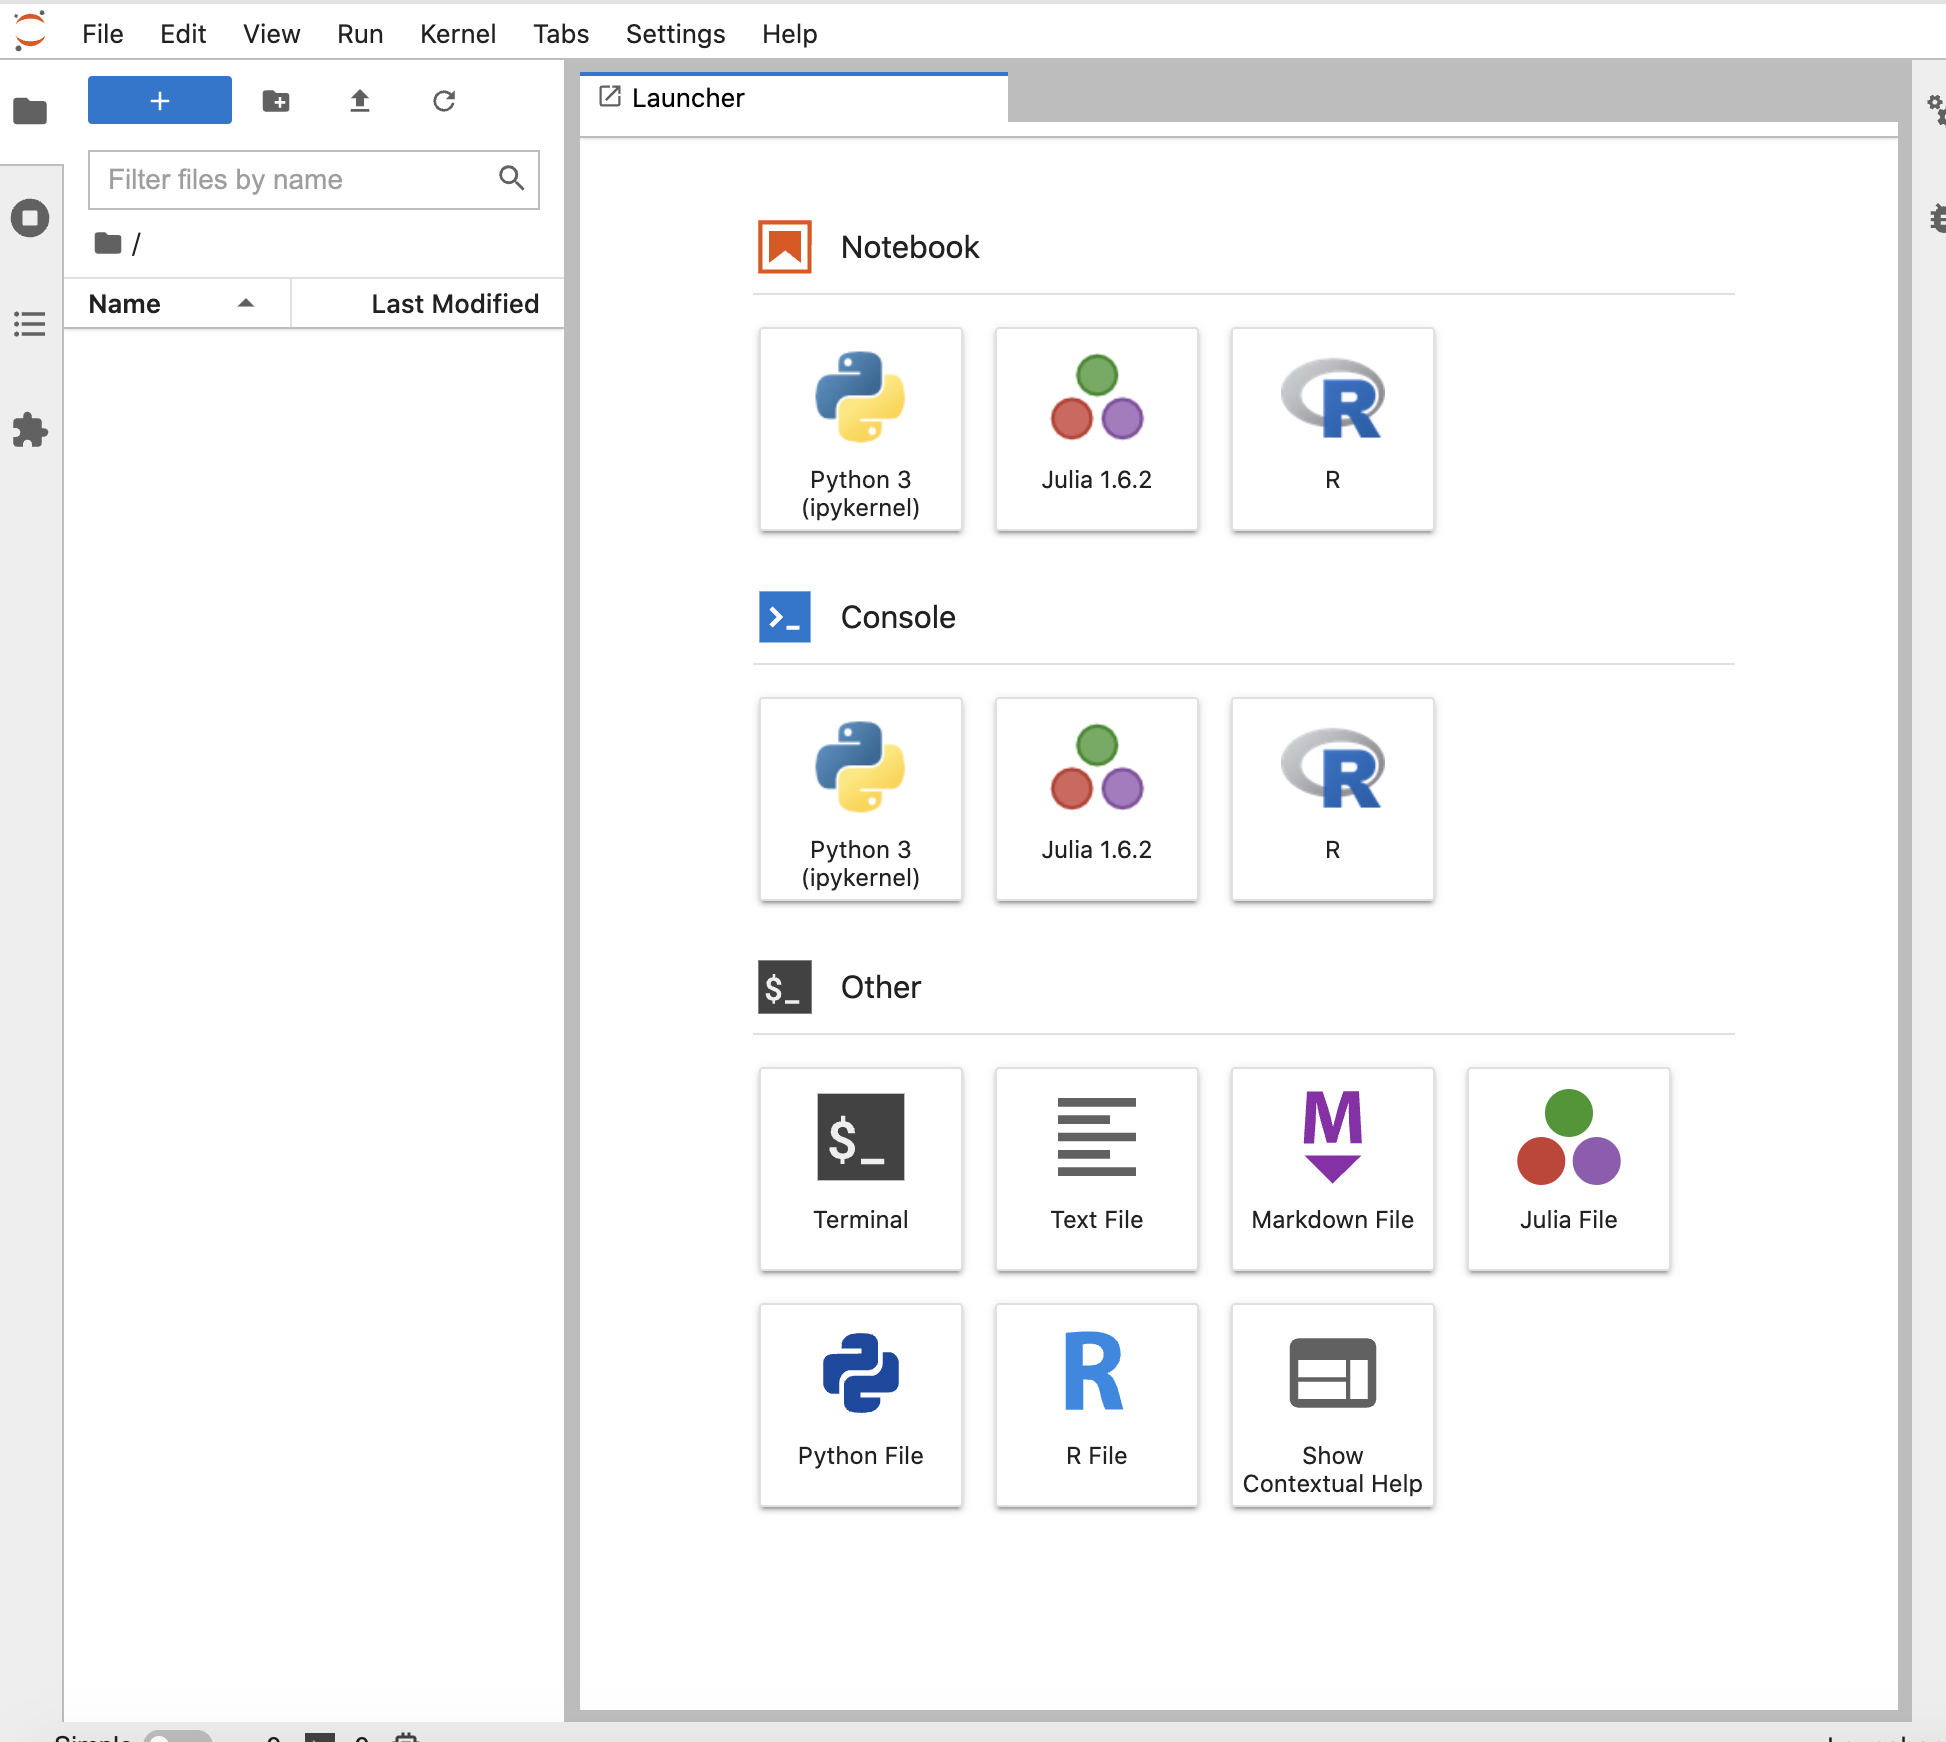
You will soon see the JupyterLab Launch pad - which as we know will stay alive for about 30 minutes.
Lets go back to the lesson and understand a bit about Why Git and GitHub.
Starting From Scratch
If you were not with us yesterday, please follow these directions to start a notebook. If you need help, we will help you at the coffee break or reach out to David in the Chat.