Why Git and GitHub?
Motivation and set up in the JupyterLab workspace
Why Git?
![]()
Git is a technology or a system used for version control of code
- Frees up our code from our local machine (no risk of losing files from your laptop or your jupyterlab notebook on an ephemeral image!)
- Ensures that we are tracking the changes of our code as a project progresses
- Allows us to revisit older versions of our work (R codes, notebooks, even this markdown used to make this course - text files, etc).
- Allows us to keep different versions of our work
Why GitHub?
Git Hub is a "code hosting platform for version control and collaboration"
- Large community of open source project to browse
- Enables collaboration of many contributors in the same project
- Serves as a code vault for making our reasearch code findable and our methods transparent
Setting up in the terminal
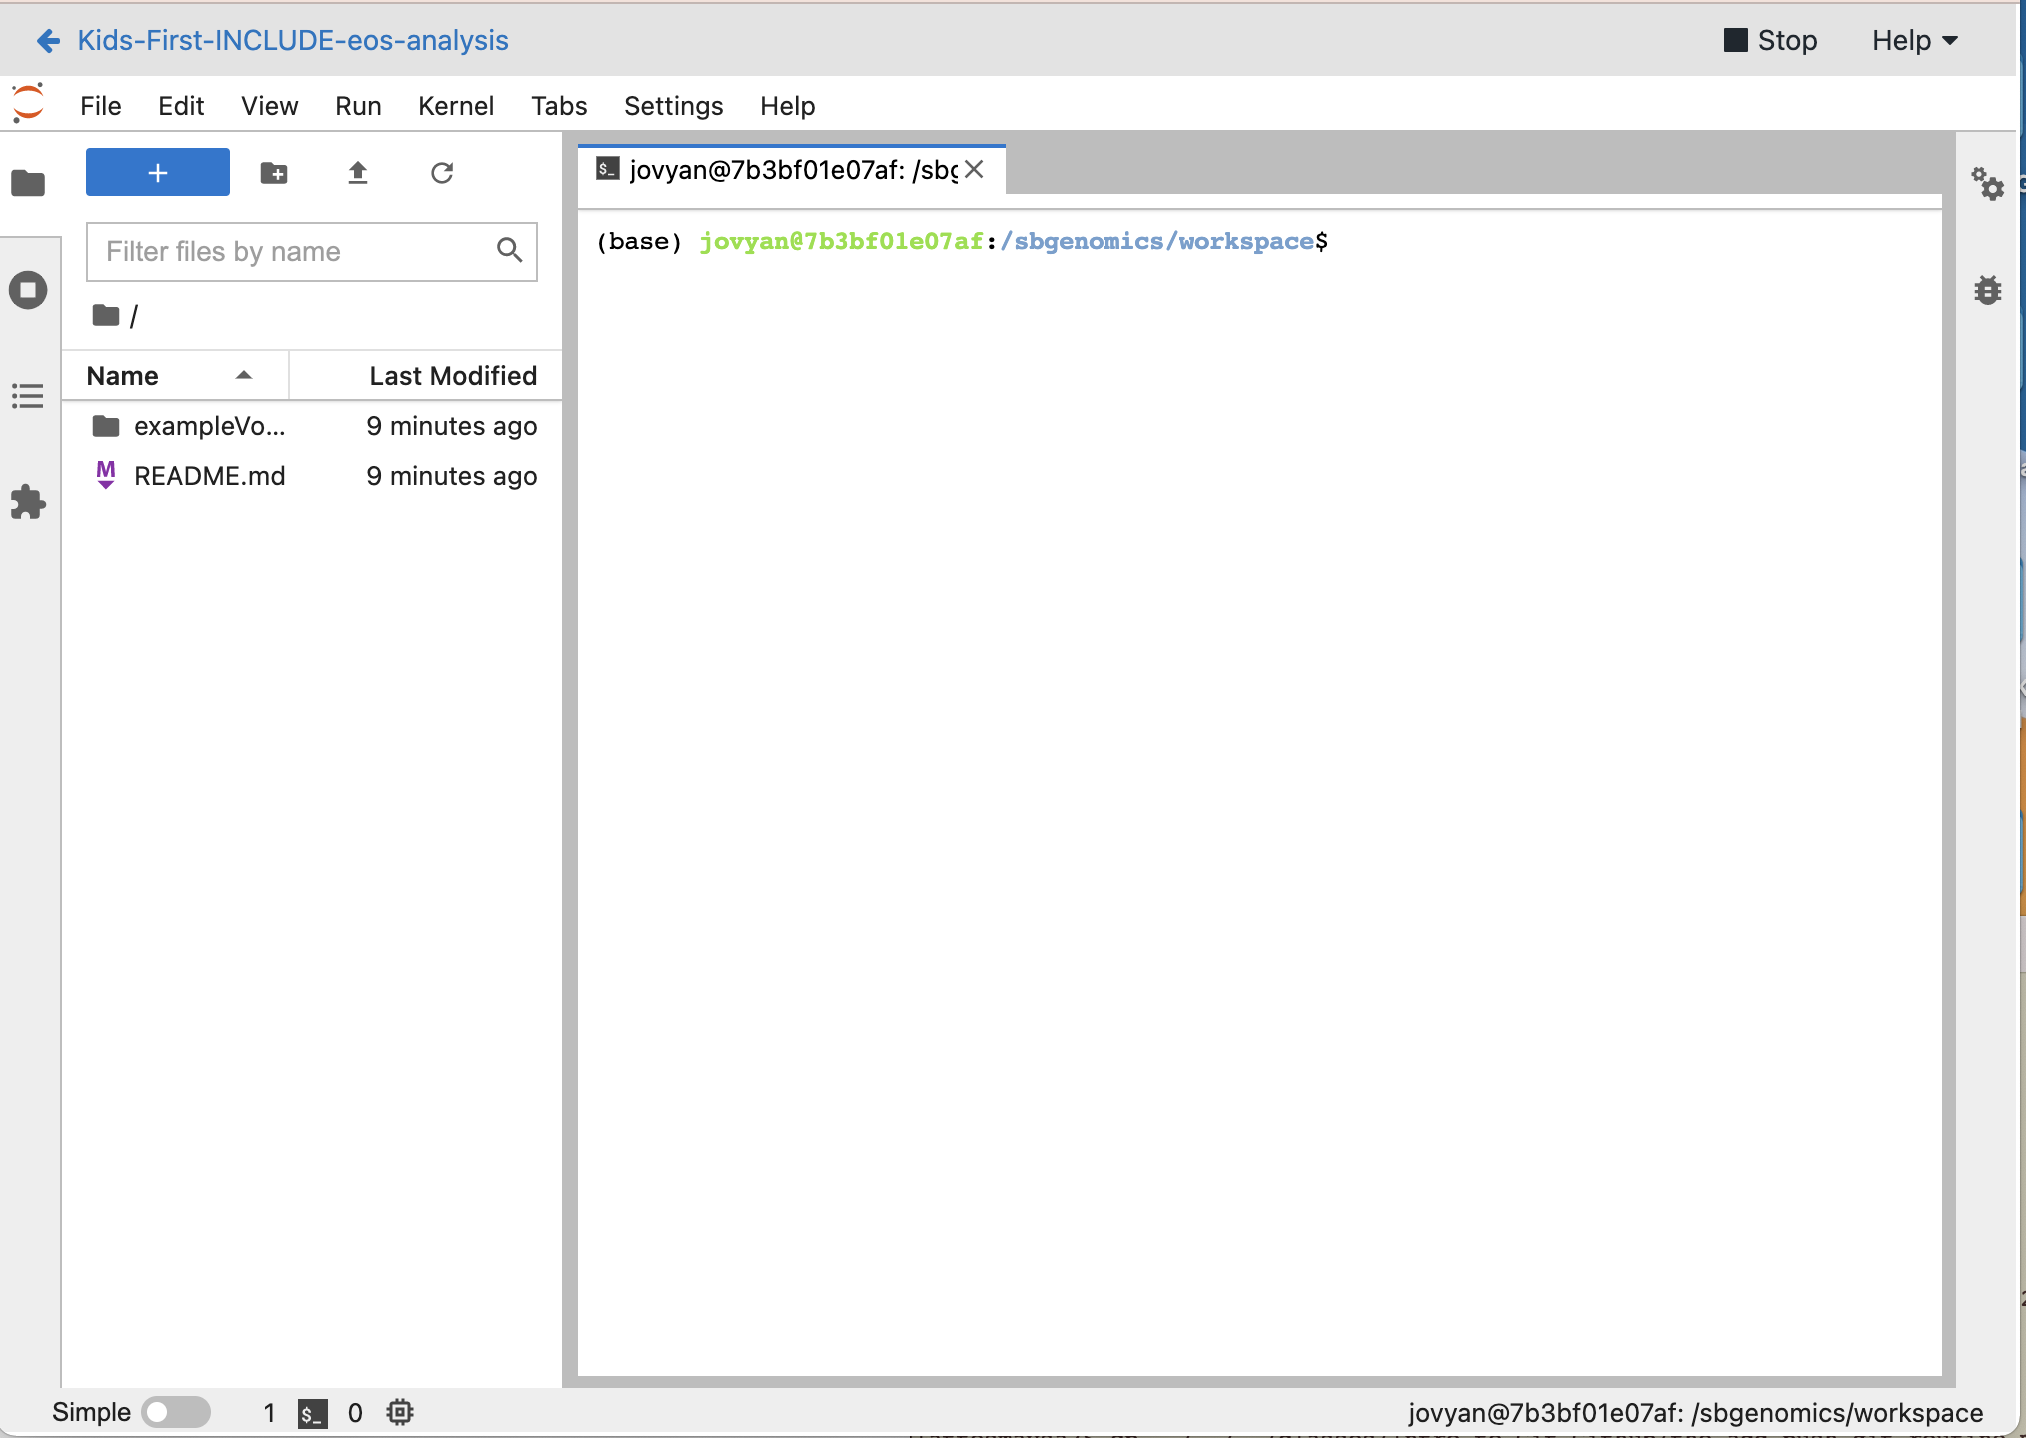
In the JupyterLab notebook we started on Cavatica, looking like this:
Please open the Terminal 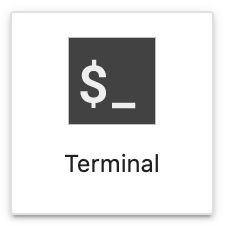 window.
We are going back to the command line.  in zoom to know all is well.
Using the nano file editor
Before we start working with Git in the command line, we will learn one more helpful skill. How to use a code editor. A code editors allows us to edit files in an environment without a graphical user interface. For us, it will be needed in some Git related tasks, so we want to be prepared.
Edit a file using nano in only 4 steps:
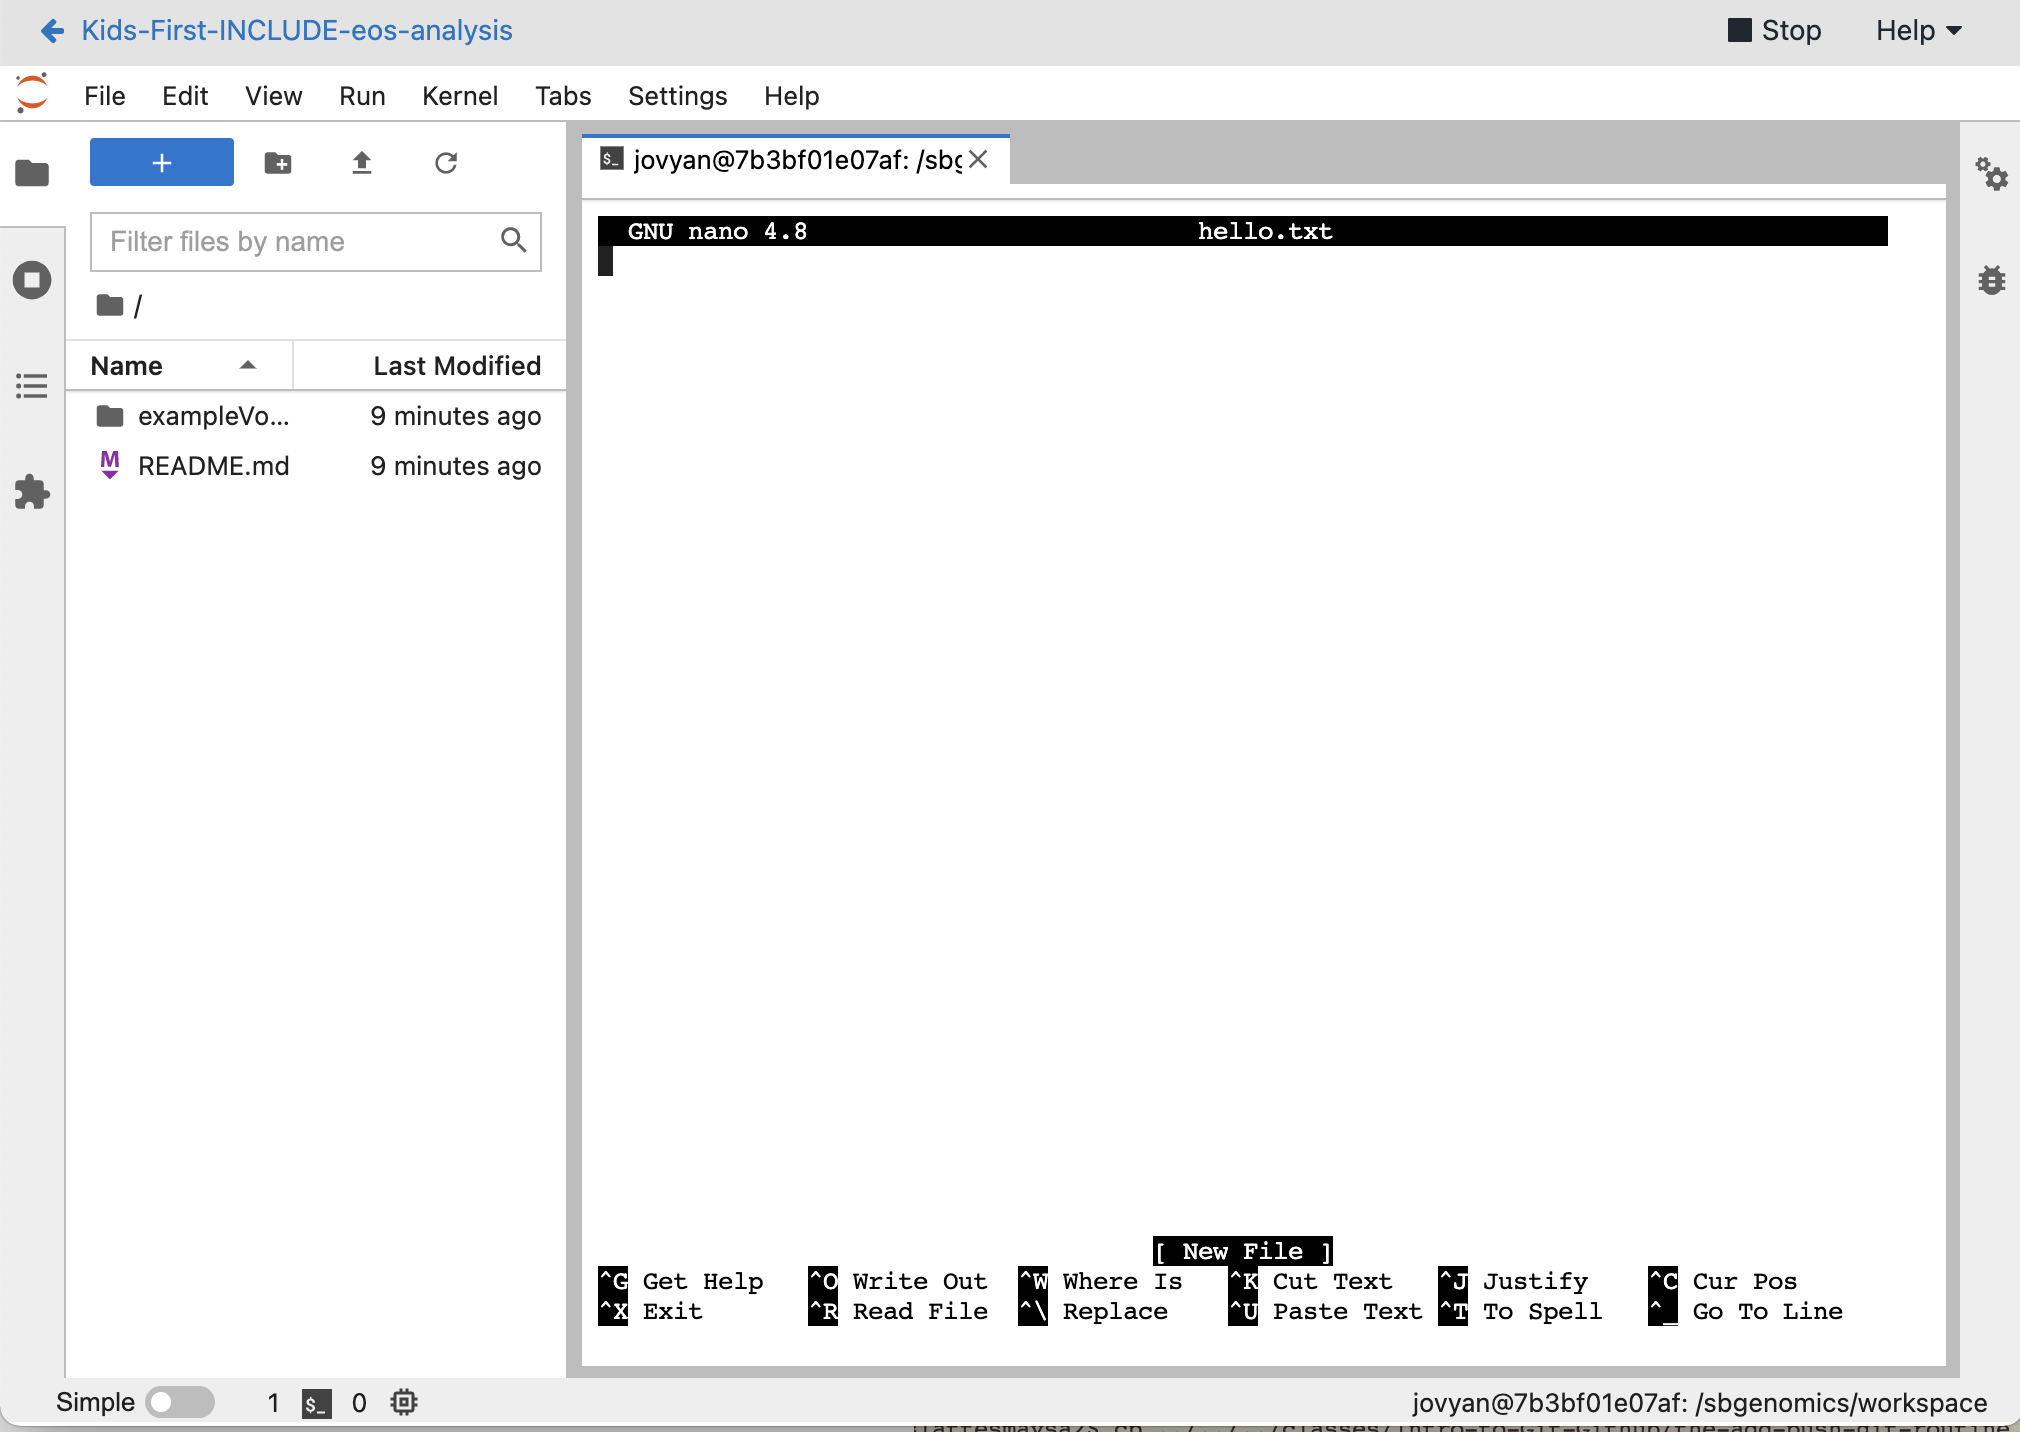
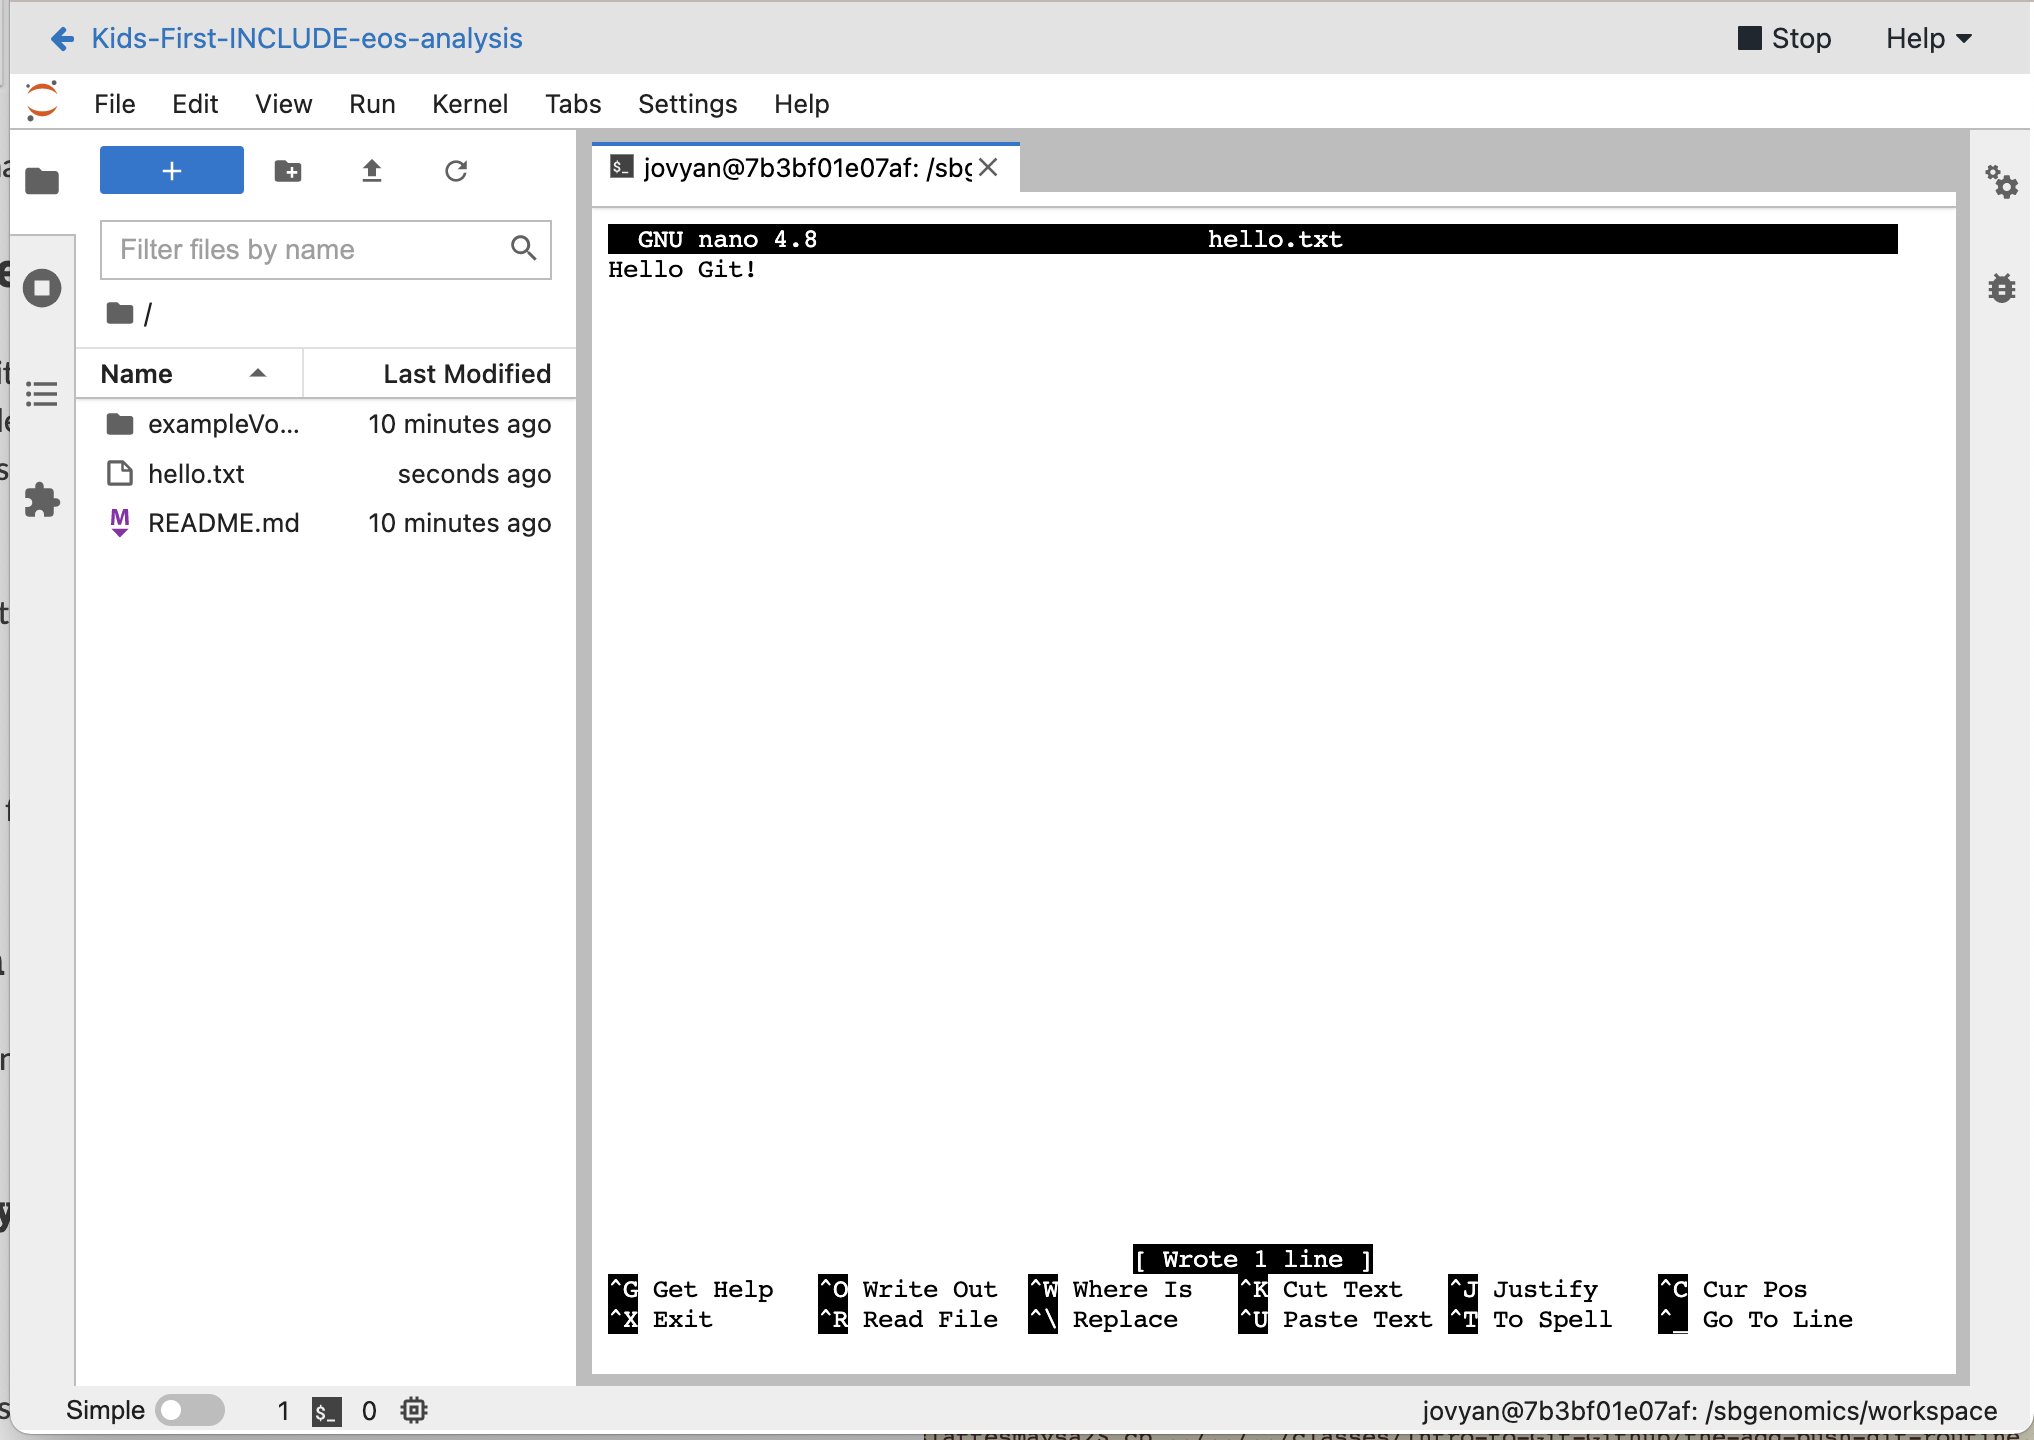
Your screen likely looks similar to this:
1. Type nano hello.txt
This will create and open a new file hello.txt. If the file already exists, it will open that existing file.
If the file is not yet in the directory, the screen looks like this:
2. Write inside the open file named hello.txt
As you typically would type in any Document editor (eg. Word, Google Docs, etc). You can type for example, Hello Git!
3. When ready to save type the shortcut:
CTRL + O
This will declare your willingness to save the file. Click ENTER to verify that you want to save the file.
Now you will see it in the directory on the left as well showing that the file has now been saved.
4. Close the file and exit from nano with the the shortcut:
CTRL + X
Awesome, your file has just been saved! You can inspect using another command line function, head.
In the terminal window at the command line, type:
head hello.txt
We will probably need soon nano in one of our Git tasks.
Creating an environment to install packages
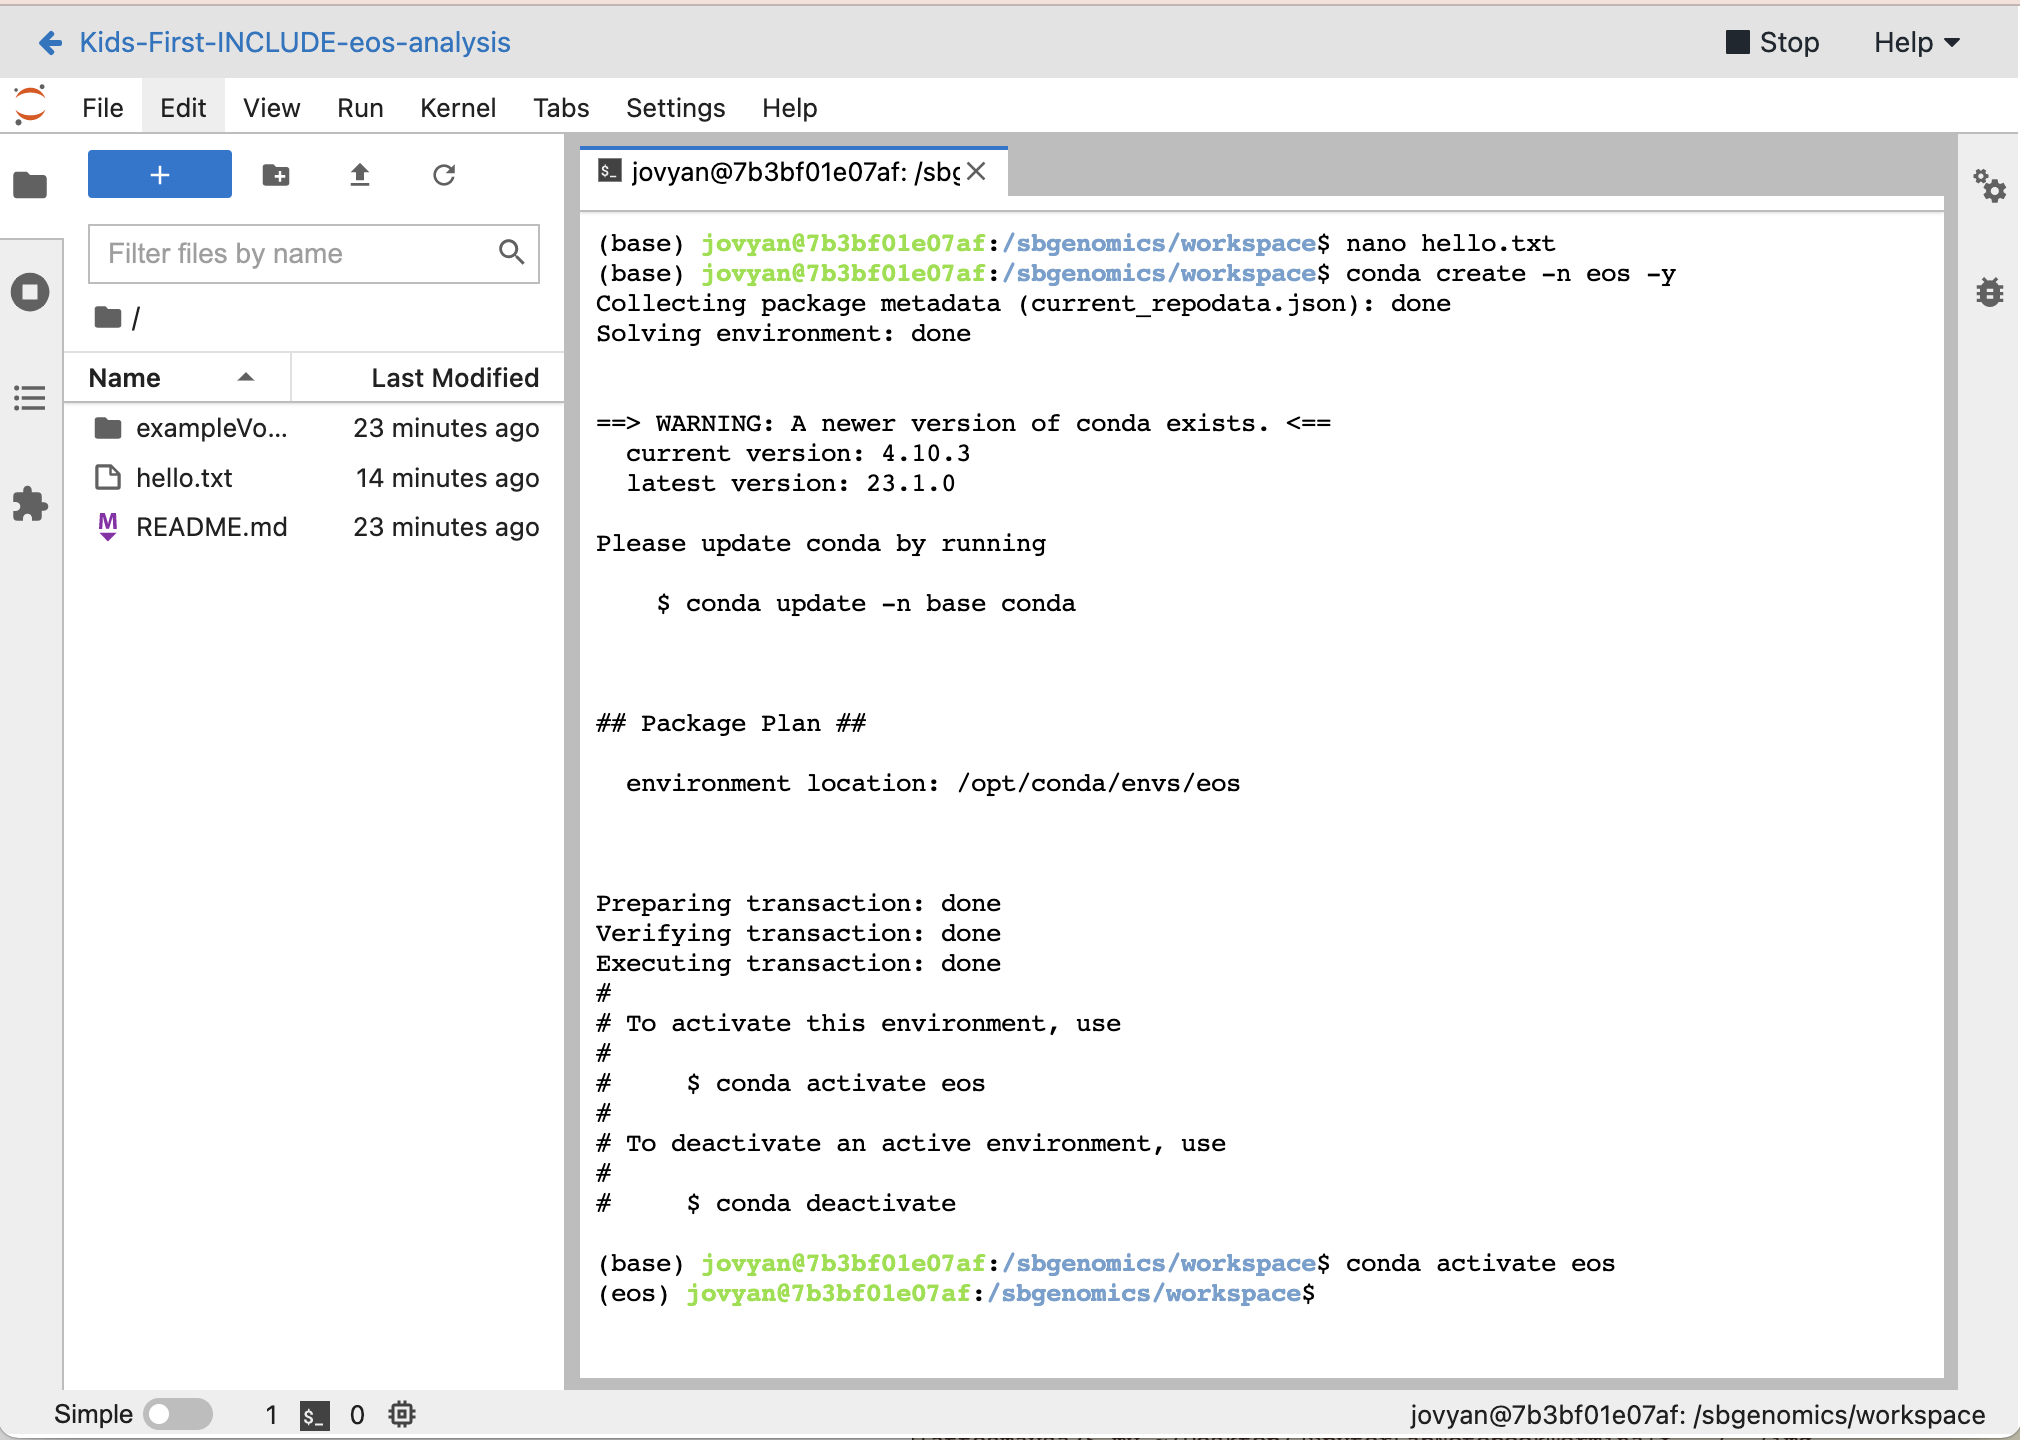
Not exactly required as the base environment within CAVATICA JupyterLab is already there. But as a habit I begin with creating an conda environment so that I can keep track of what I add. When we get to containerizing, you will see how using conda will help keep all of the details about what you need to install safely as minimal as you can. We will cover that more on the containerization less, which is tomorrow.
conda create -n eos -y
Once the environment is created, you activate it as instructed
conda activate eos
Then I install two additional things that I use on a regular basis, GitHub CLI and emacs
conda install -c conda-forge gh -y
(Optionally install emacs)
conda install -c conda-forge emacs -y
More on Anaconda and packages later.
Configuring our GitHub user information
To be able to use Git and GitHub from the command line we need to configure the information related to our GitHub user. Let's follow the commands below to set in the workspace the required information.
Set user name
Replace <my github user name> with your actual GitHub email.
git config --global user.name <my github user name>
Set user email
Replace <my email associated with my github user name> with your actual GitHub email.
git config --global user.email <my email associated with my github user name>
(Optional) Set preferred file editor eg nano or emacs
git config --global core.editor nano
Or if you like emacs, or vim, change it to your desired editor.
git config --global core.editor emacs