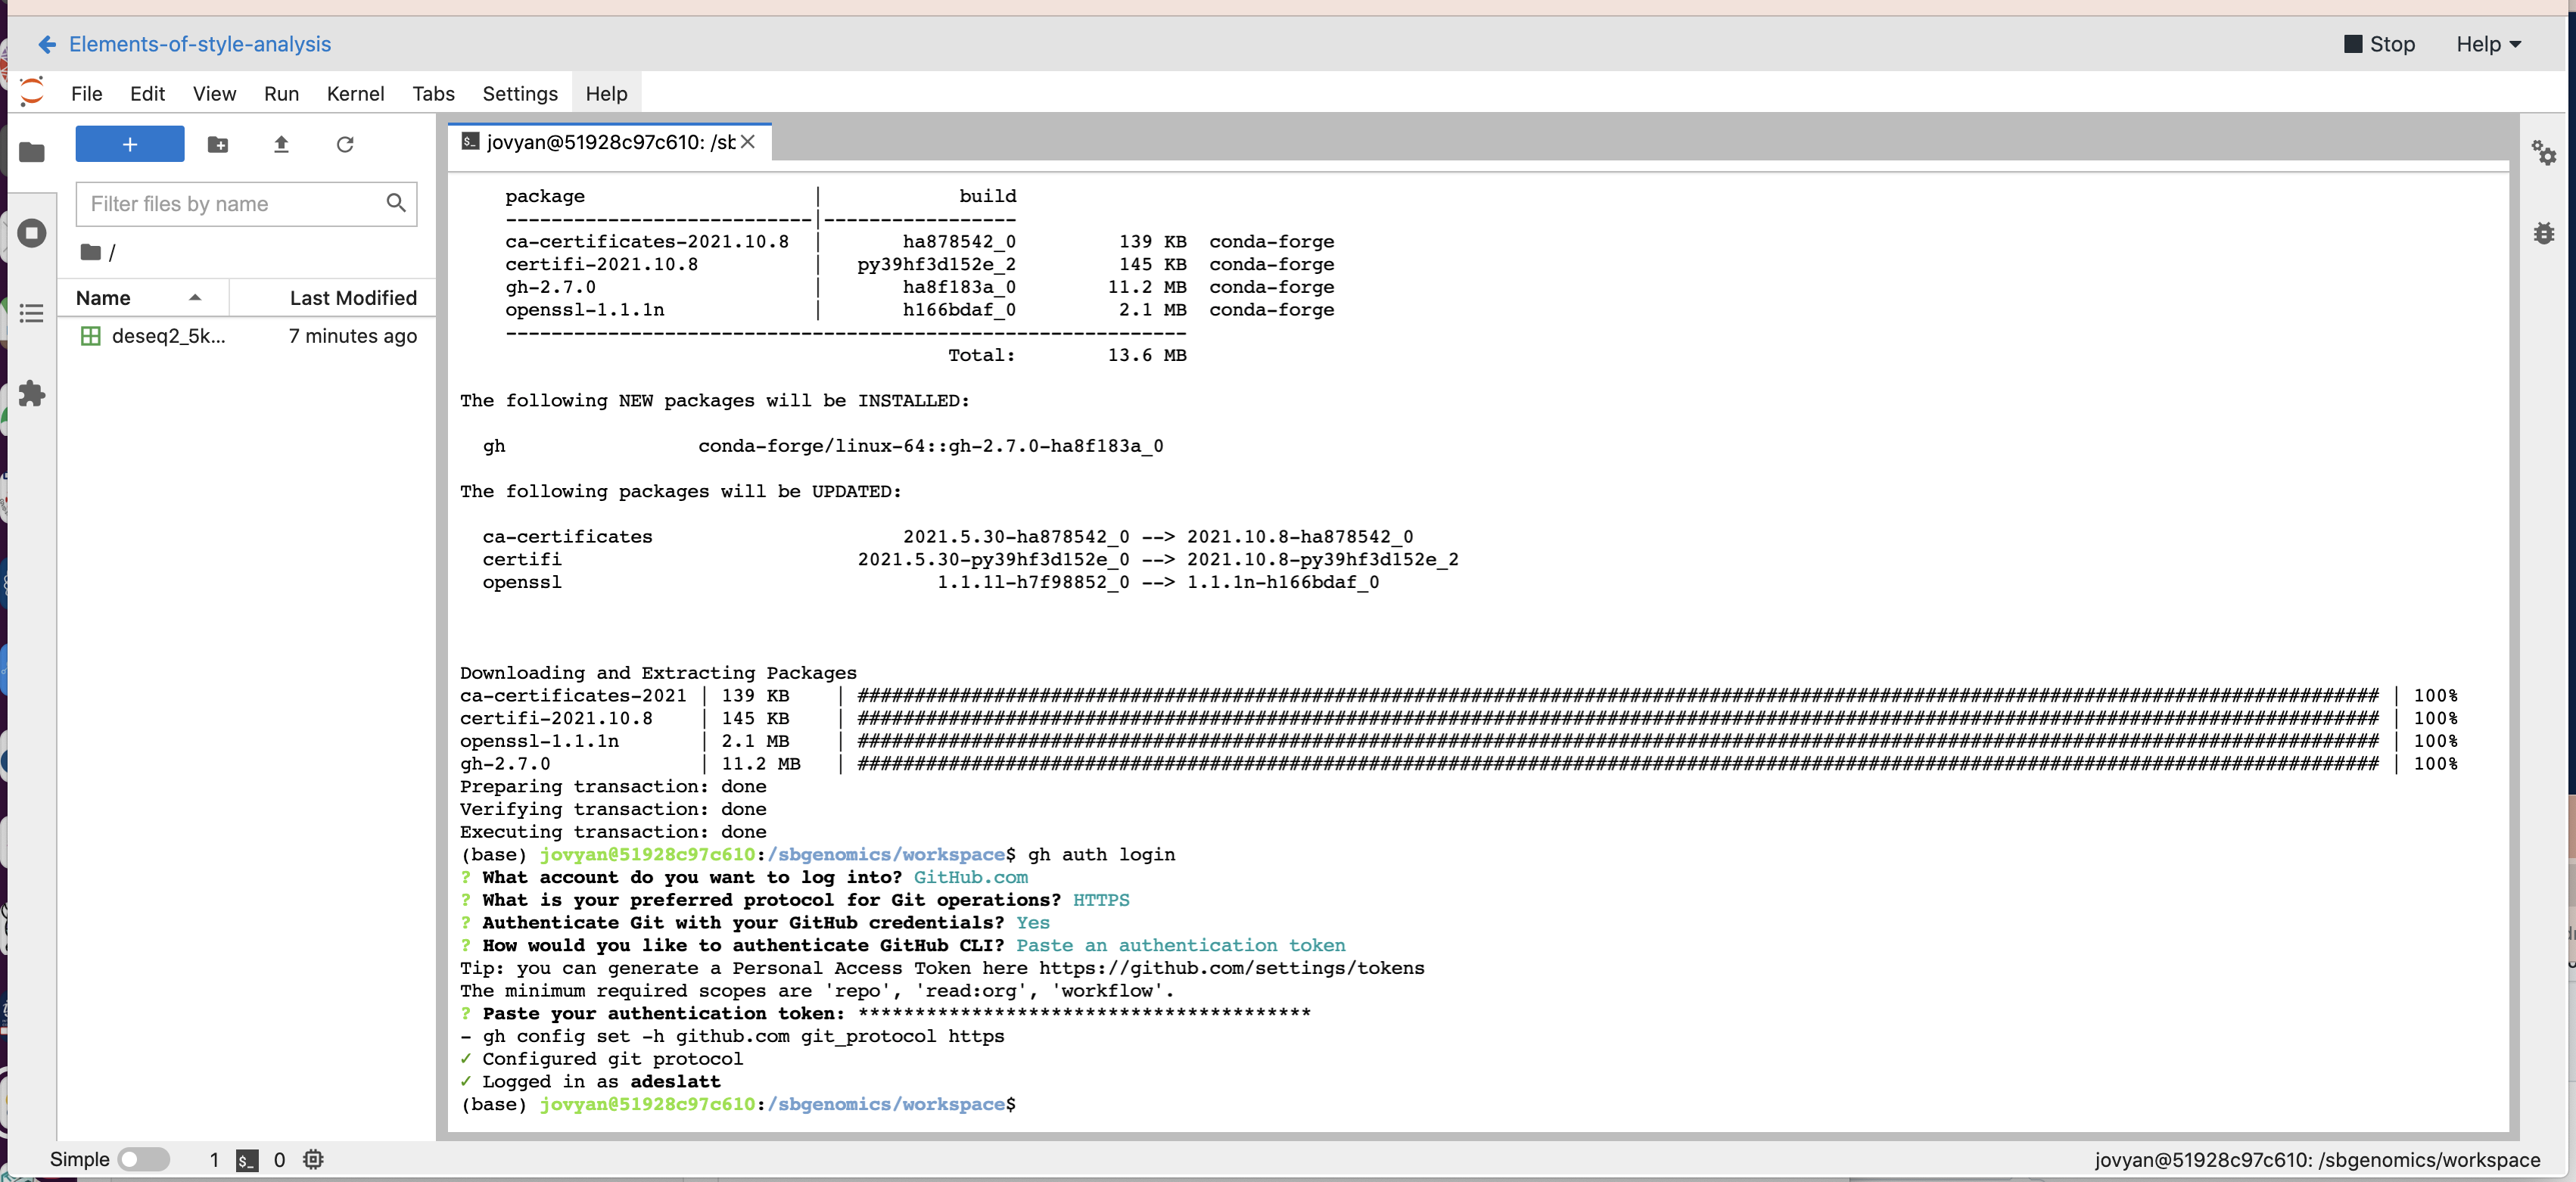
GitHub Authentication
To make a contribution to a GitHub repository, you need to authenticate.
You can do this with the tool we installed gh.
I didn't mention where I found this? Yesterday I told you about Anaconda Package Library. There you can find an active contributor environment and the latest tools that can be used from the command line, in your containers and in your workflows. It is as I mentioned an excellent place to educate and everyday working with these pacakges is easier and easier.
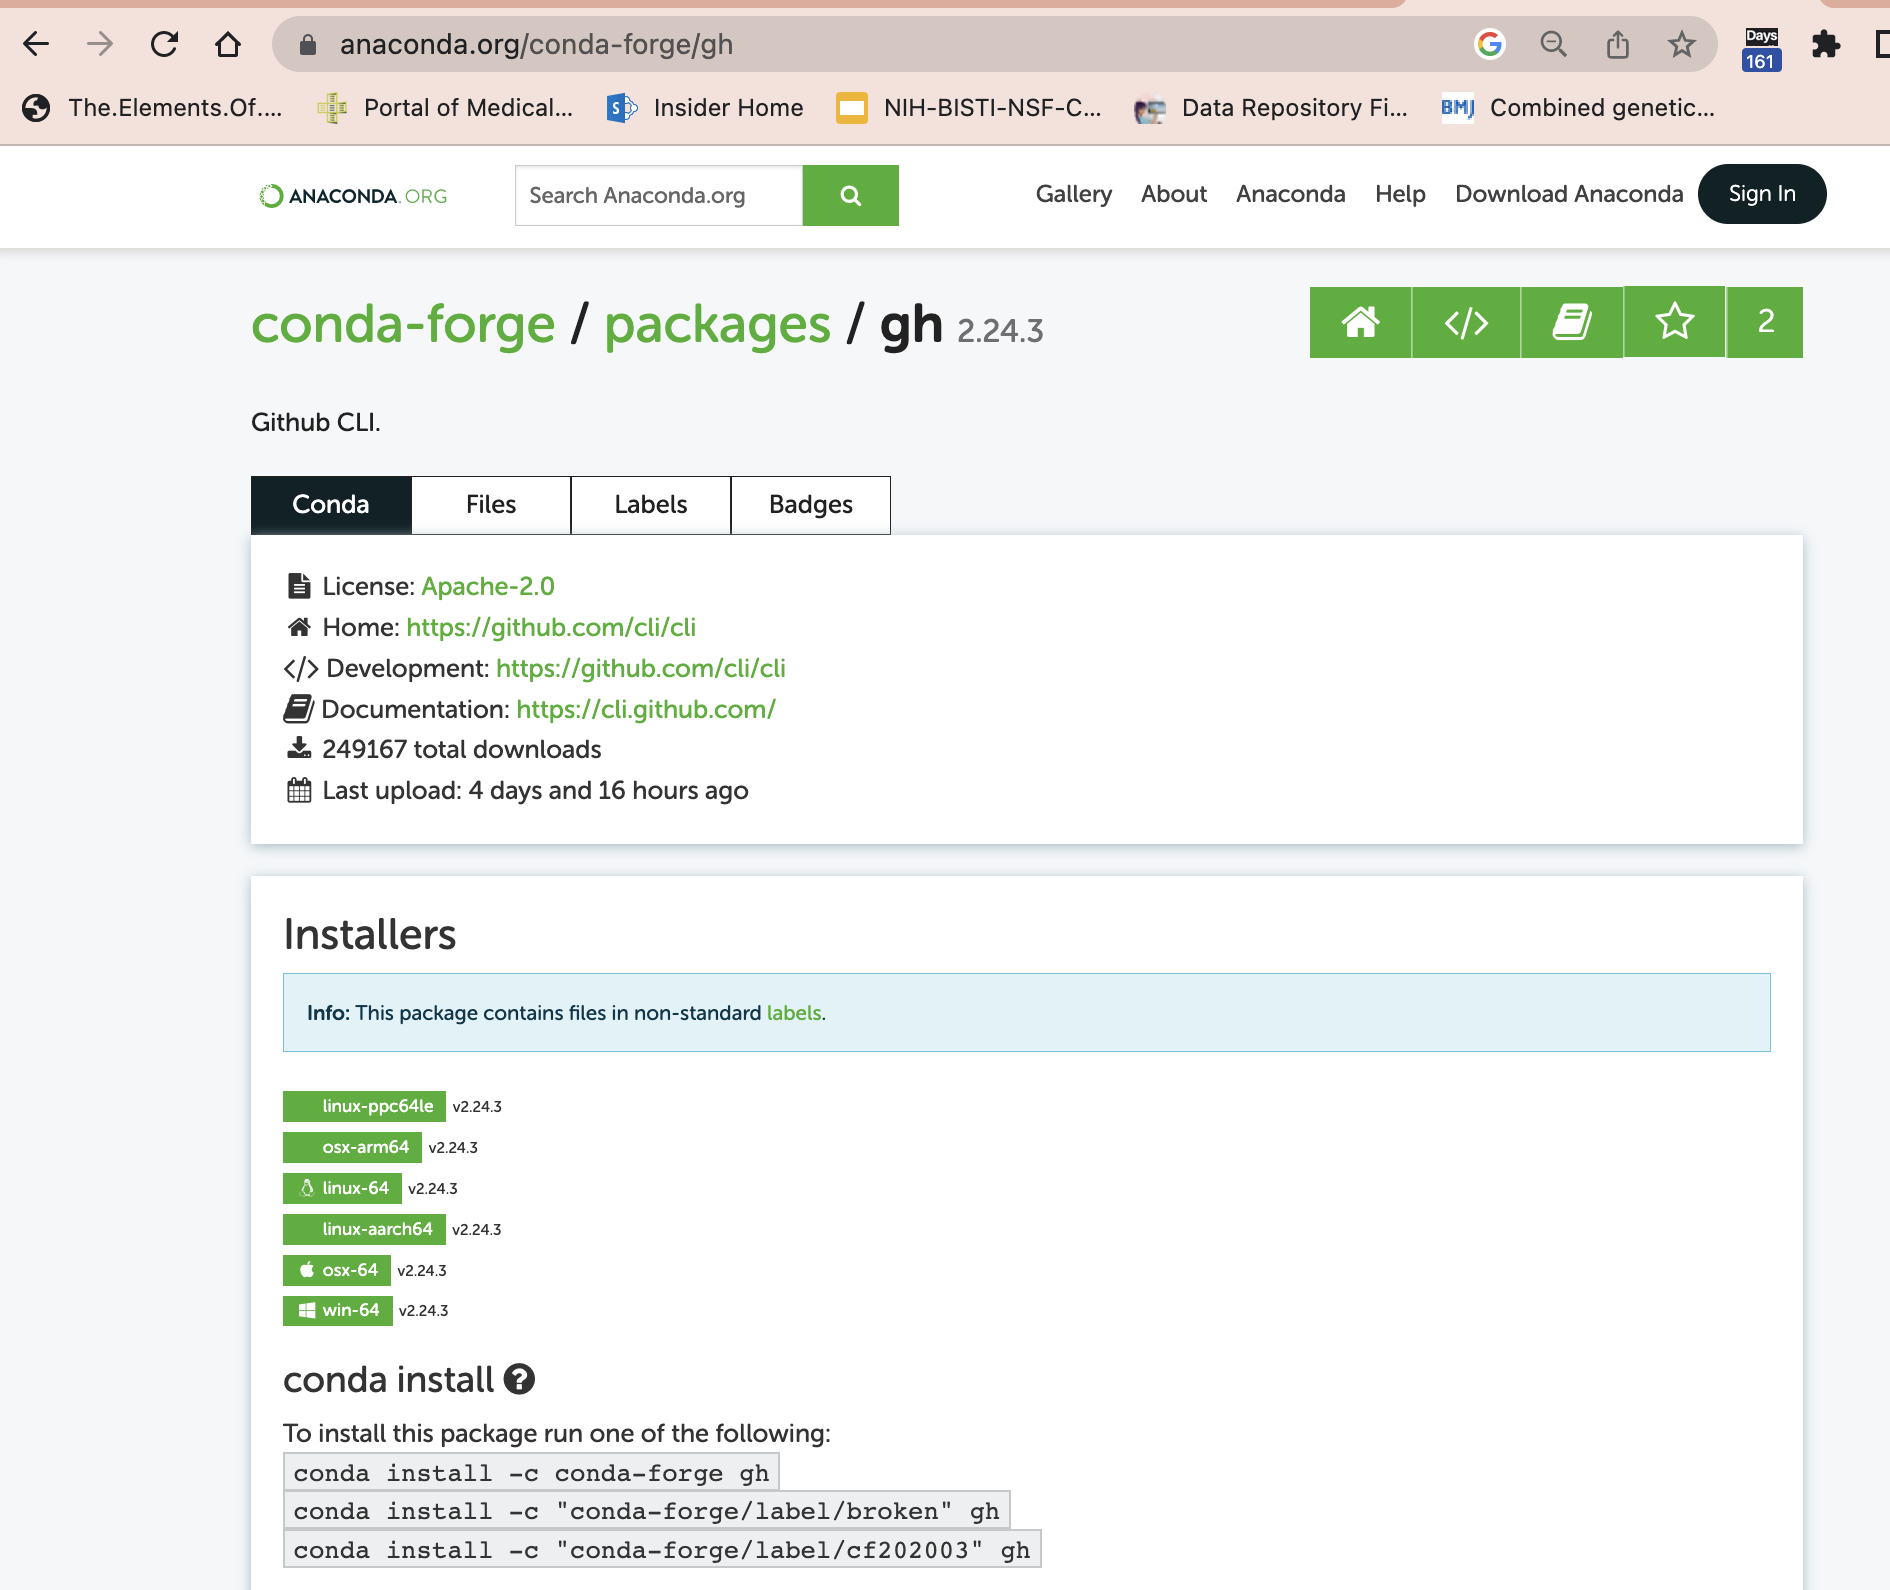
Here we see that gh is the GitHub CLI where CLI stands for Command Line Interface, the application we now have been using for the last two days.
Generating A GitHub Authentication Token
Before we authenticate with GitHub we need to generate a token that we will provide to GitHub to tell that application who we are. This is a Personal Access Token your private secret key to prove who you are.
Step 1 - Navigate to Settings, located just under your profile in the upper right hand corner:
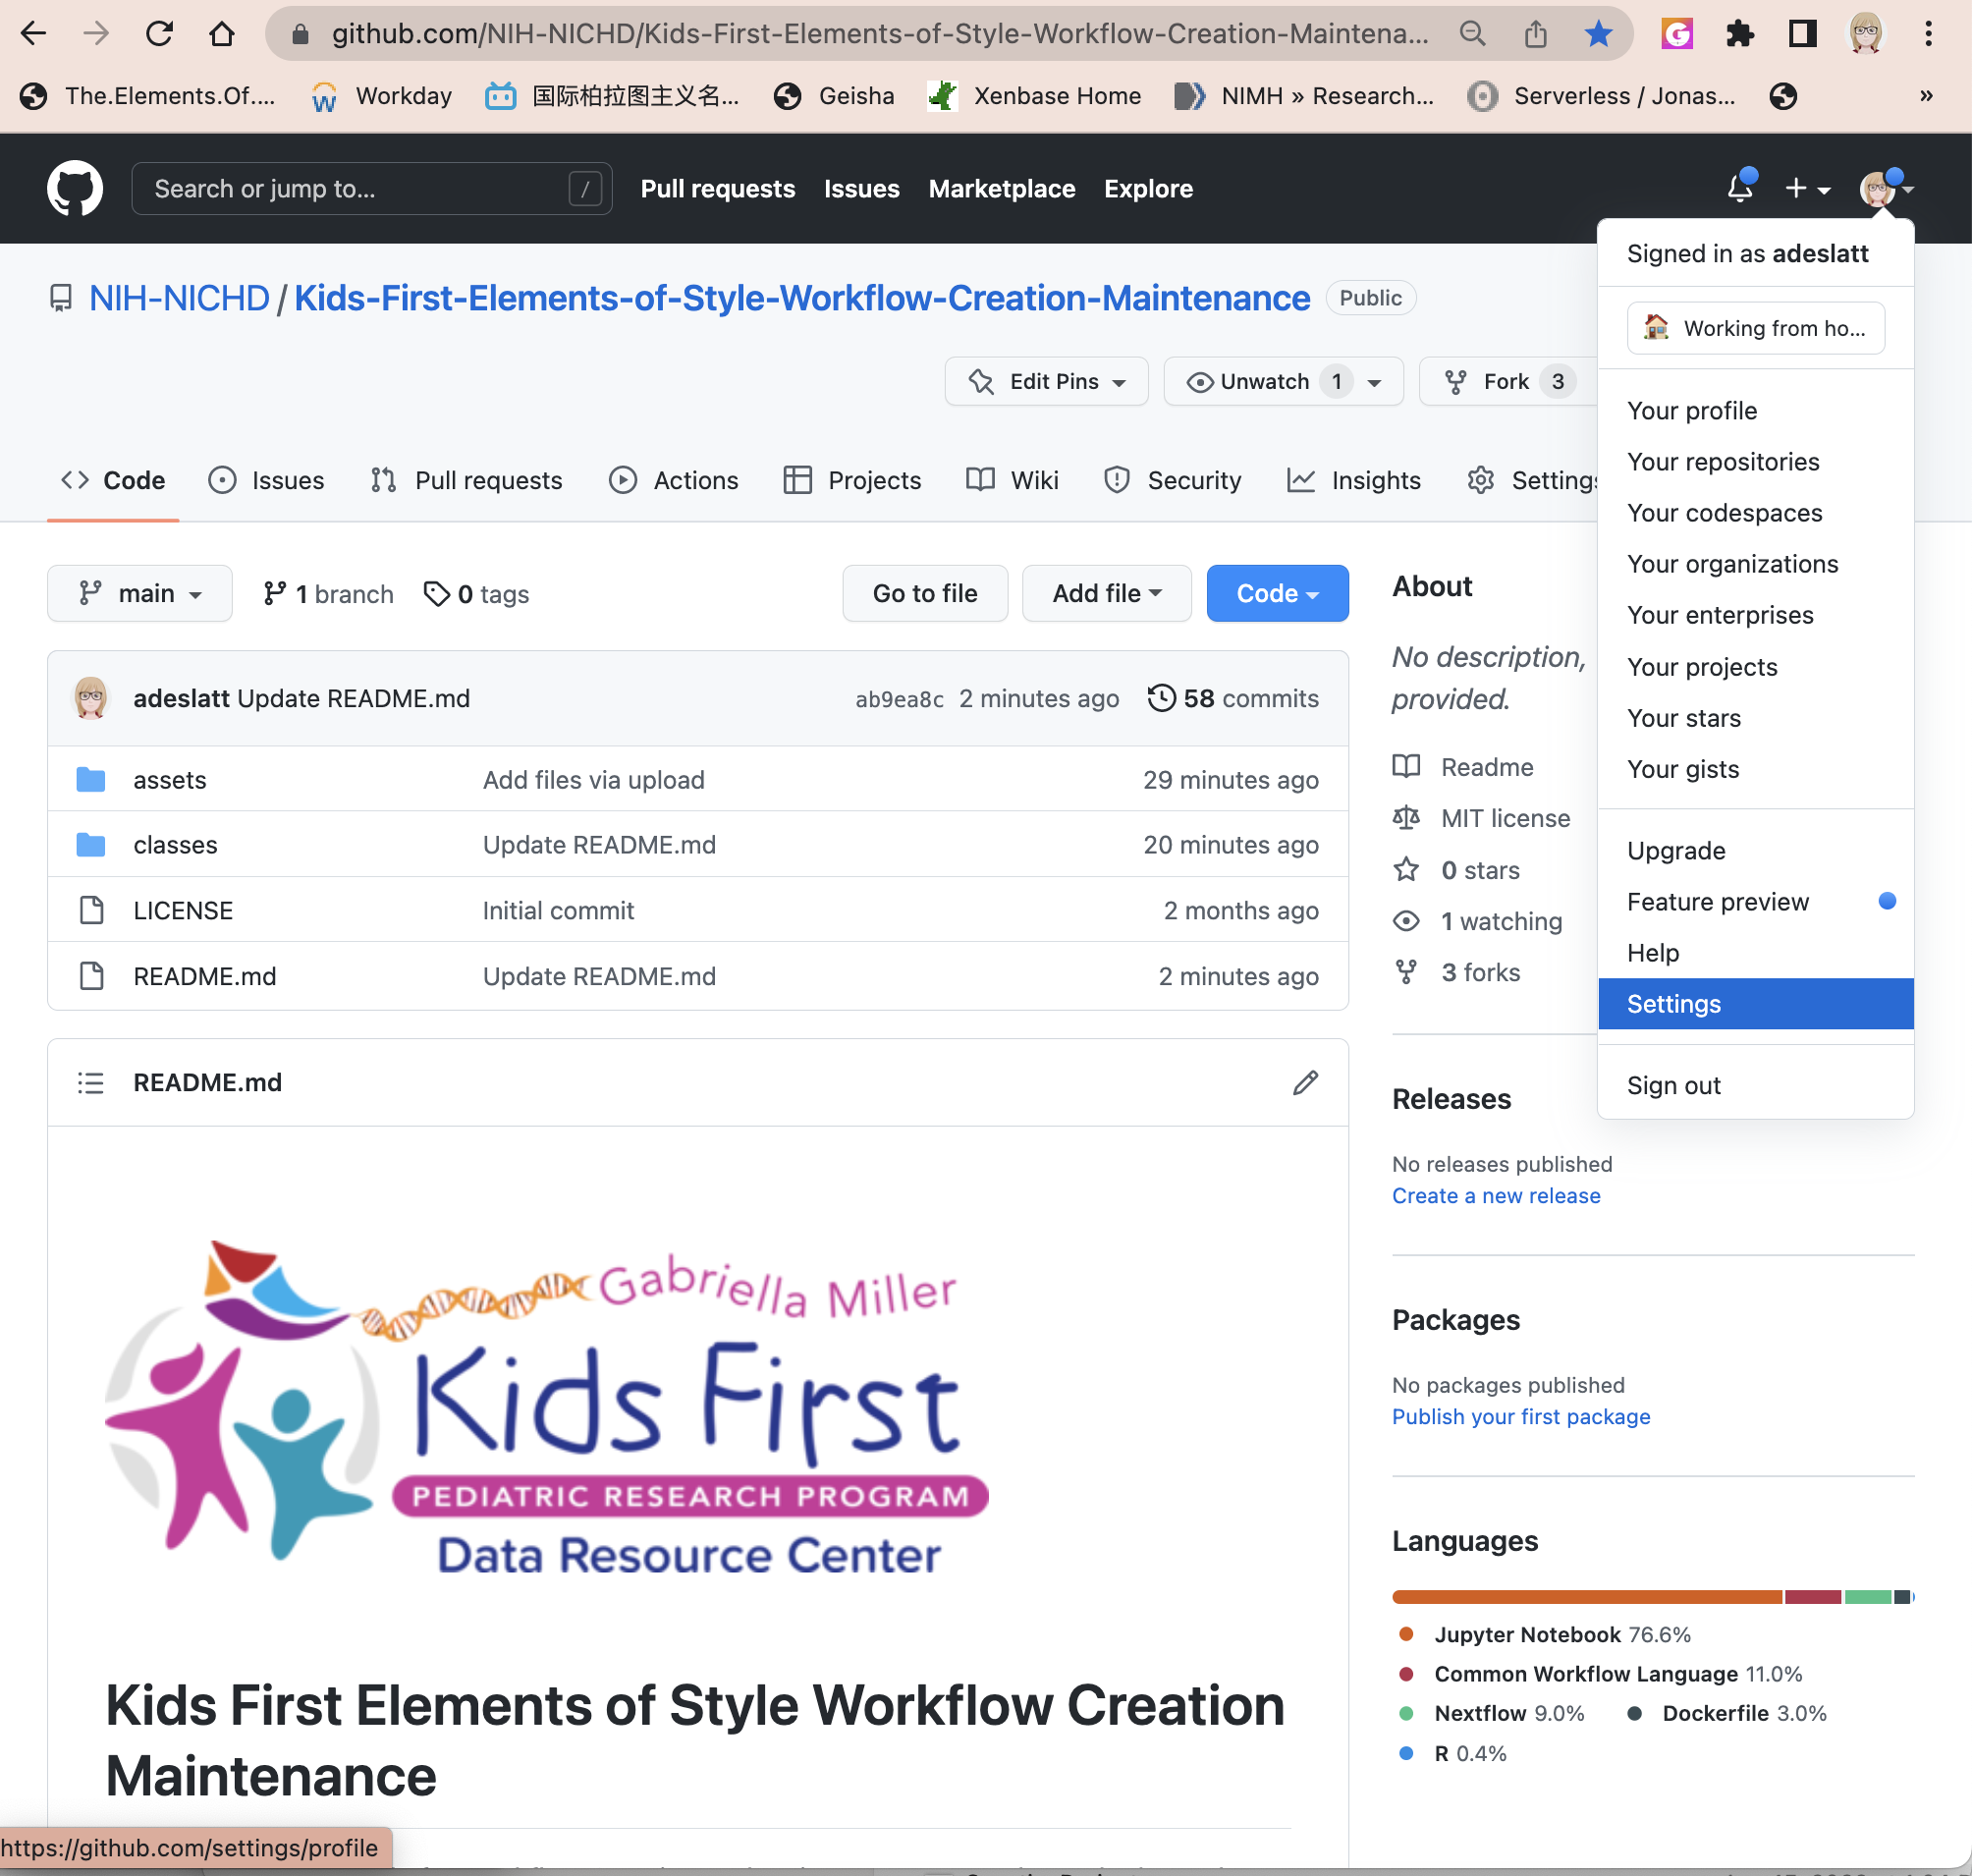
Step 2 - Navigate to the bottom to < > Developer Settings on the bottom left hand corner:

Step 3 - Select Personal access tokens third option from the top on the left side:
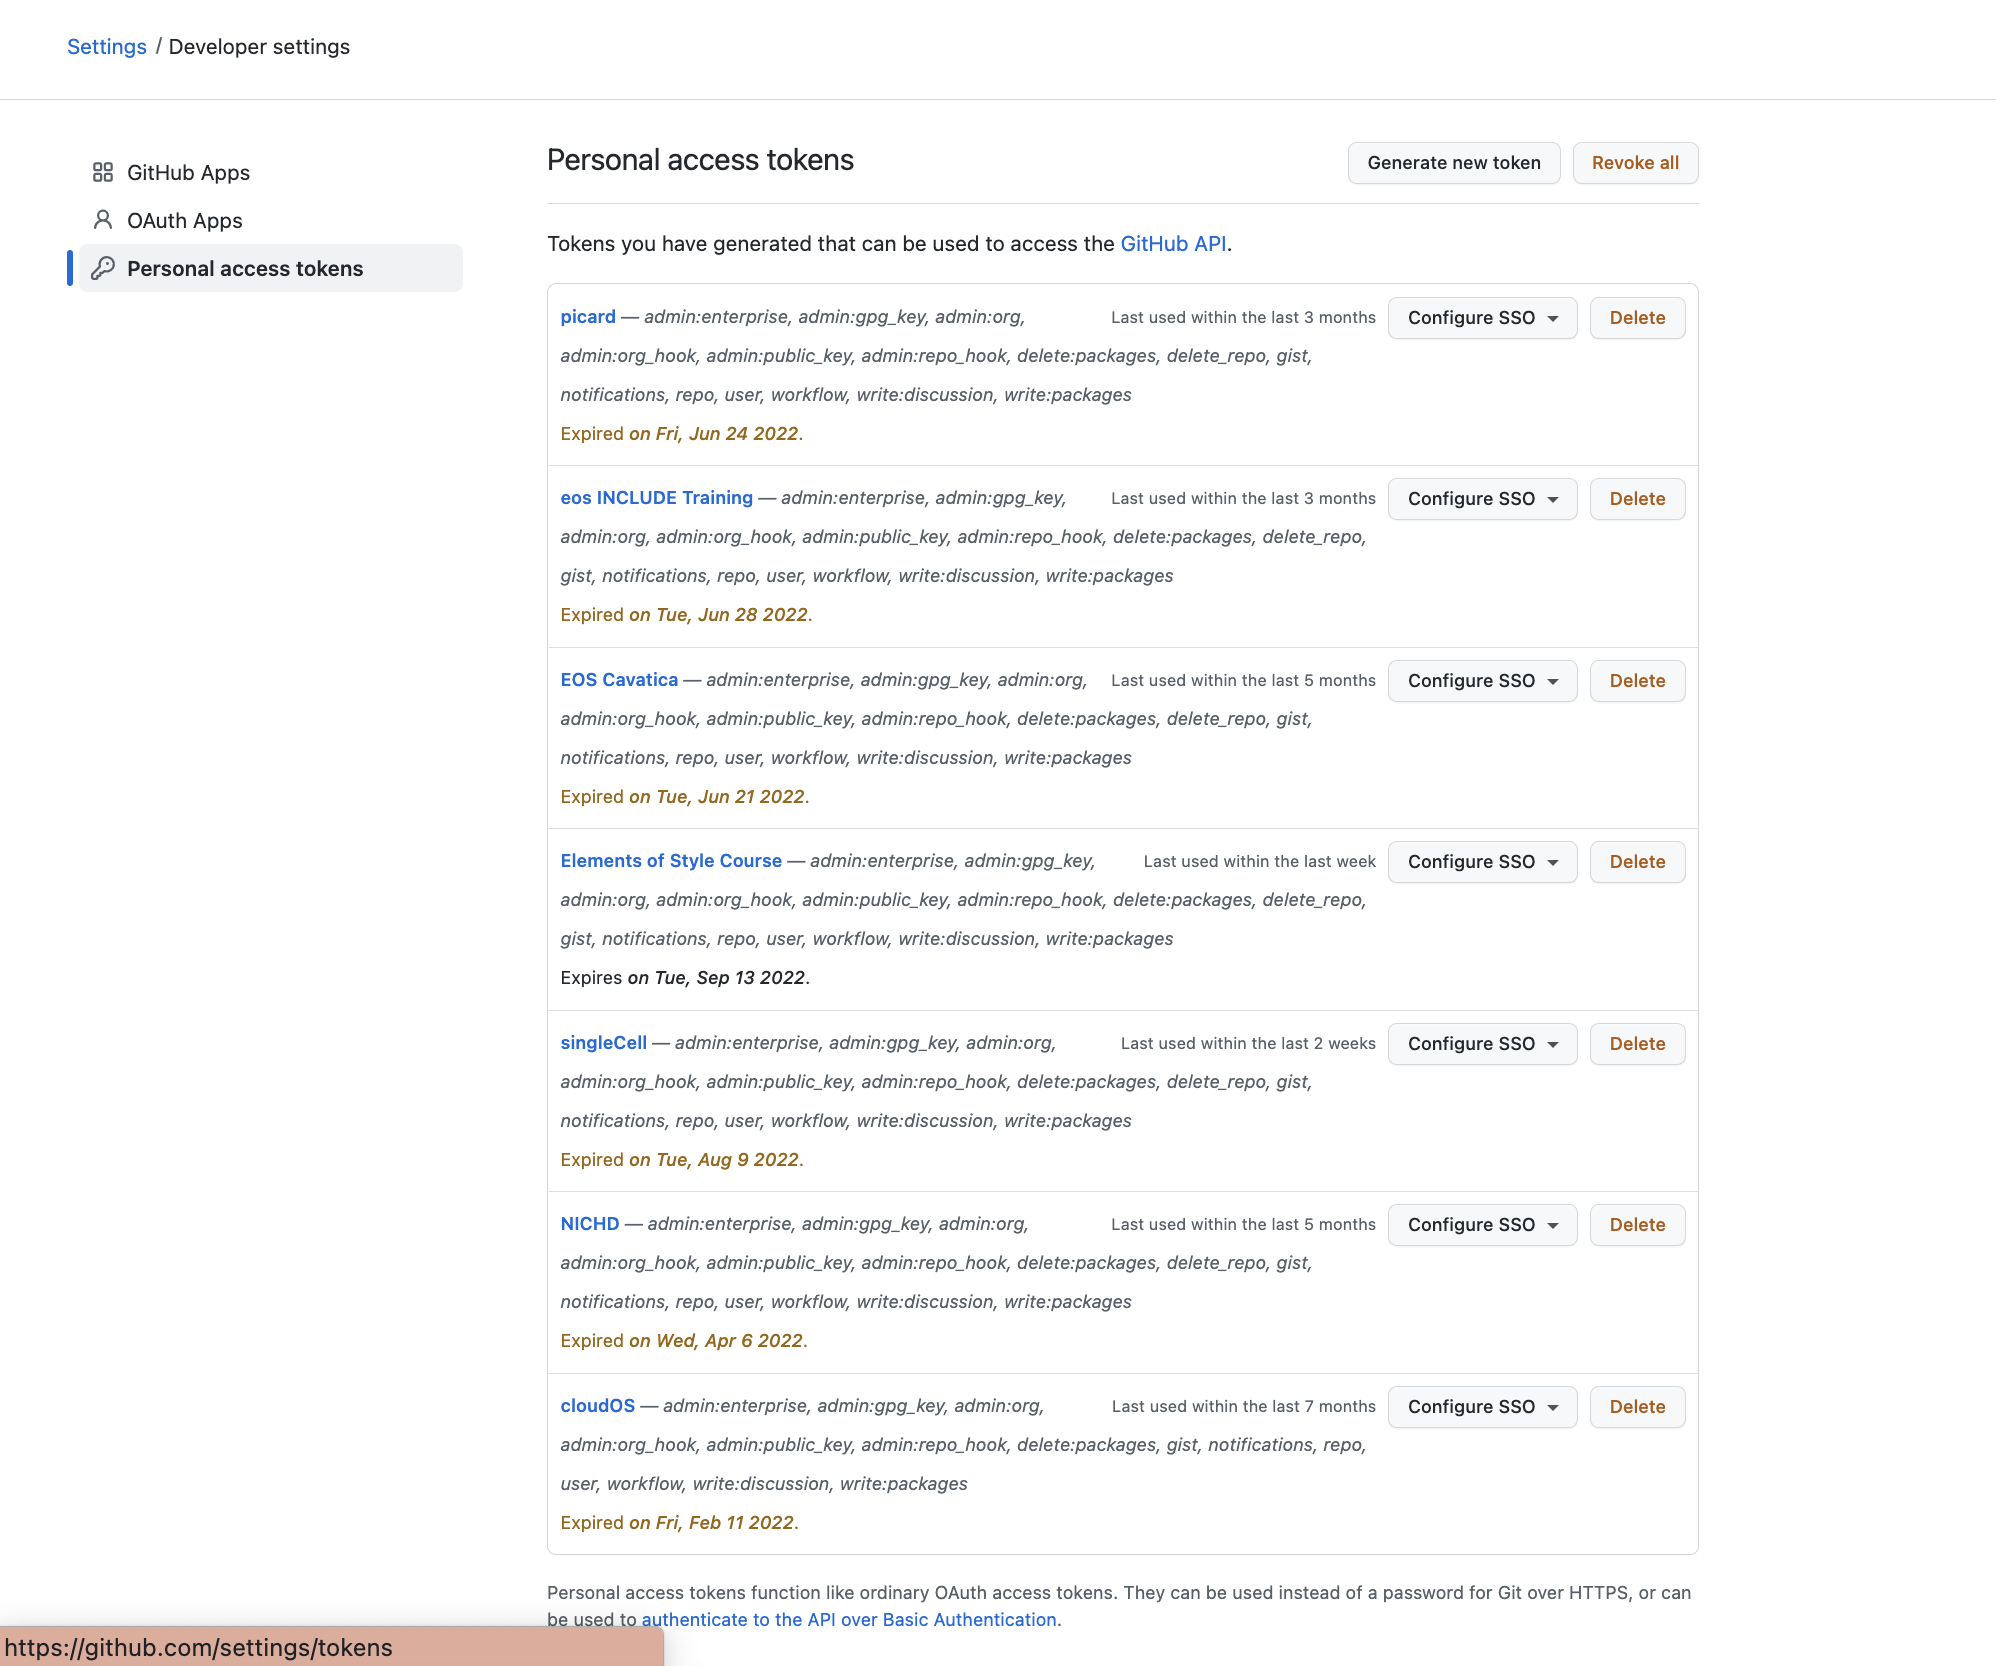
Step 4 - Select Generate new token on the upper right corner - put a name in the note I used eos
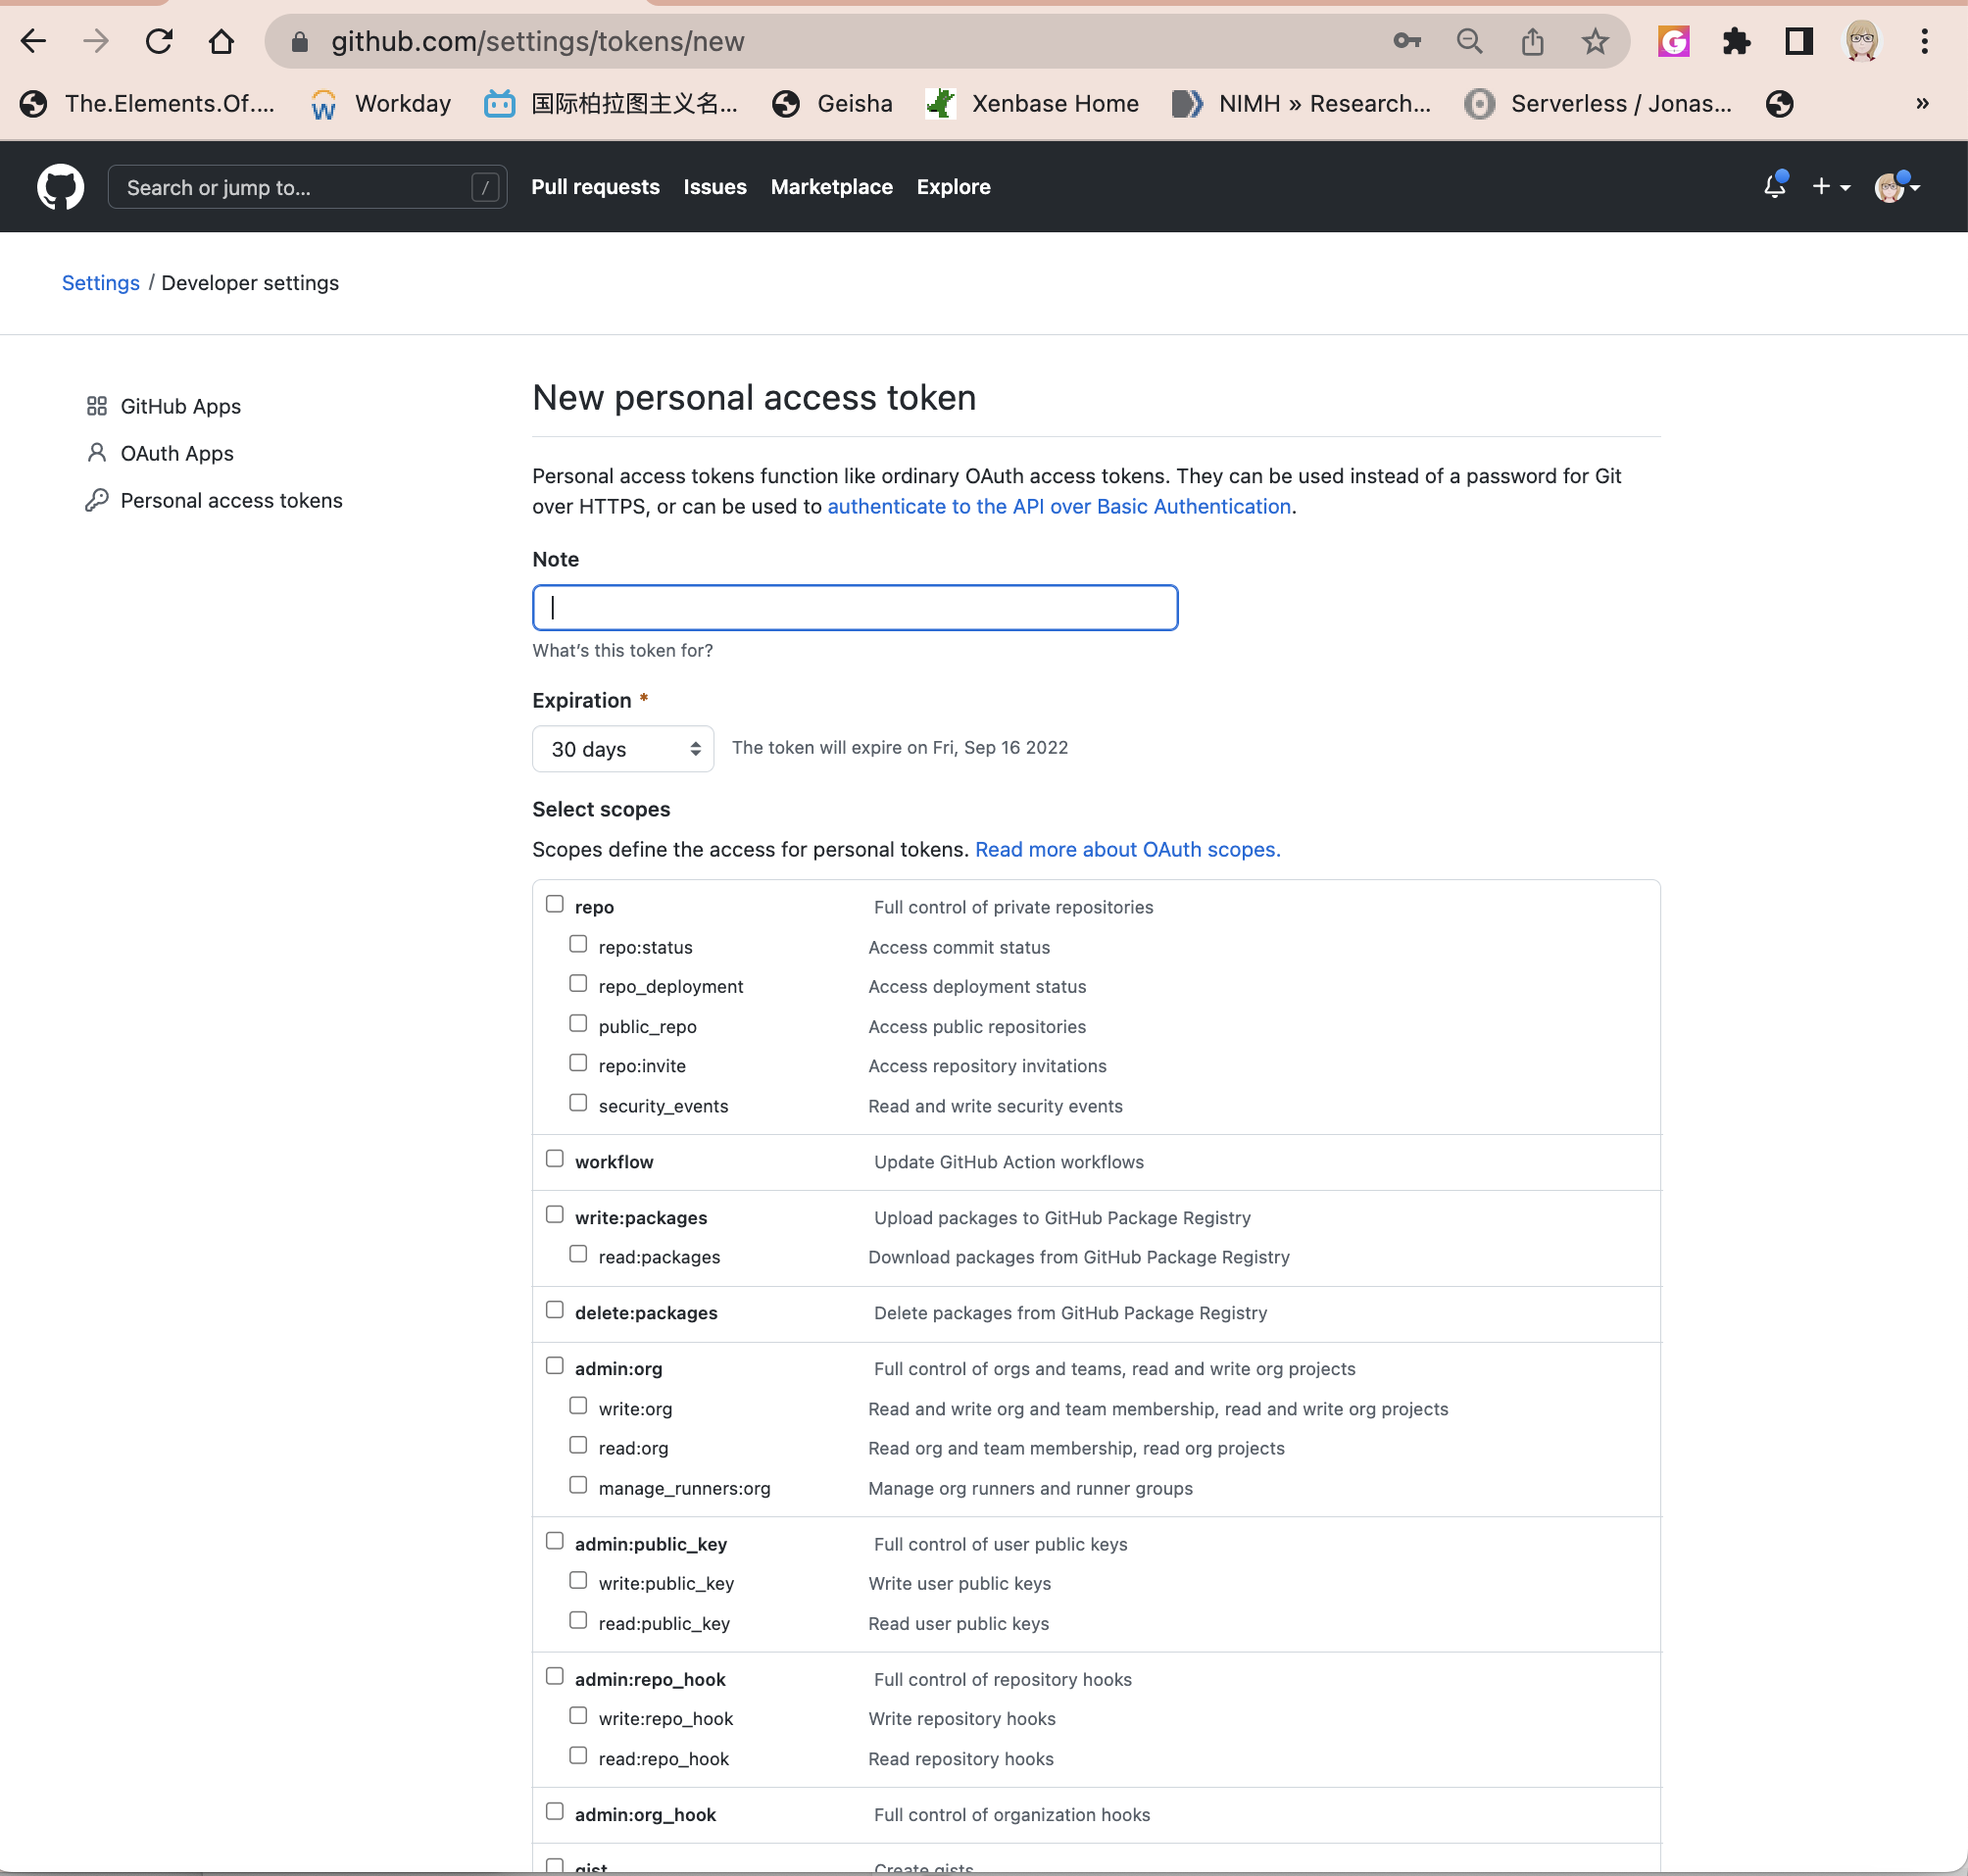
Step 5 - Select all of the options and select Generate token
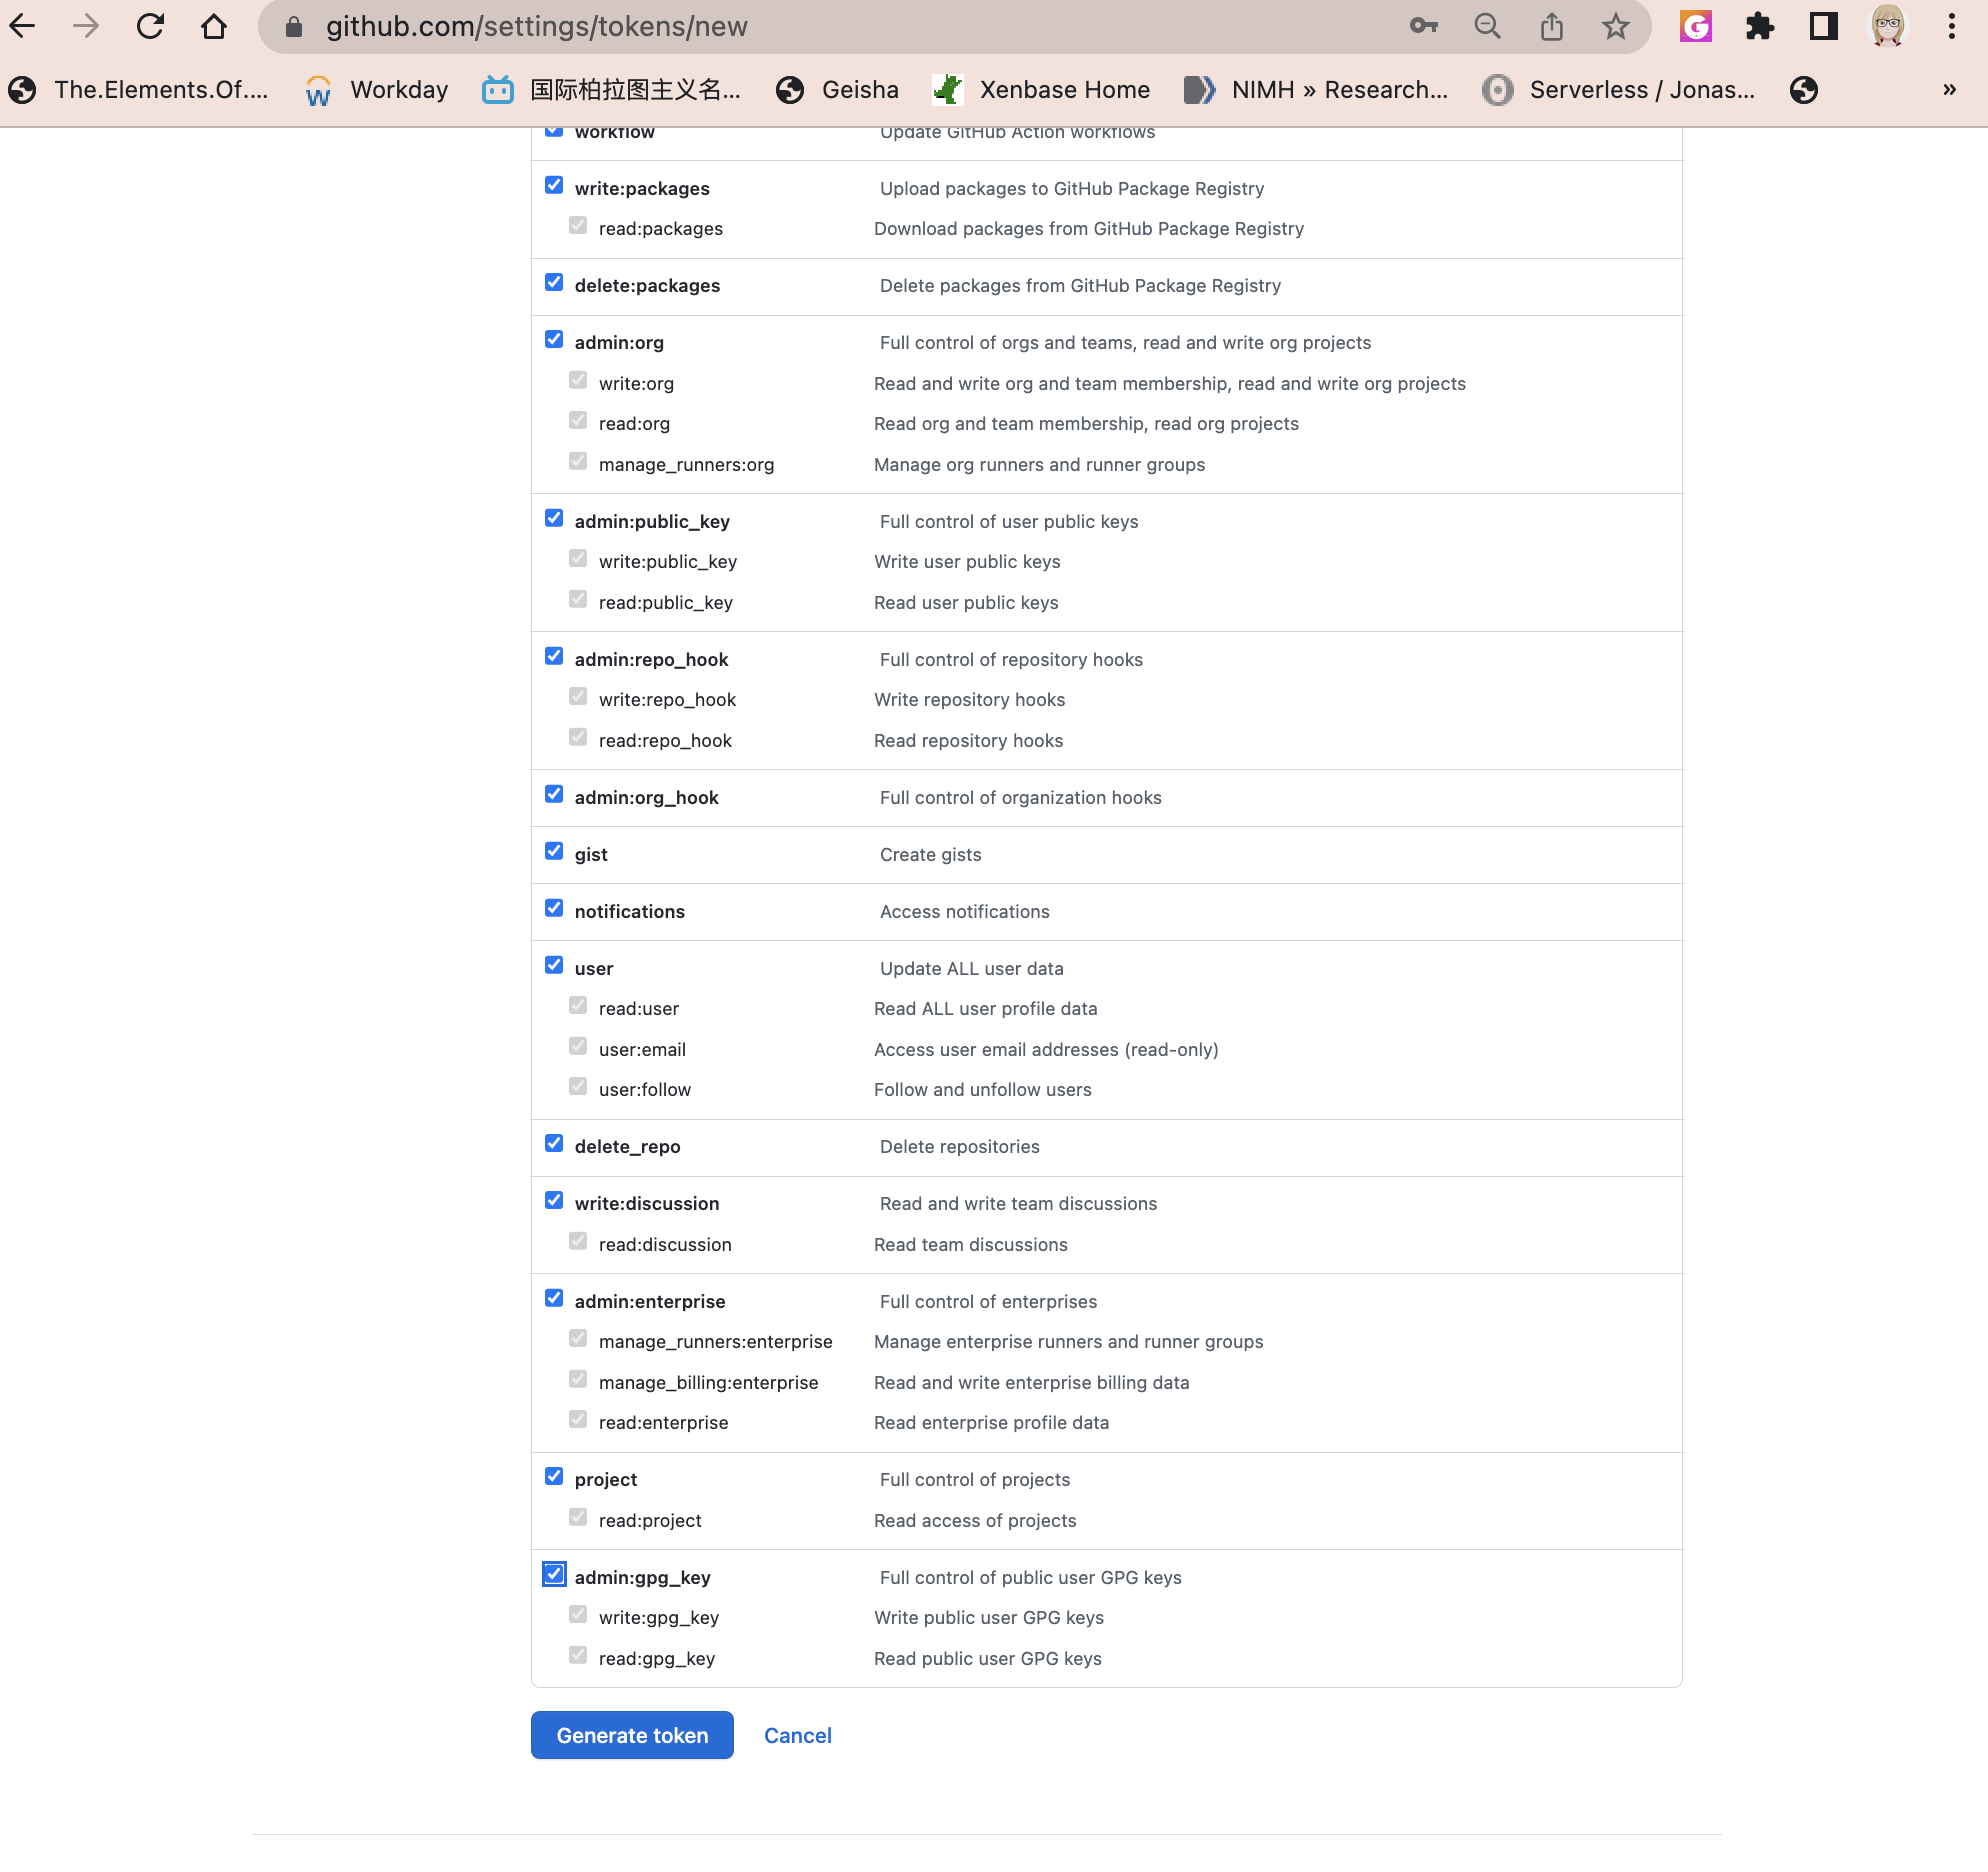
Step 6 - Copy the token because as the note mentions - it will not be available again - but you can regenerate tokens now - so don't worry.
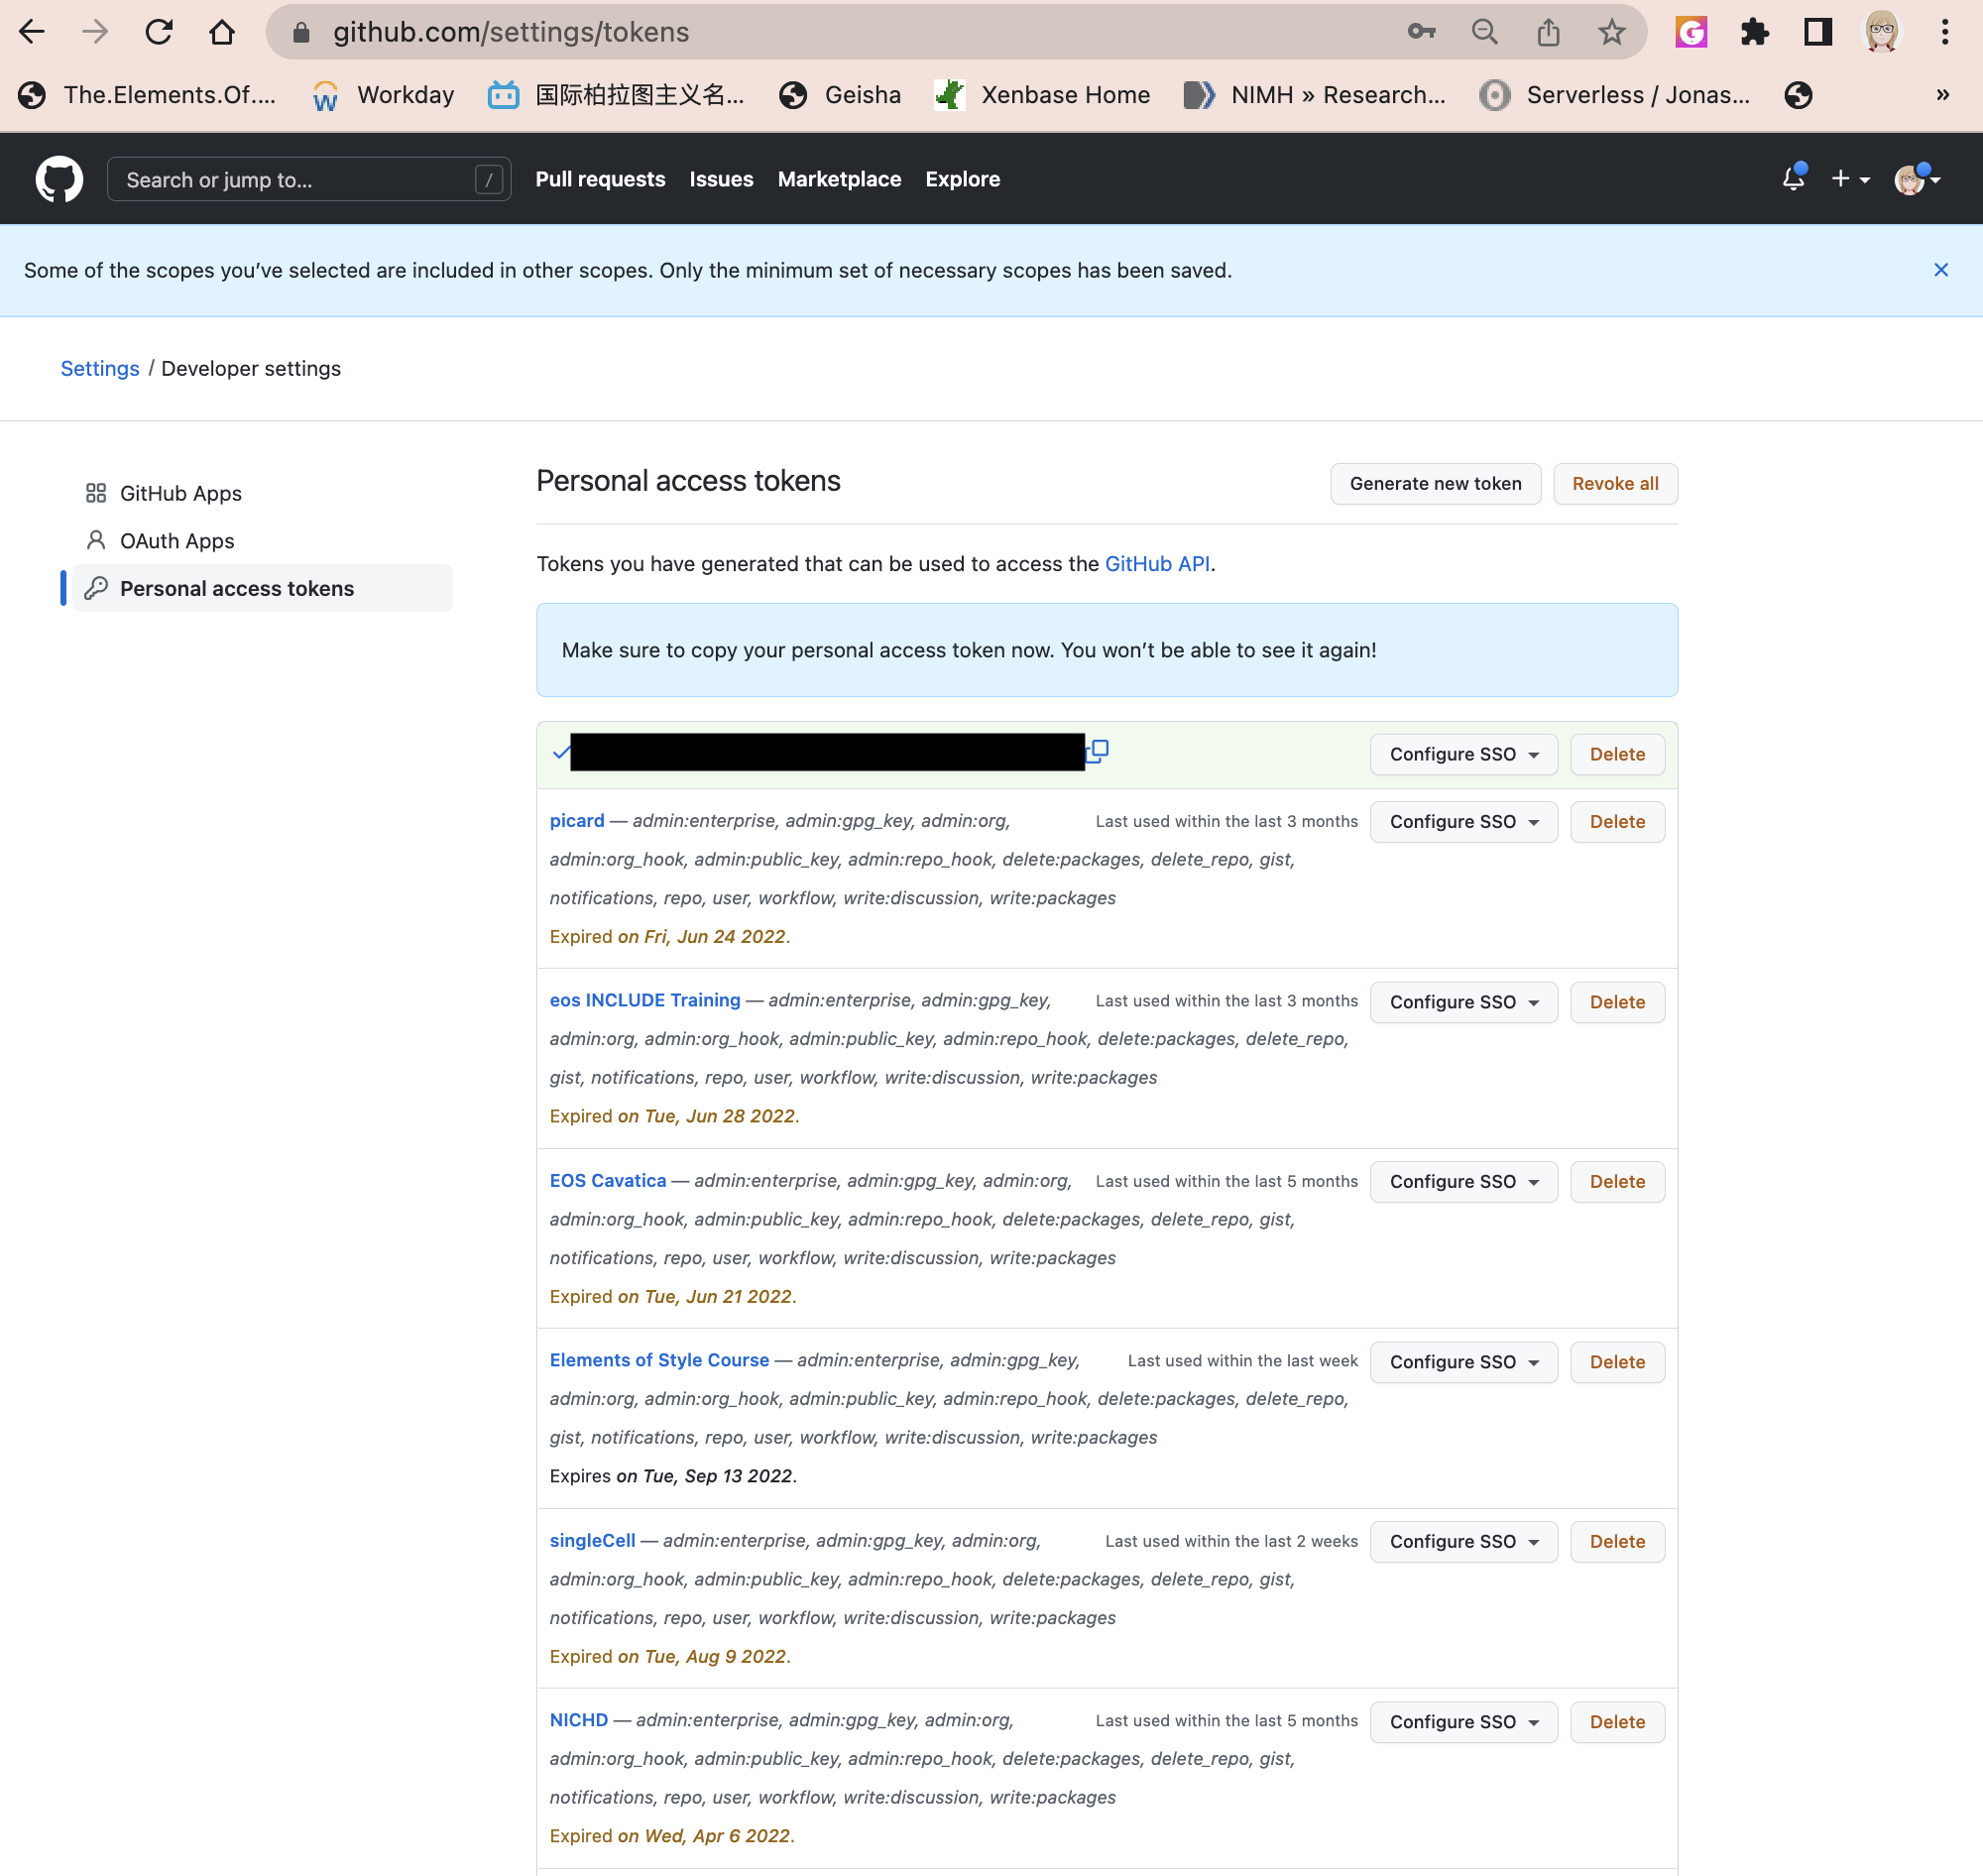
Now we can authenticate with GitHub
Once we have our token, we can now authenticate.
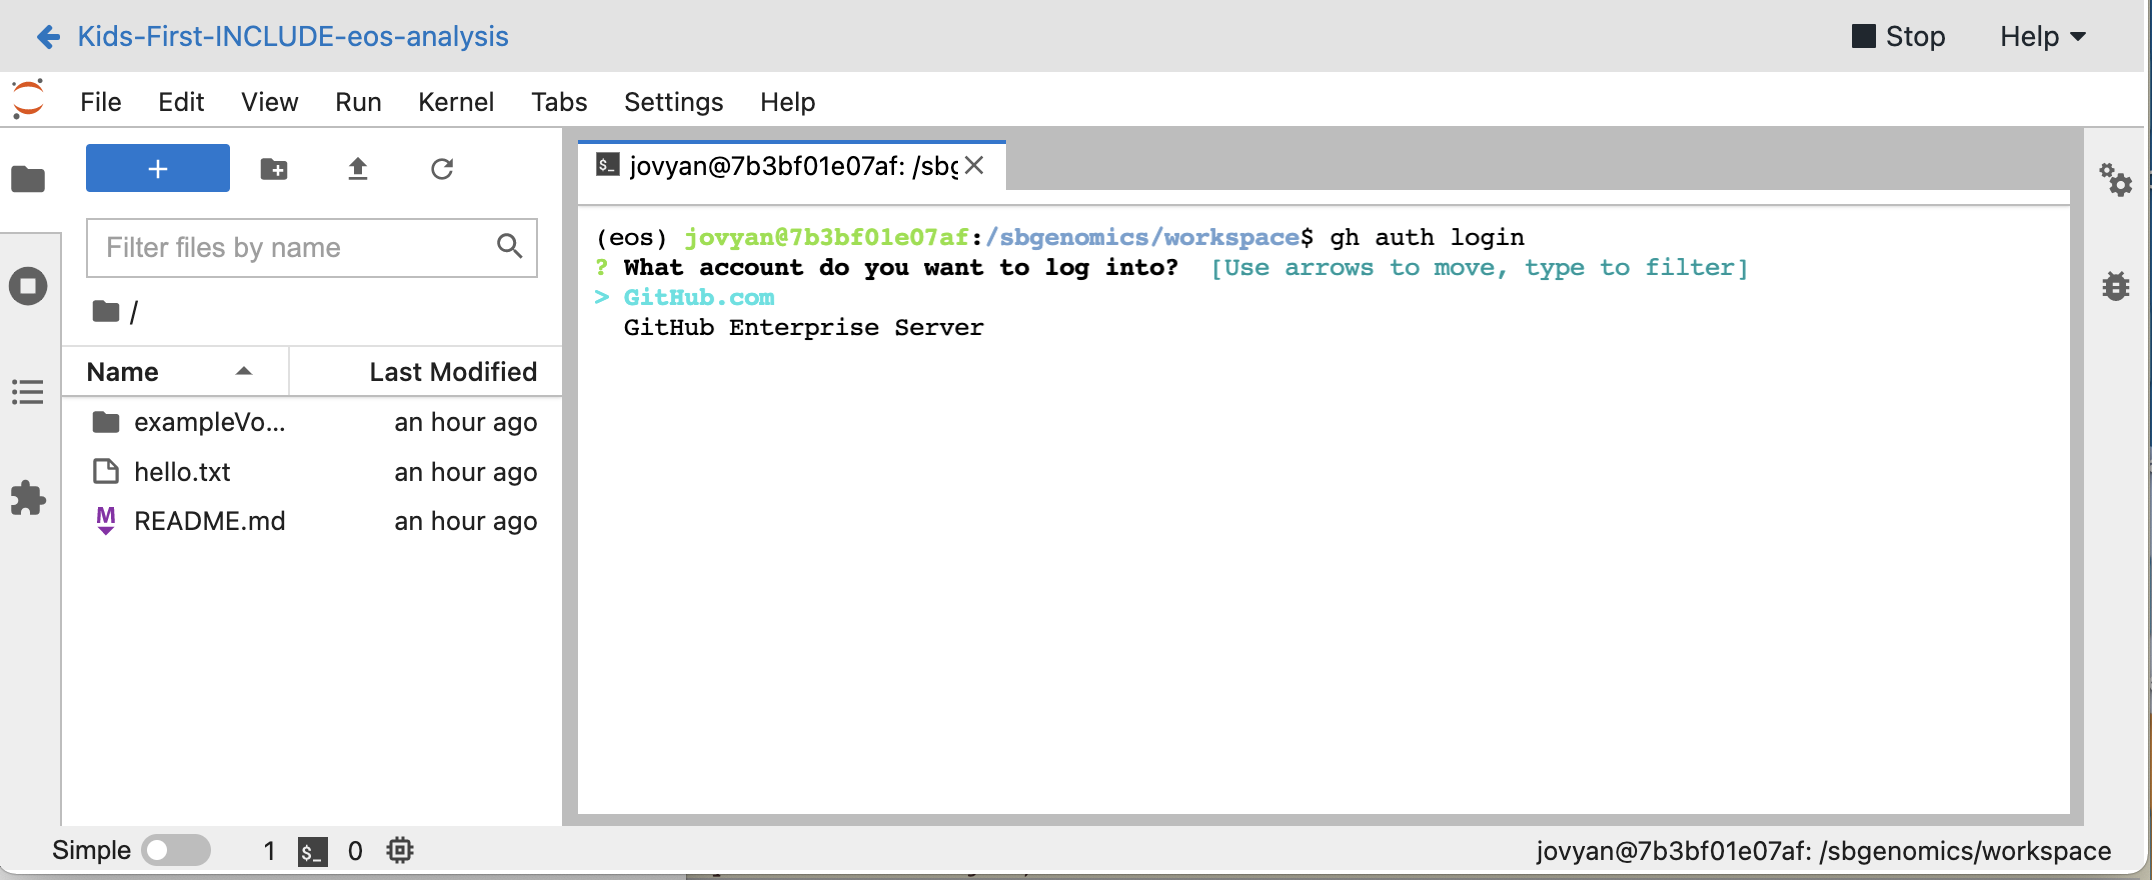
Step 1 - Type gh auth login at the command line in the Terminal window
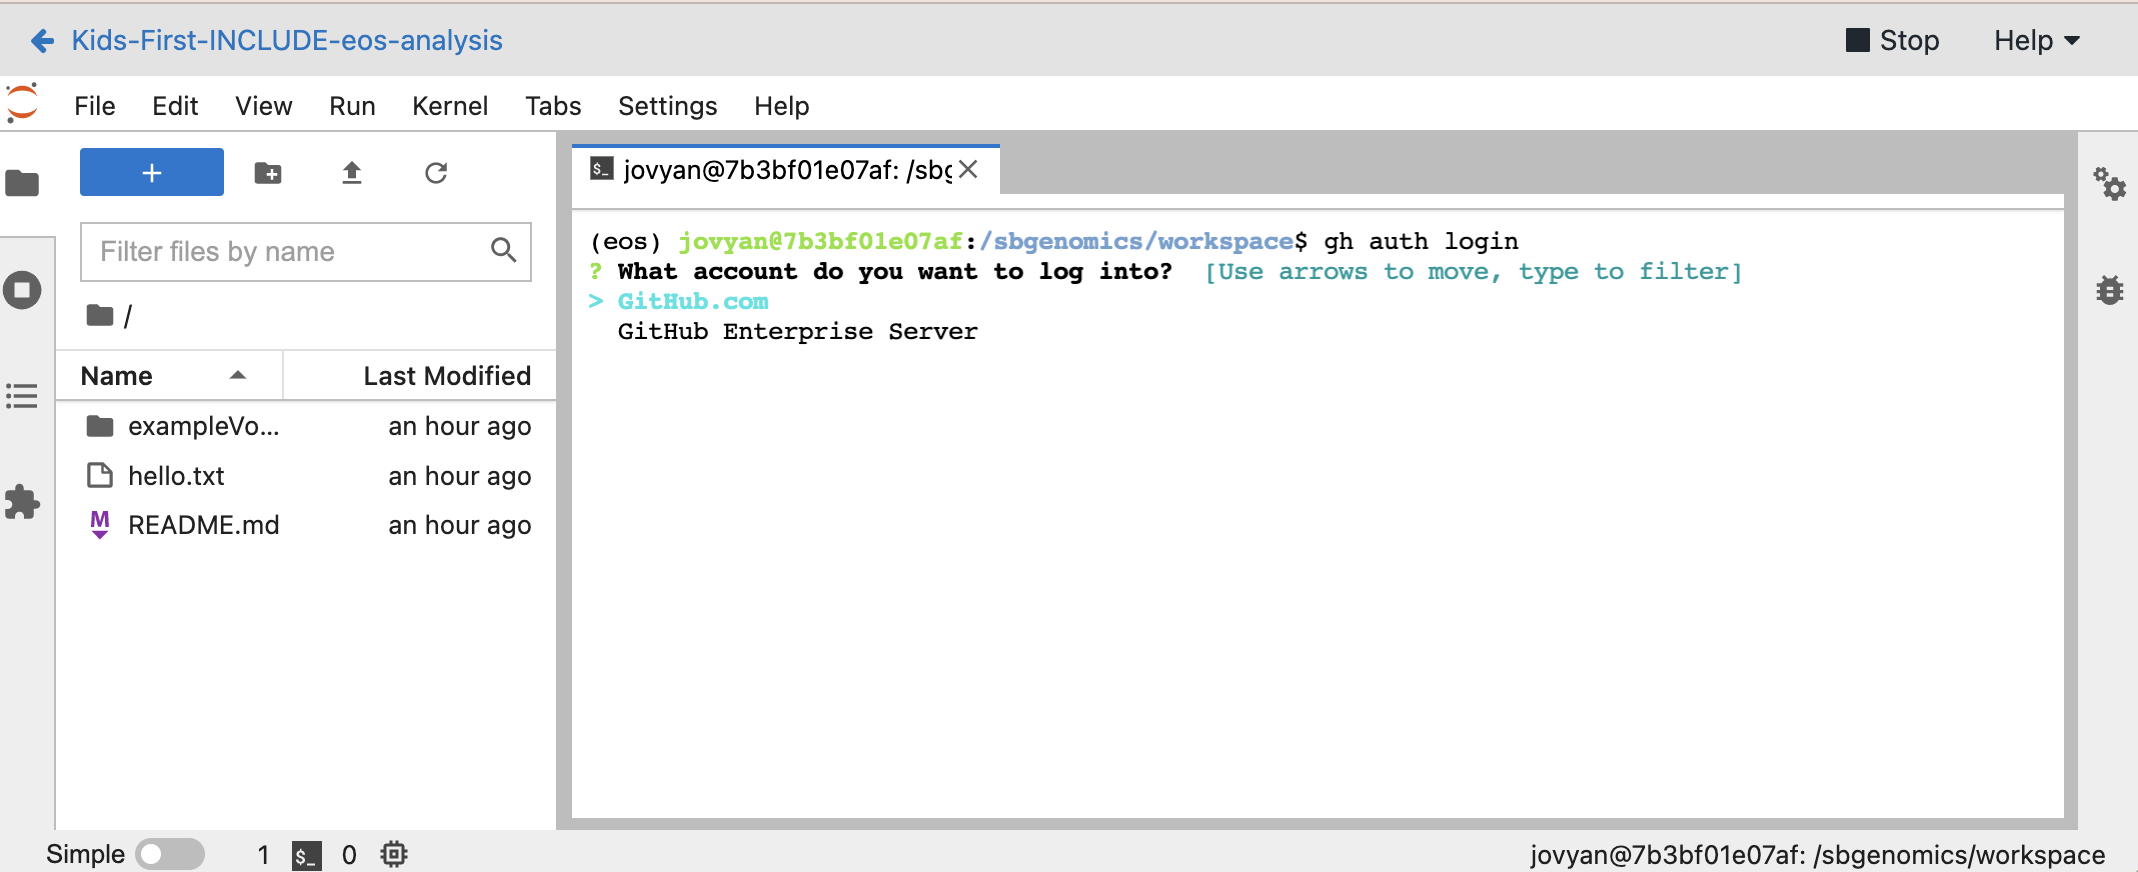
Step 2 - Use arrow keeps and select GitHub.com (should be the default)
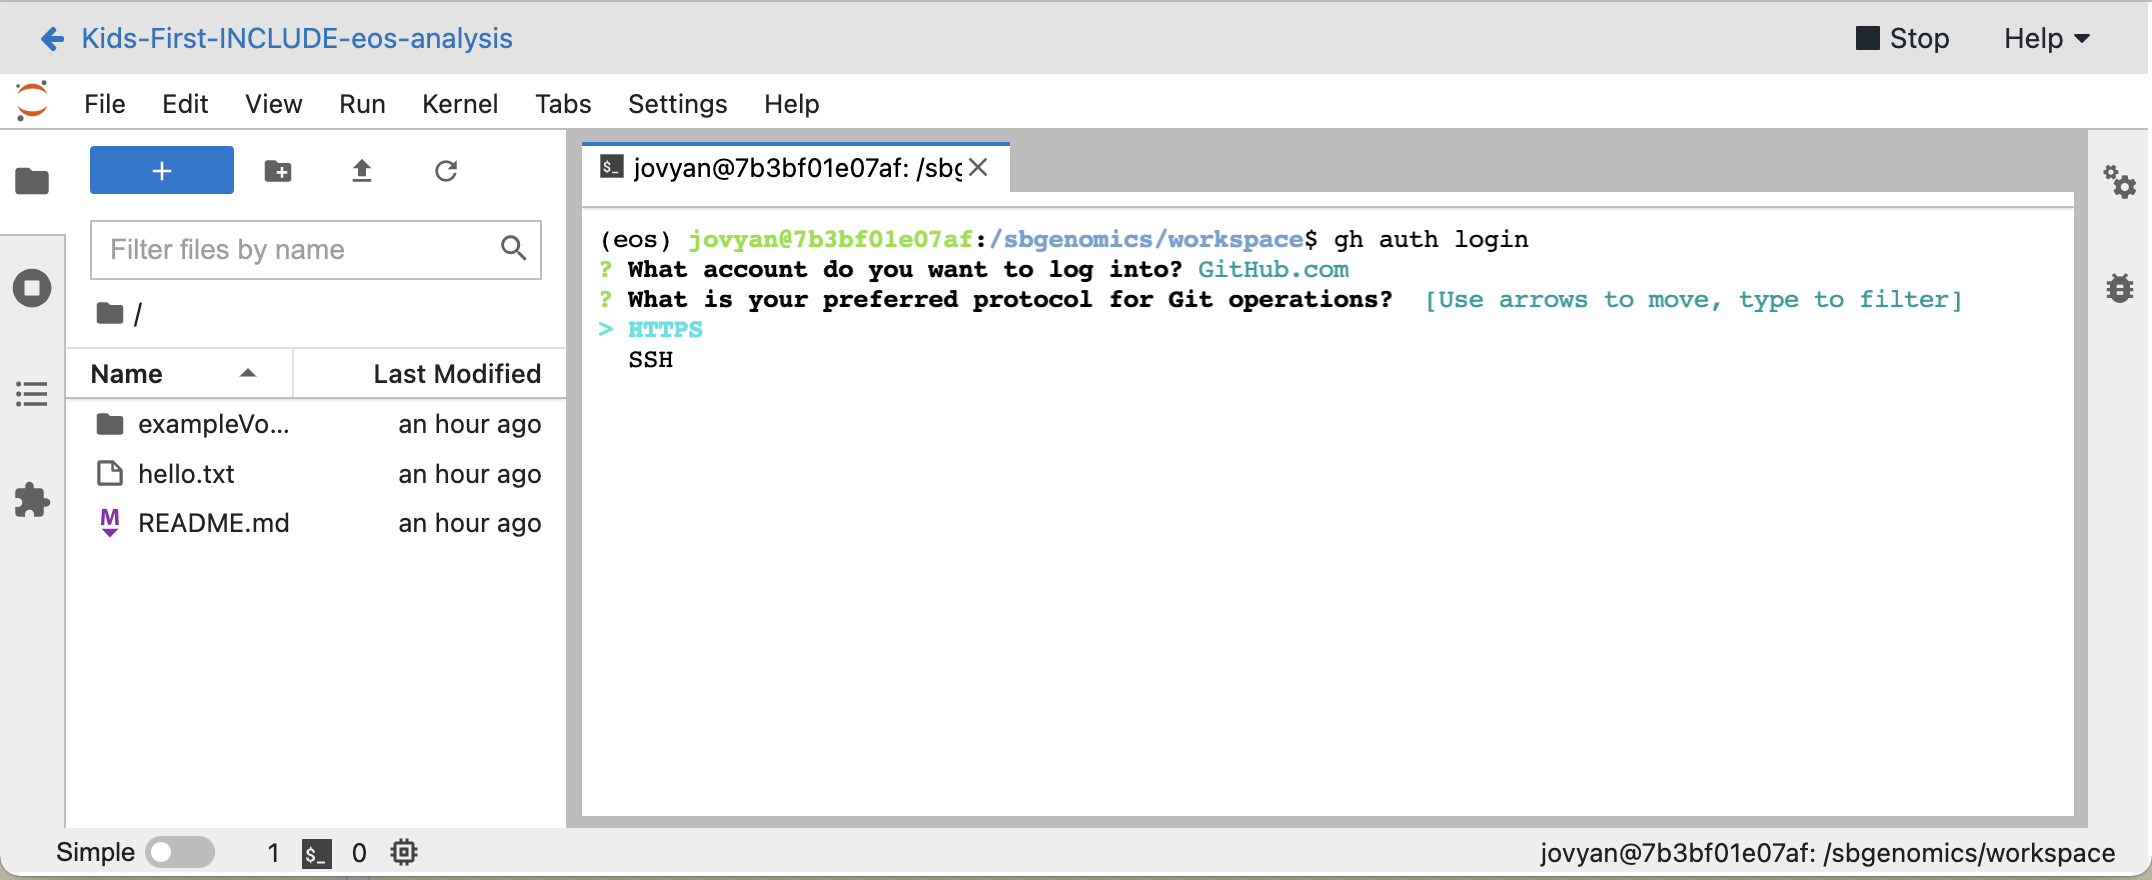
Step 3 - Select HTTPS for your _preferred protocol for git operations
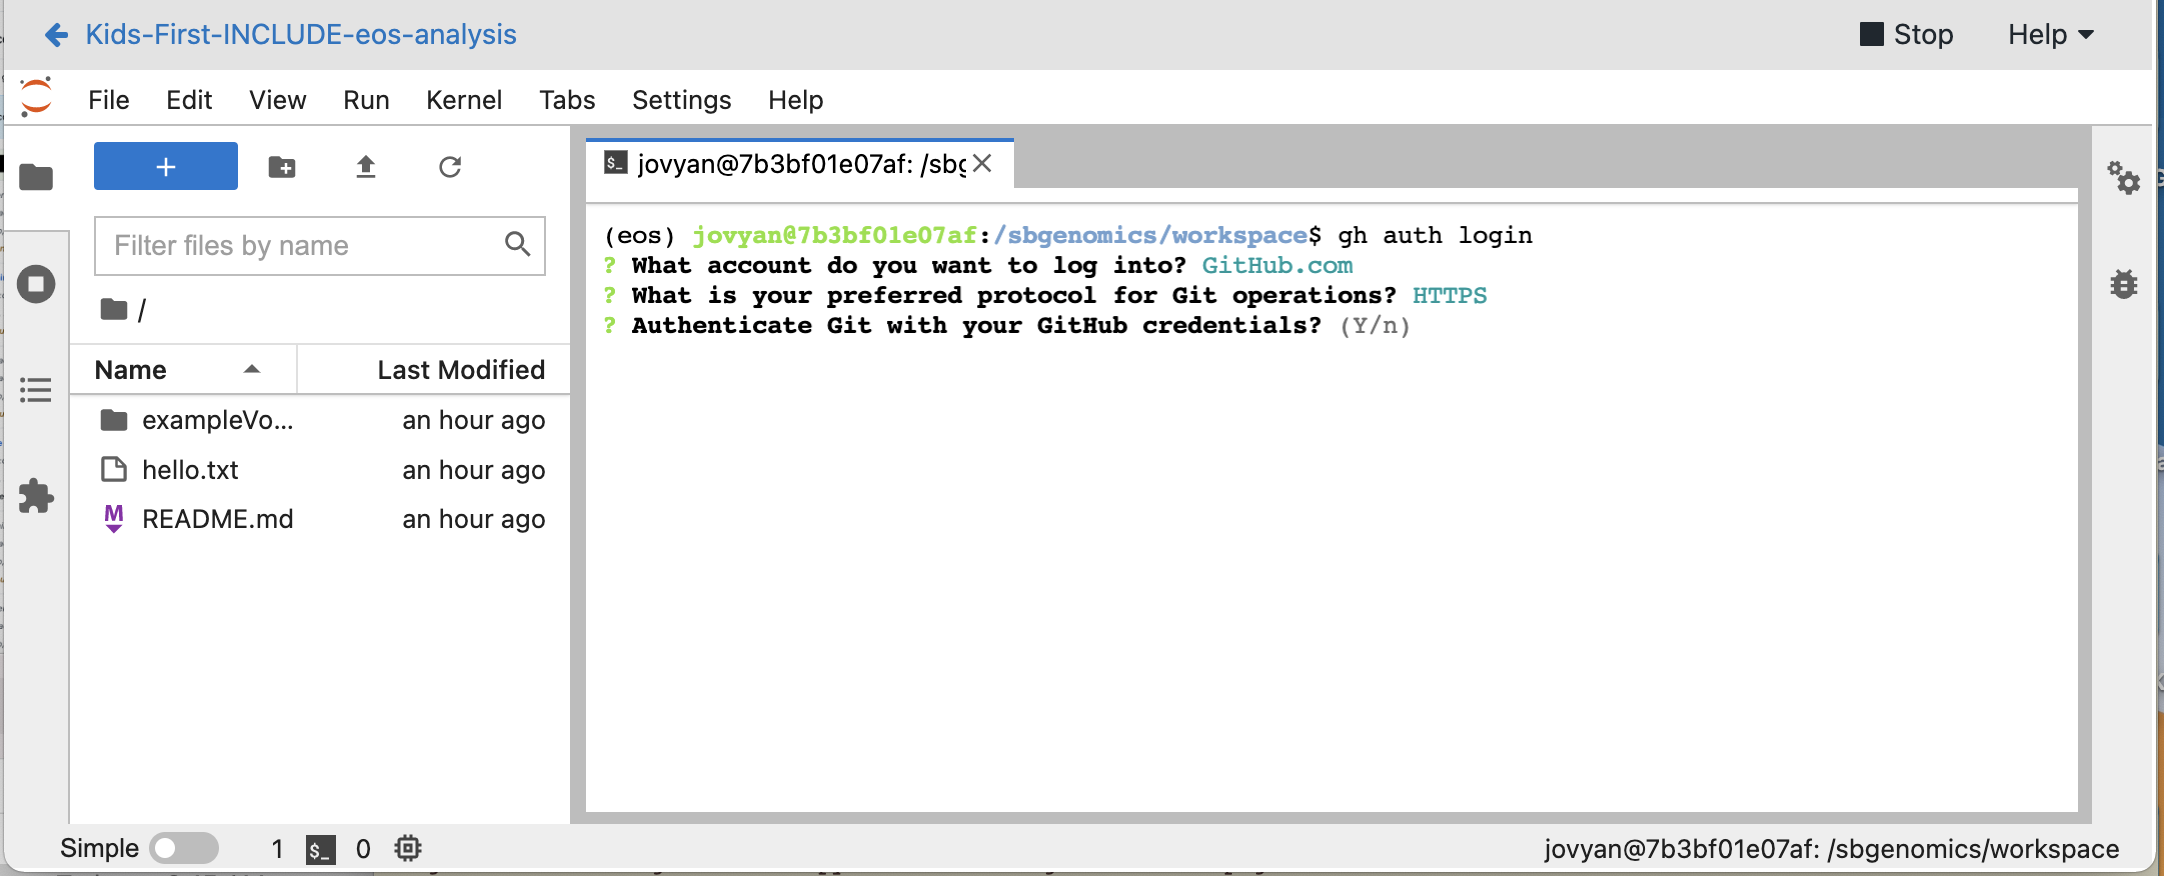
Step 4 - Confirm you wish to authenticate with your GitHub Credentials
Step 5 - Use arrow keys to select Paste an authentication token
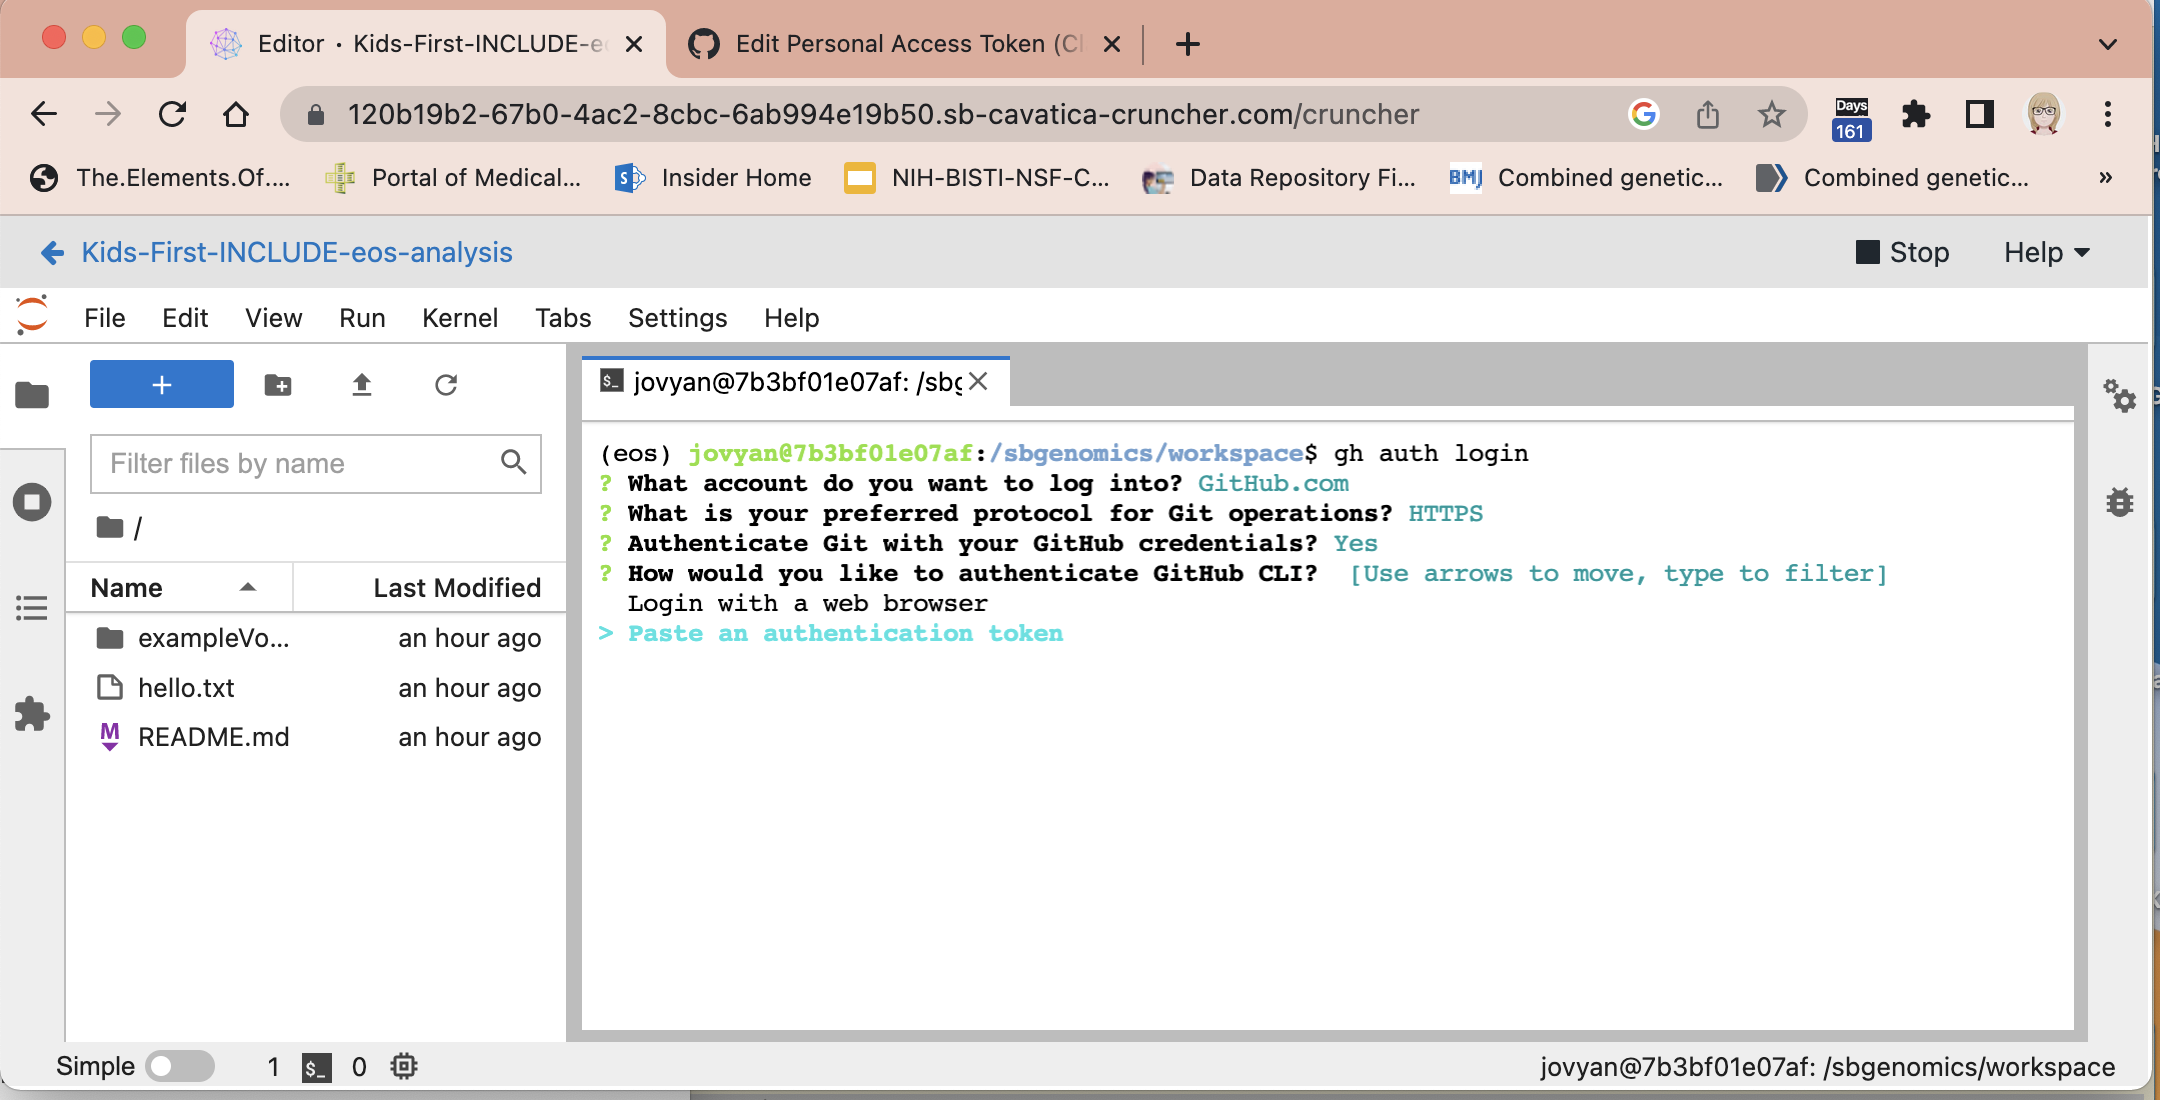
Summary of all the steps
